Twist & Fade Raglan Part 1
For the free pattern of this garment please continue on this page. Please consider supporting me by purchasing the 100% ad-free PDF with full charts, schematics, and waist shaping formula for this pattern on my Ravelry or ETSY pages. Or consider joining my Patreon for member perks.
ABOUT THIS Top:
This is Part 1 of this sweater pattern (About, Notes, Cable Pattern, and Getting Started). If you are looking for Joining the Neckline, Separating the Sleeves, or the Body, please go to Part 2.
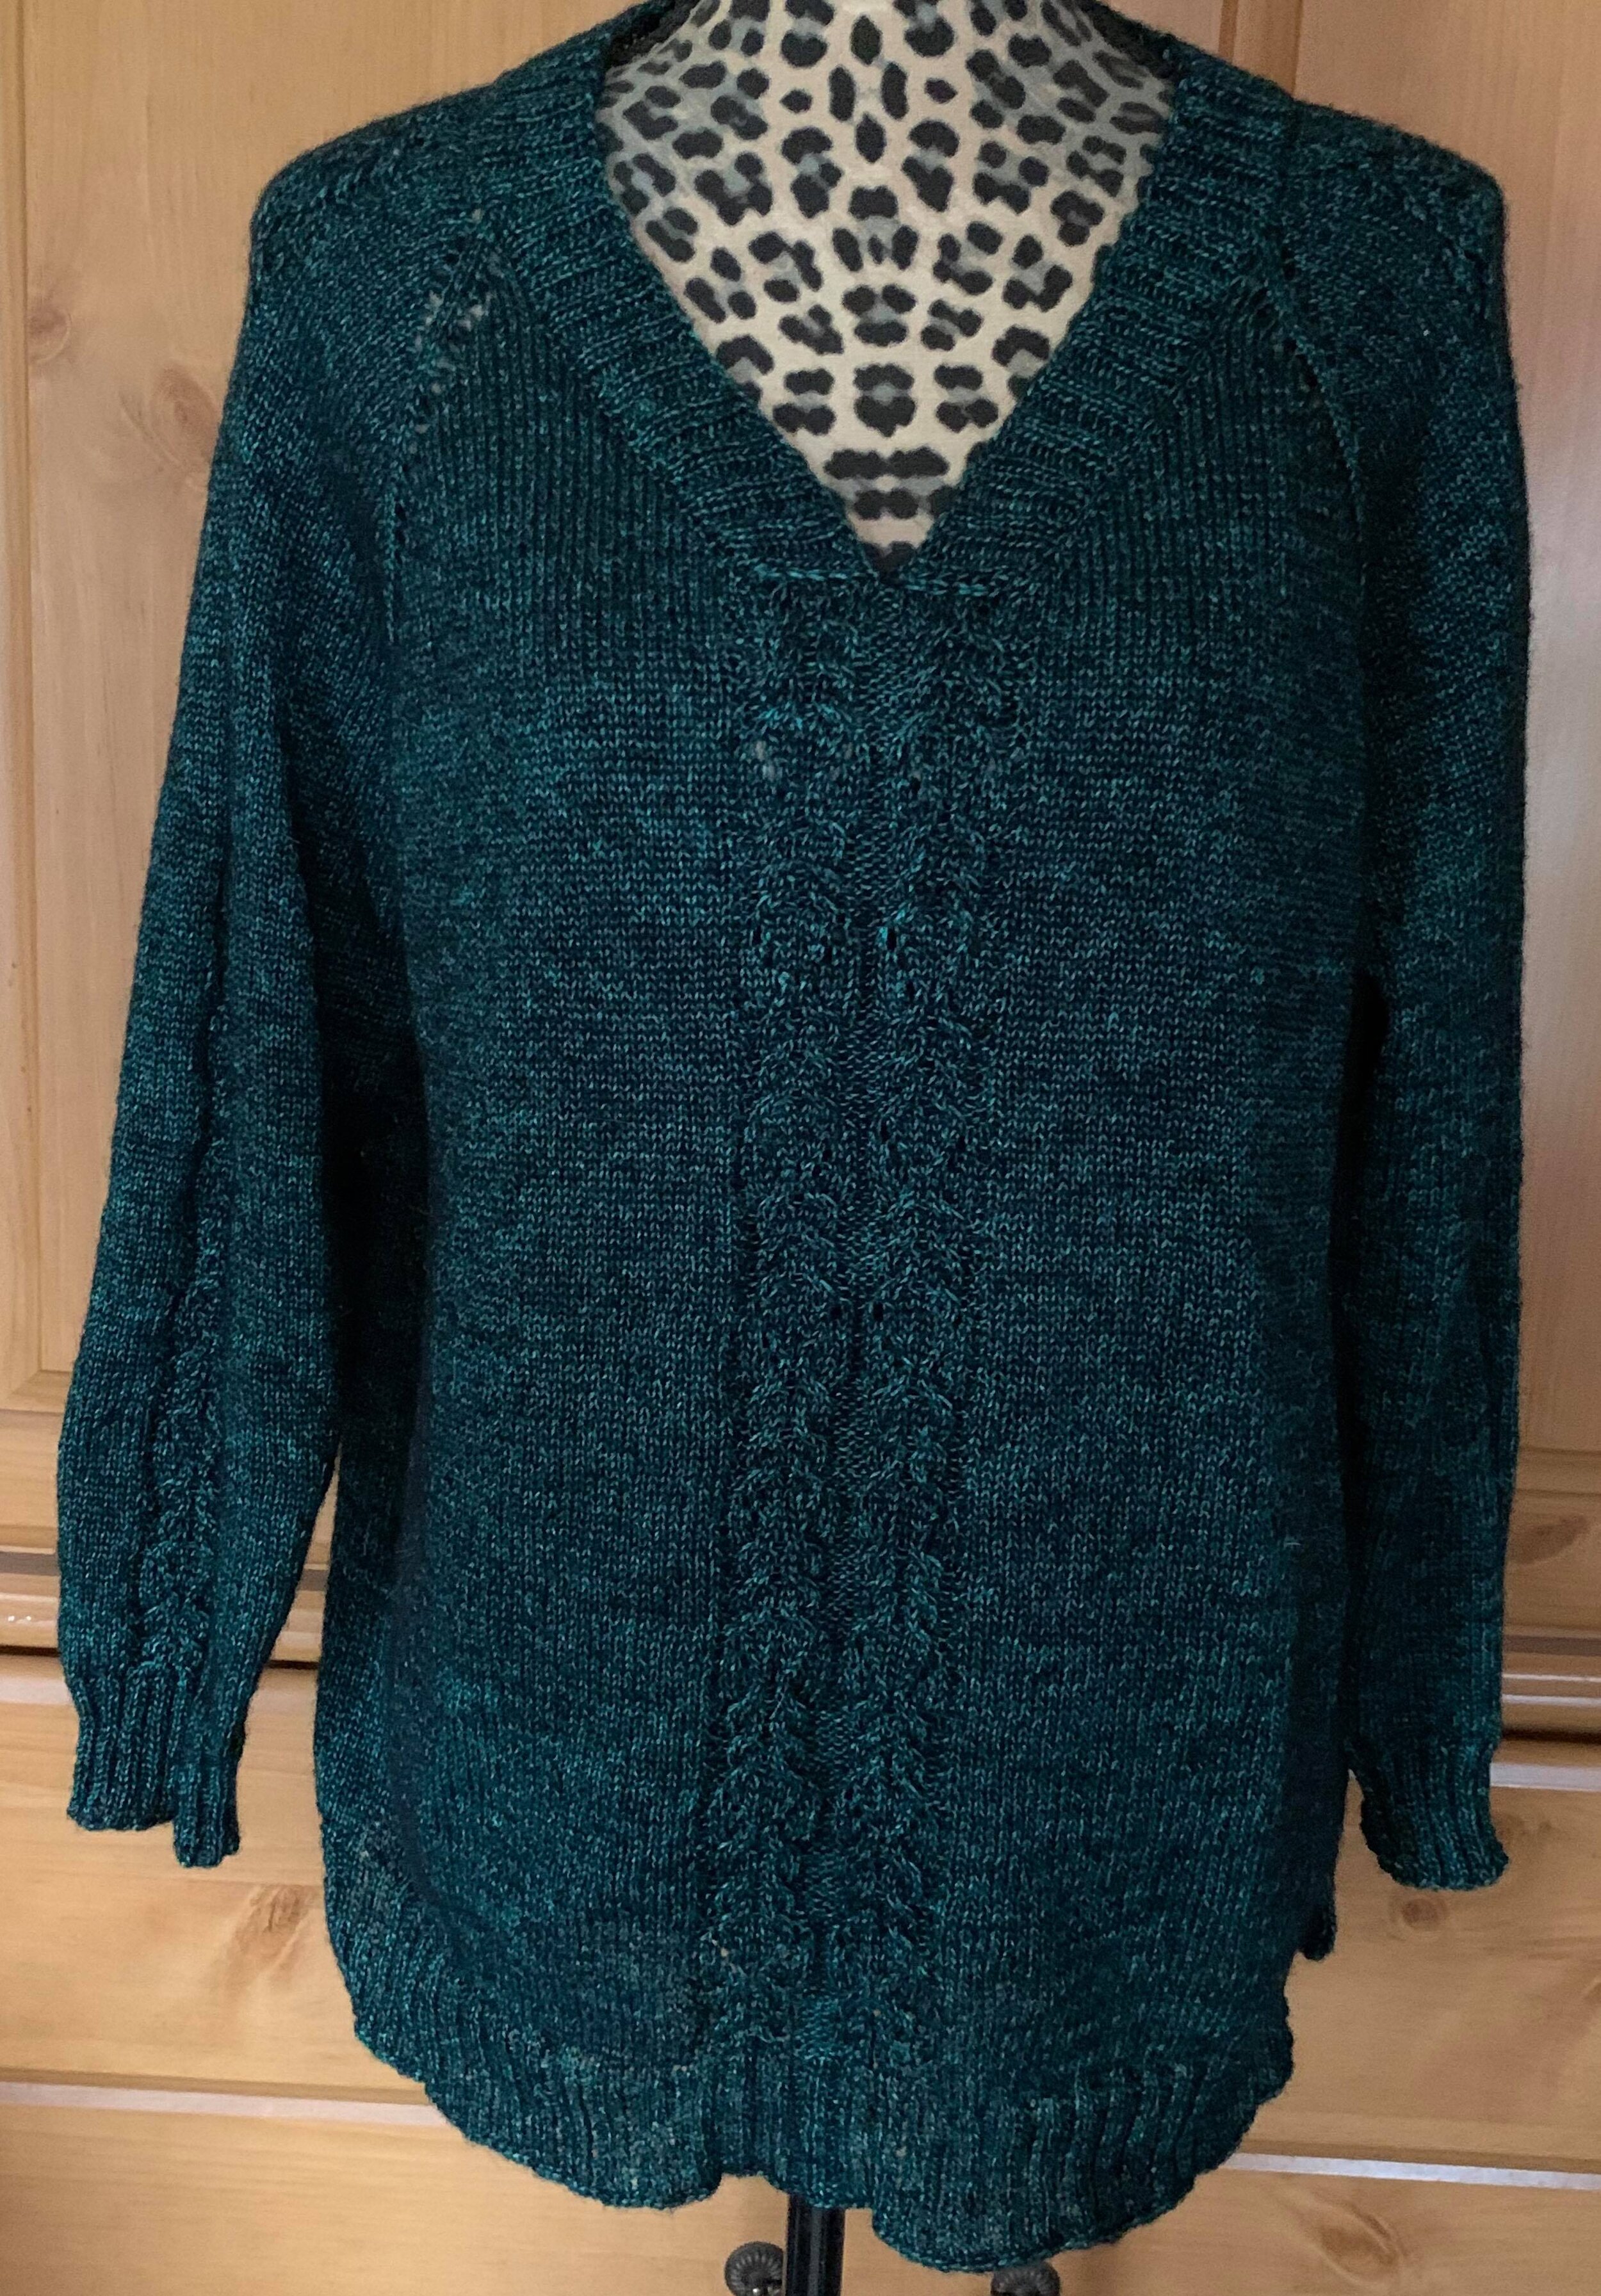
Everyone loves a raglan sweater! They go so well with so many different outfits. Dress one up with a skirt, or go the casual route with a pair of jeans. You really just can’t go wrong. And, with the Twist & Fade Raglan, you’ve got the perfect sweater to lounge around in, or throw on when you’re ready to go out and want to look absolutely awesome!
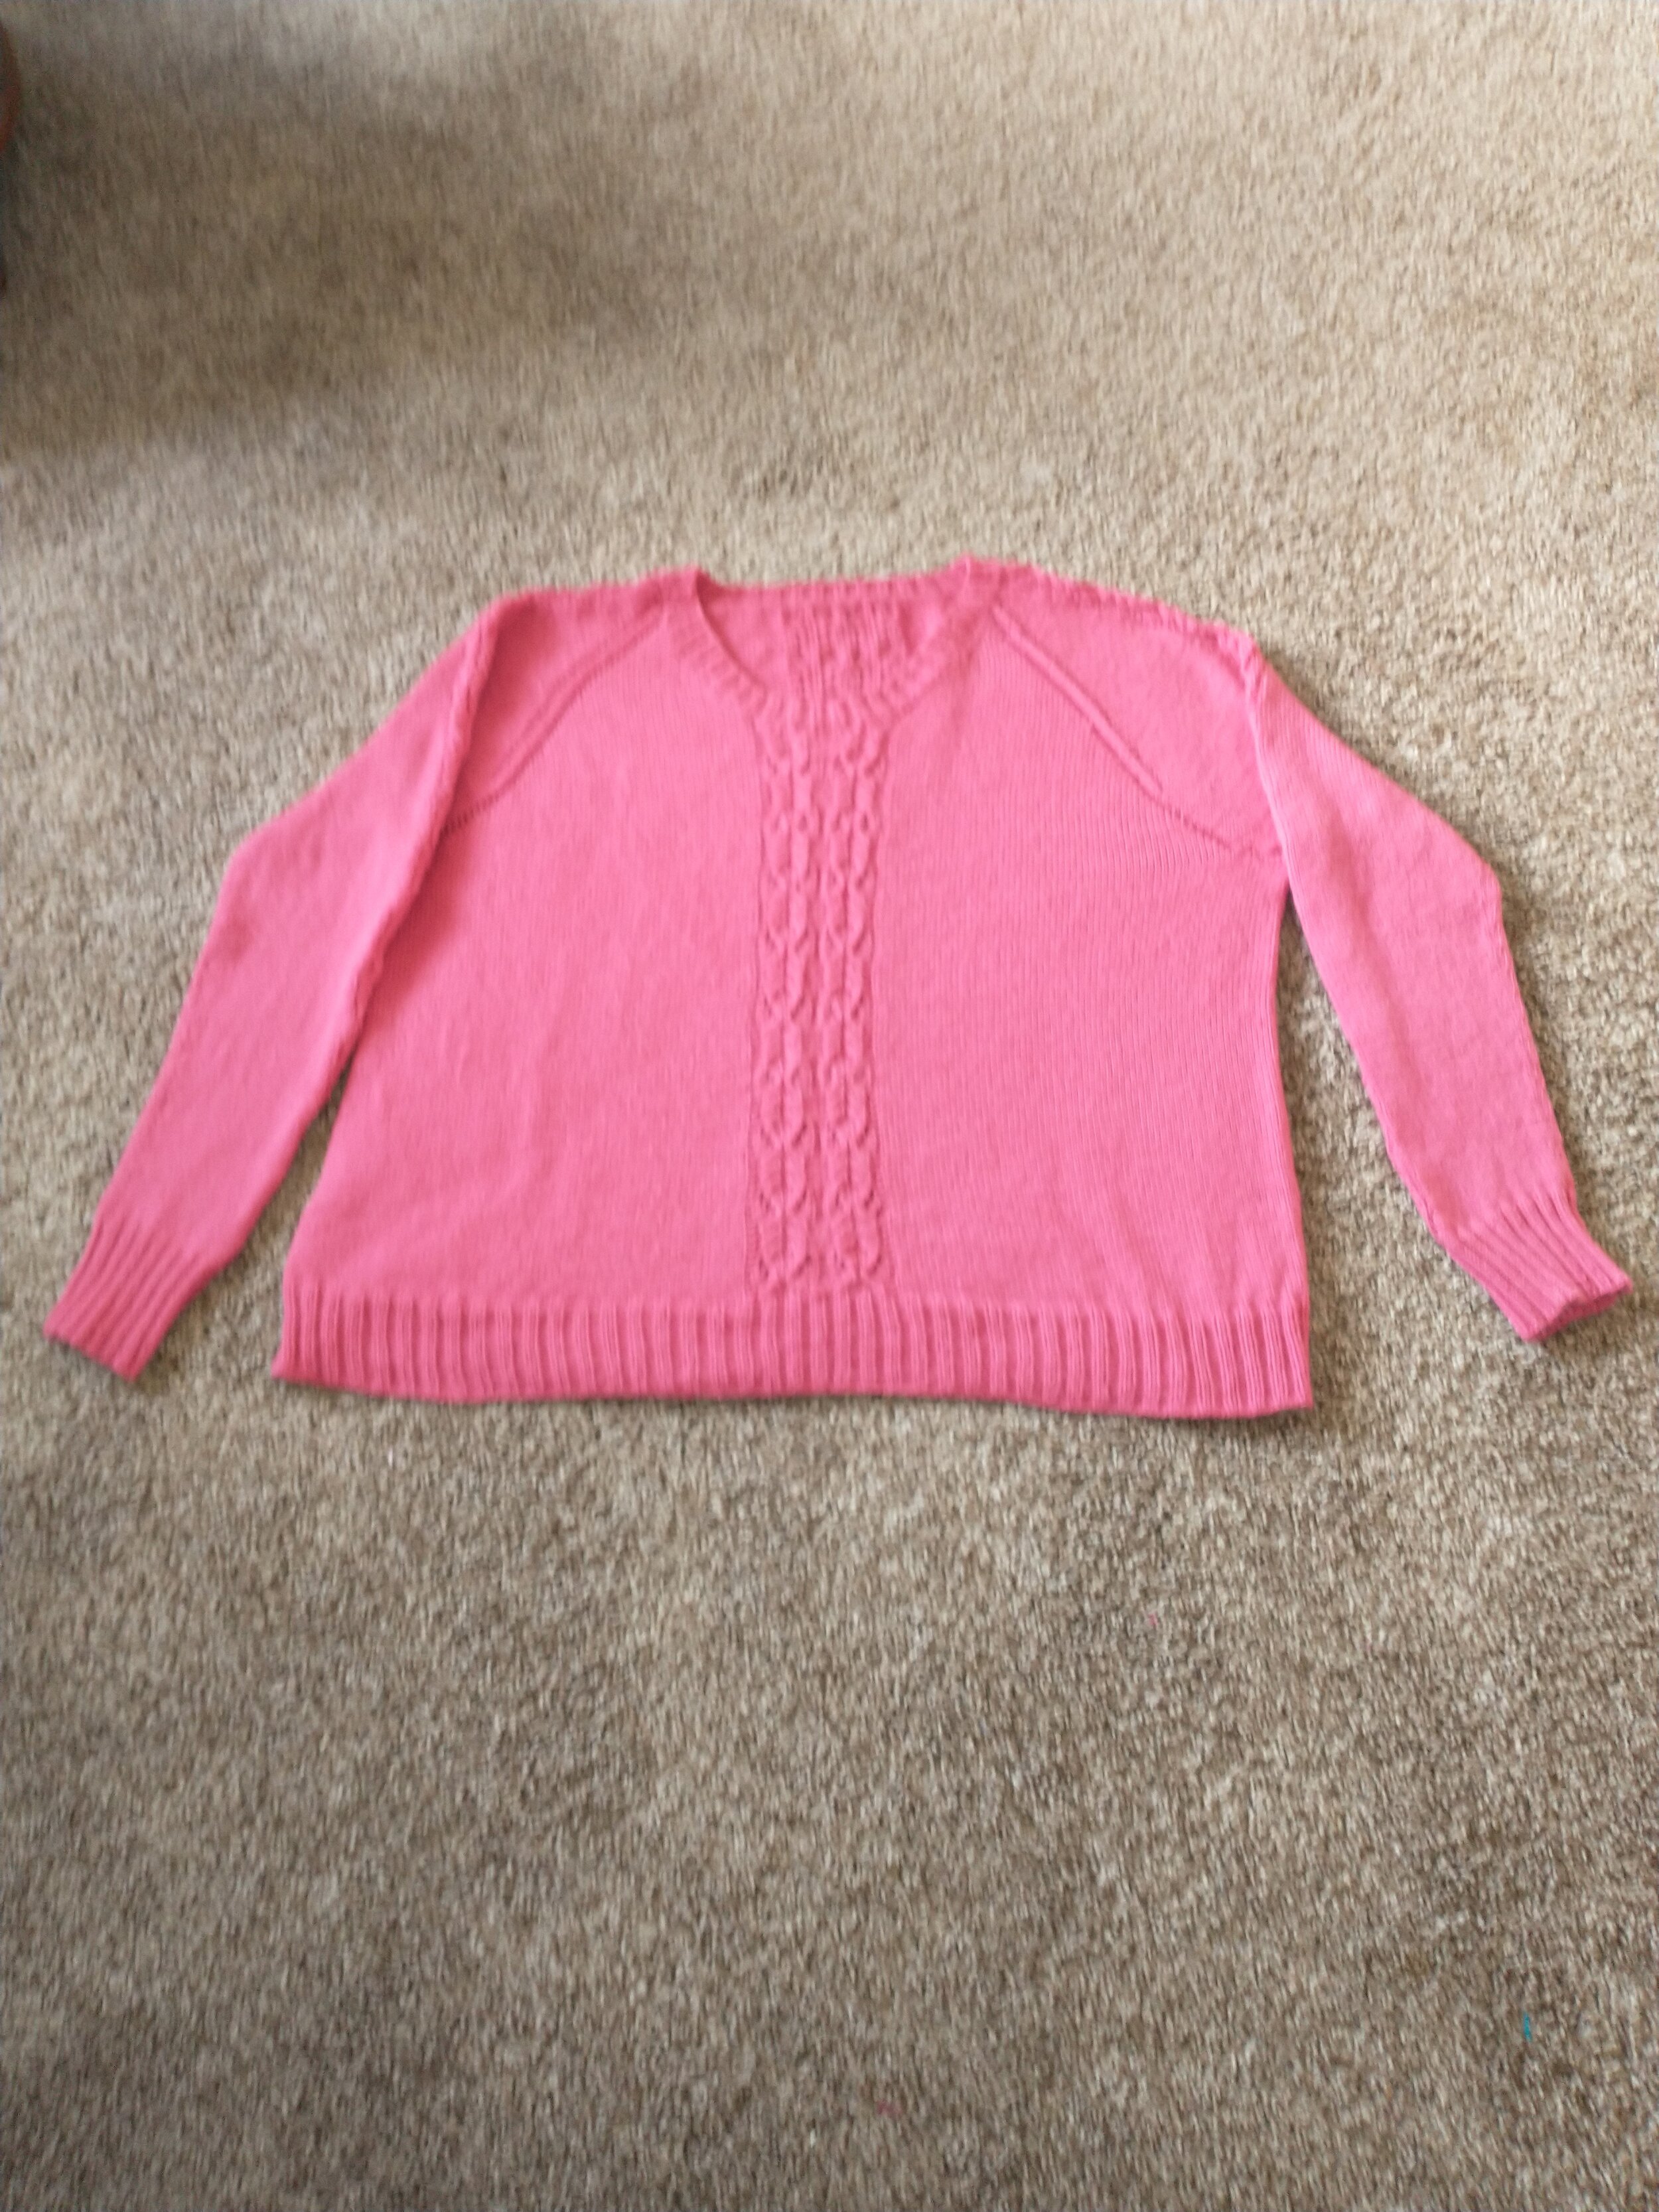
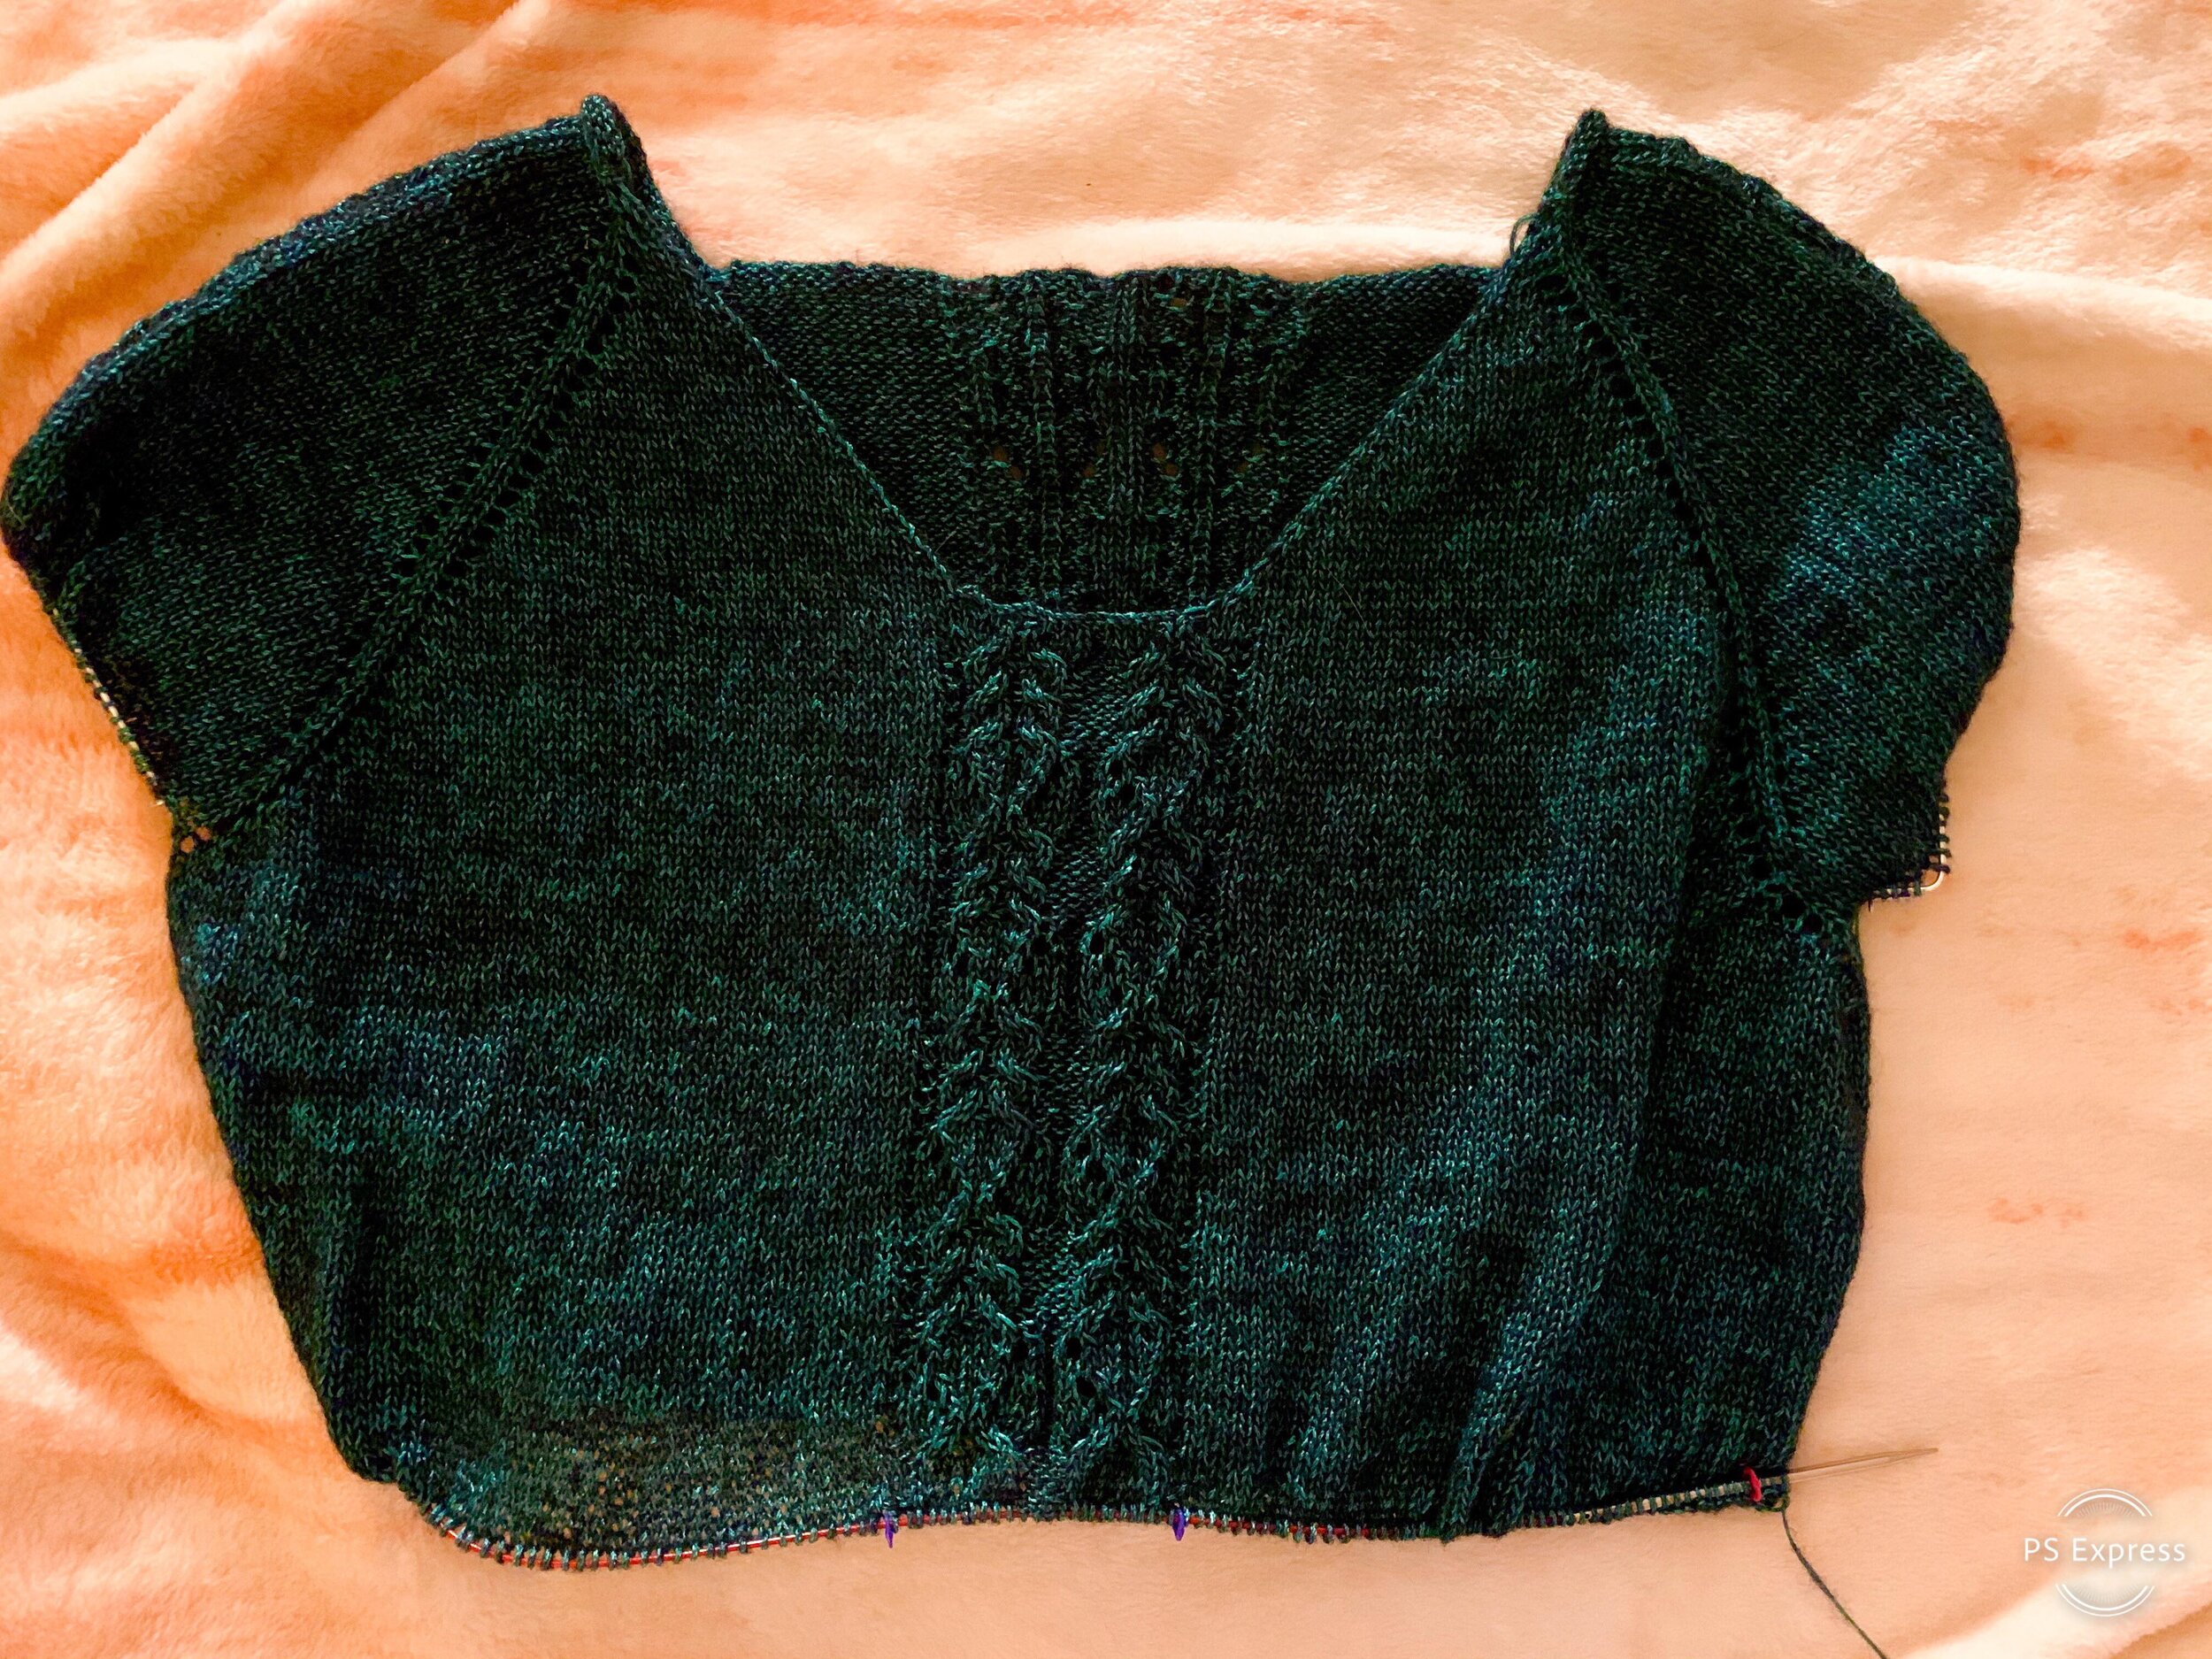
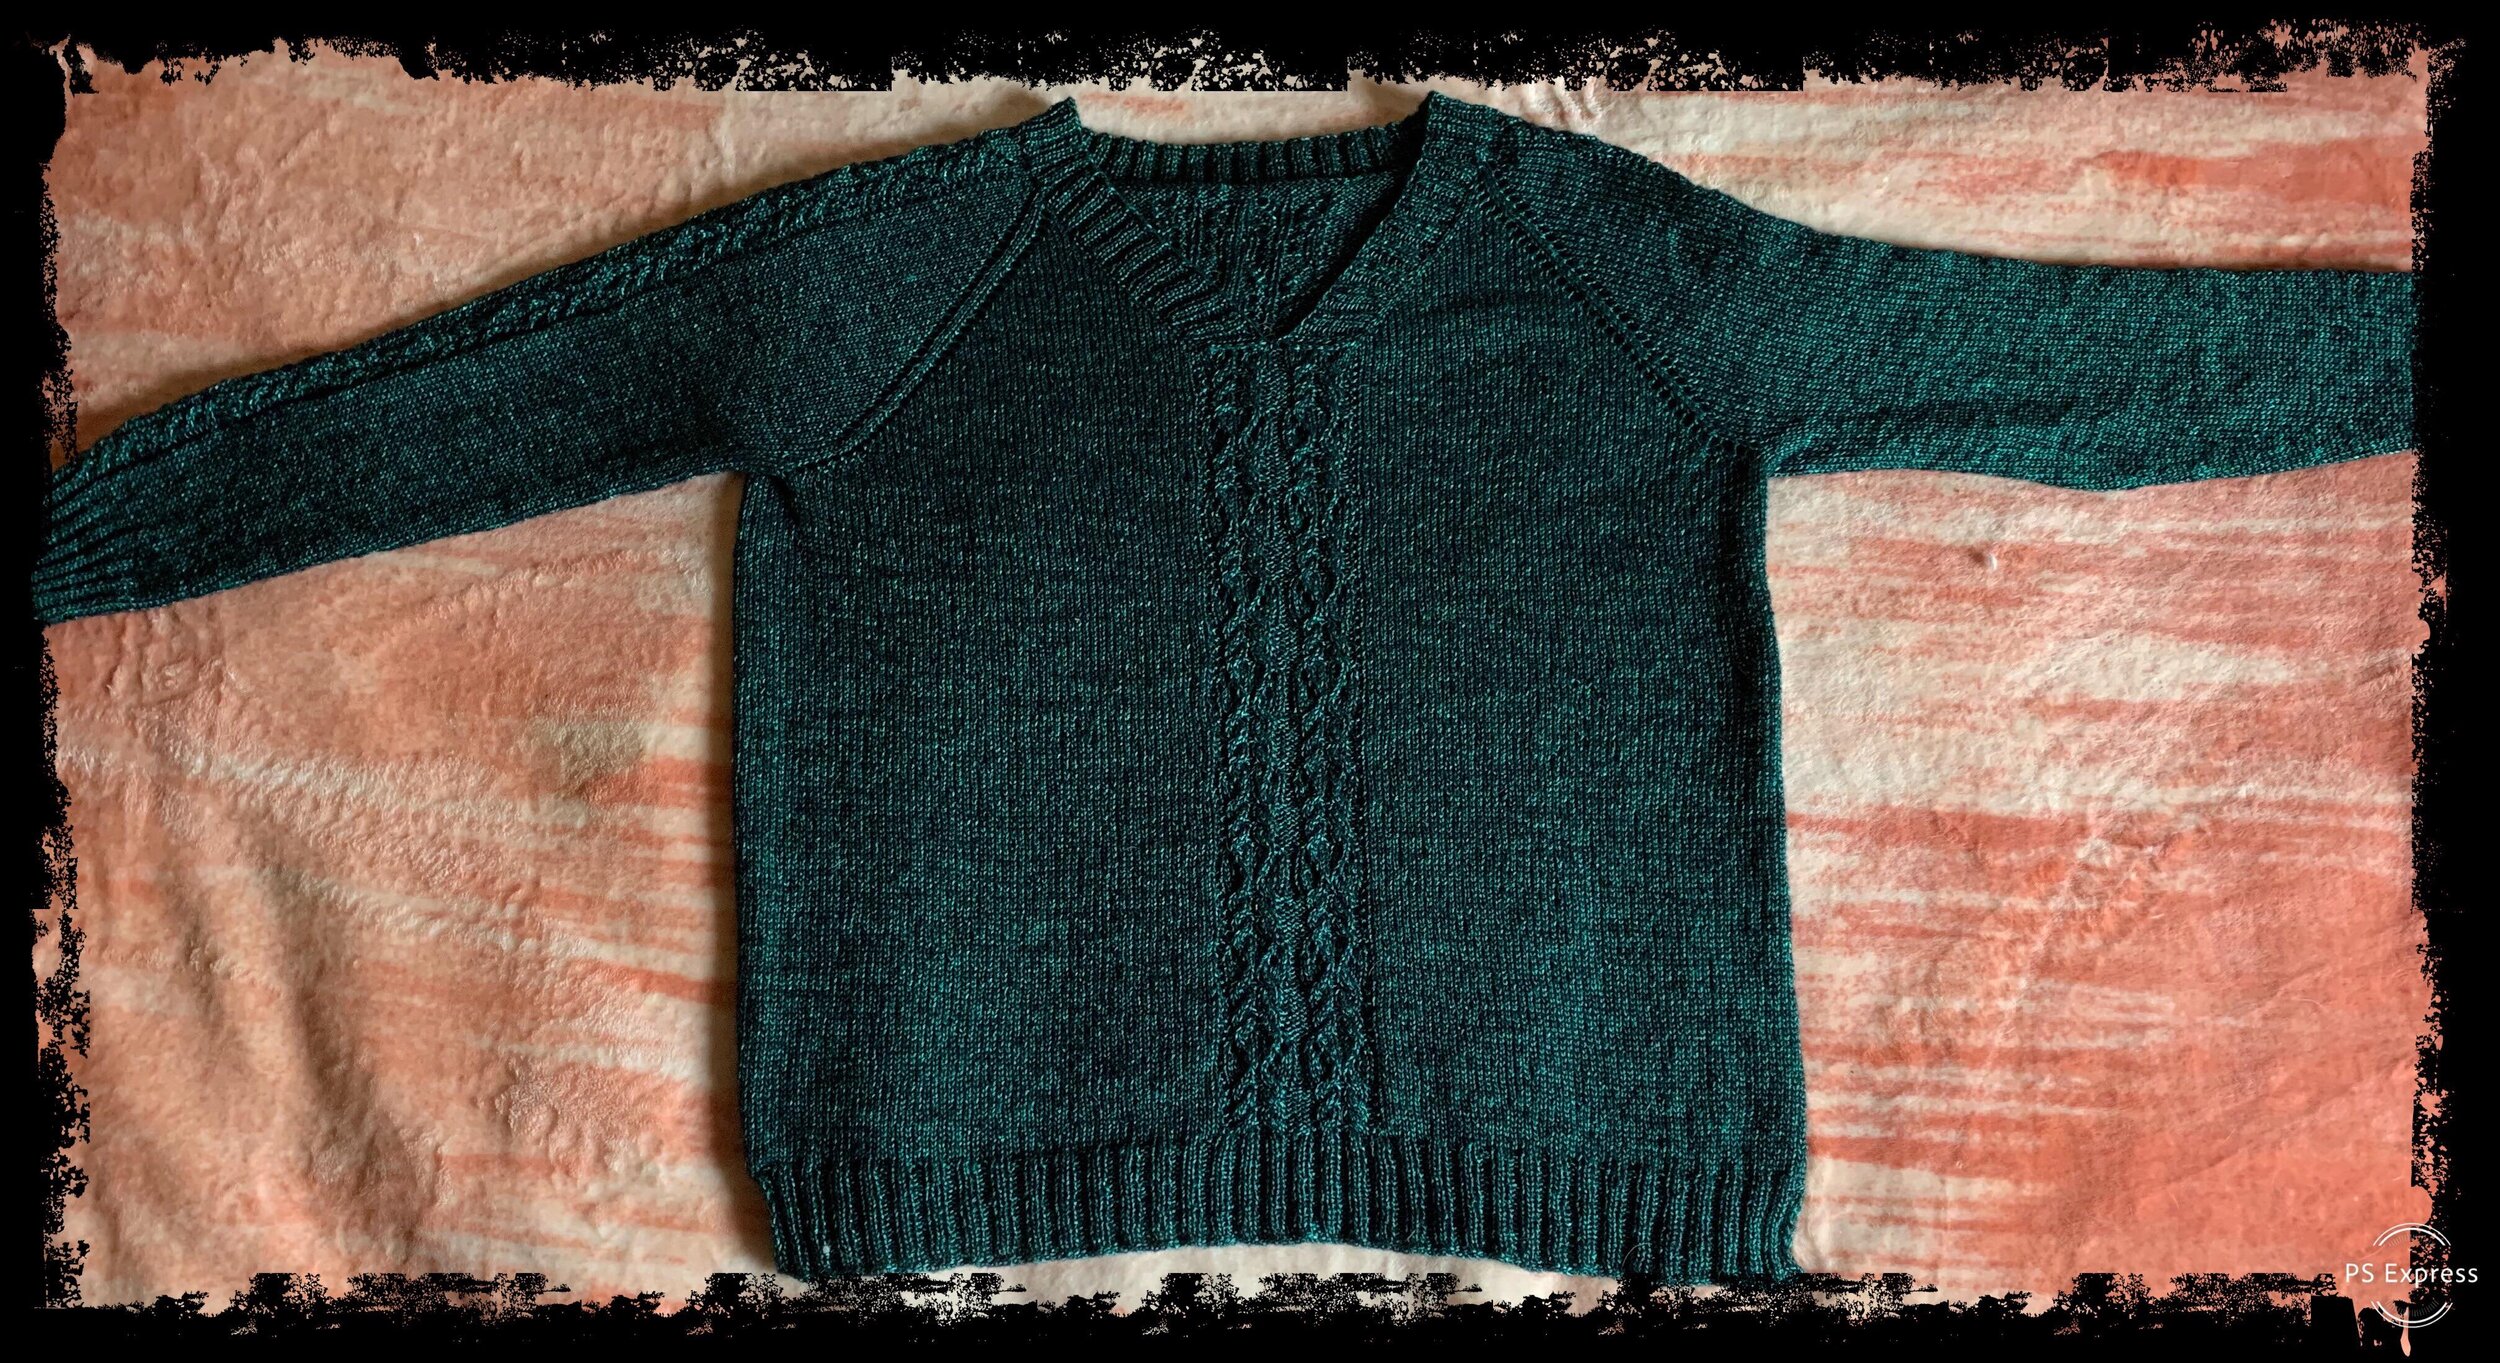
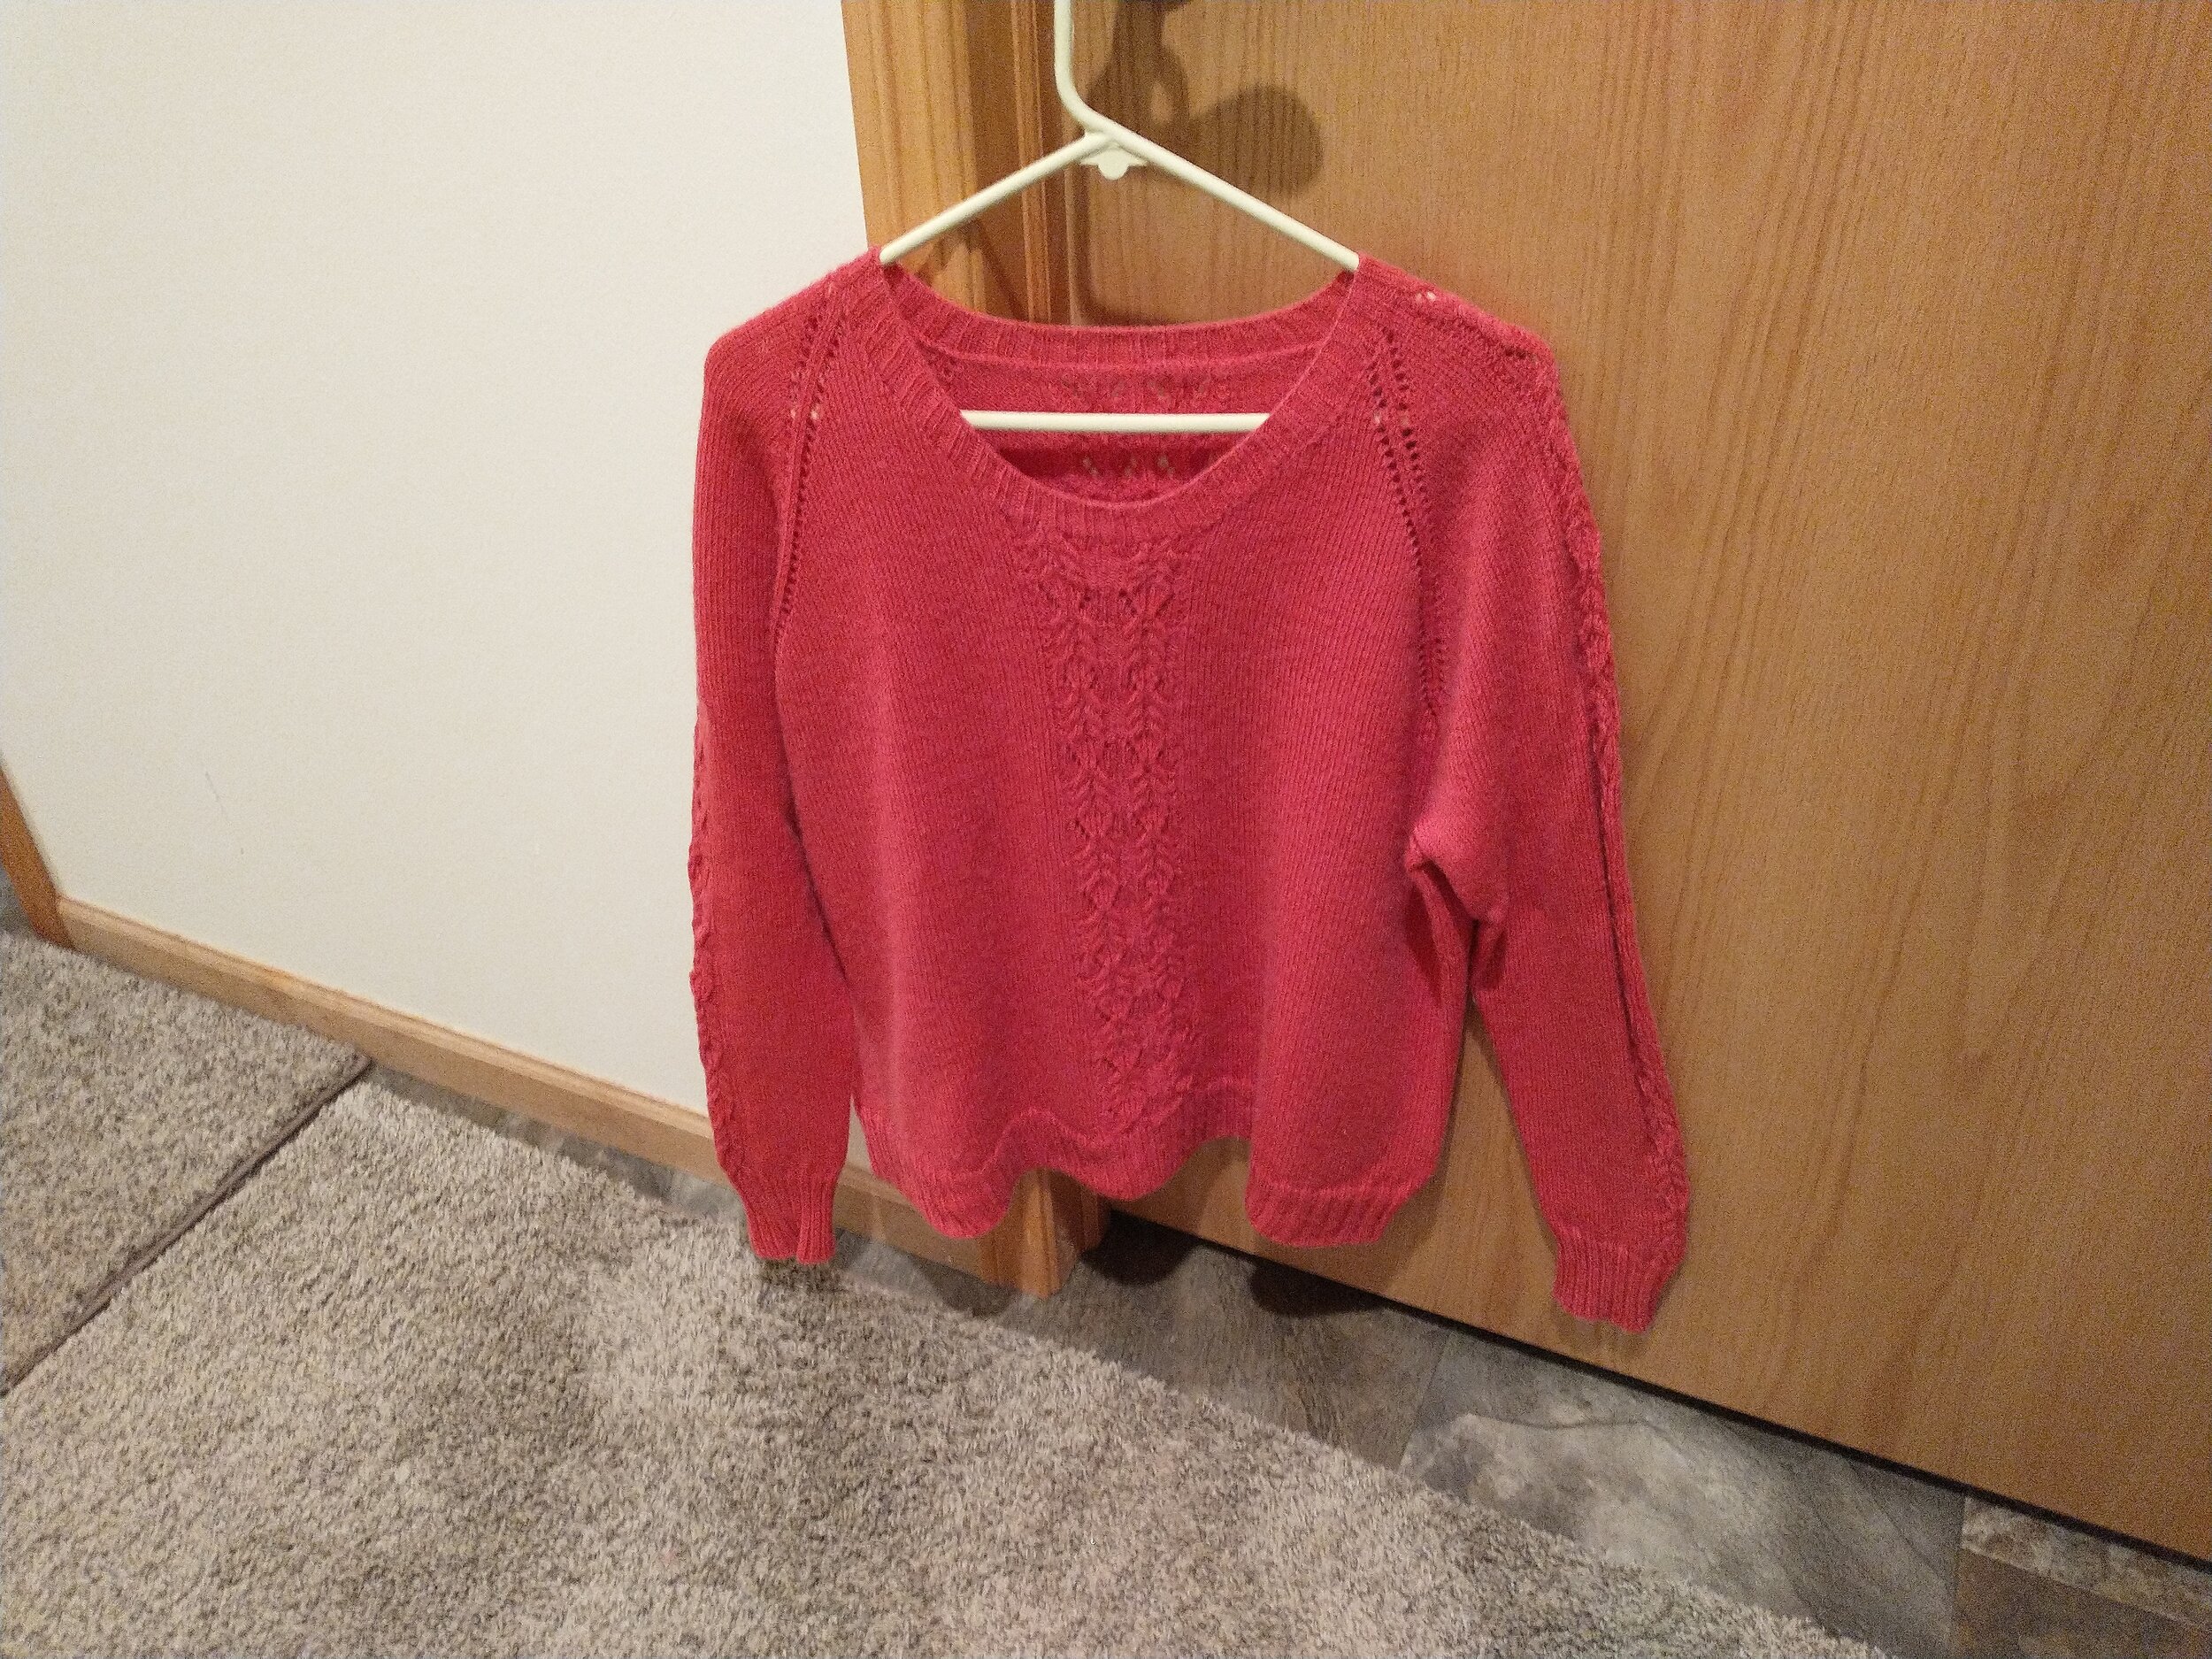
The Twist & Fade Raglan is a gorgeous take on the basic raglan with a straight forward color blocking and a fun cable pattern down the front, back and sleeves. This sweater is worked top-down with no seaming, which makes this an ideal make for anyone who hates seams! The pattern has directions for 7 different sizes; XS - 3XL, with additional information on how to create the perfect waist shaping if you’d like.
For the sample sweater, I used a very simple color-blocking that slowly desaturated as I went. However, this sweater is absolutely gorgeous however you’d like to make it. Have fun mixing it up with thin stripes, light to dark fades, self speckling yarn, or even in one solid color! You’ll love it in any way you knit it!
The sweater is knit with fingering weight 1 yarn. For the sample, I used Knit Picks Palette Yarn, which is a 100% Peruvian highland wool. For the S size, it took me most of 8 balls of yarn (to create the color blocking, 2 of each color) or a little under 1400 yards.
THANK YOU! to all my wonderful testers!
Tammy, Shannon and Notira


I LOVE TO SEE WHAT YOU CREATE!
Please share your creations with the community on social media tagging @ravinsekaidesigns and hashtag #twistandfaderaglan
I can’t wait to see the beautiful things you come up with!
FOLLOW ME ON SOCIAL MEDIA
Facebook: Ravin Sekai Designs
Ravelry: RavinSekai
Instagram: @ravinsekaidesigns
Pinterest: Ravin Sekai Designs
Patreon: Ravin Sekai Designs
WHAT YOU NEED:
Needles: Size 3.25mm circular needles
Yarn: Fingering weight 1 yarn. Sample knit in Knit picks Palette Yarn, approx 1300(1400, 1500, 1600, 1700, 1800, 1900) yards
Gauge: 25.5 st/42 rows = 4” in stockinette
Other: 16 stitch markers in 3 colors if possible, cable needle, tapestry needle
Ideal Bust Measurements: XS: 28”-31”, S: 32”-35”, M: 36”-39”, L: 40”-43”, XL: 44”-47”, 2XL: 48”-51”, 3XL: 52”-55”
Finished Garment: ffinished garments has 5” - 8” positive ease XS: bust: 36” length: 23, S: bust: 40” length: 23”, M: bust: 44” length: 23.5”, L: bust: 48” length: 24.25”, XL: bust: 52” length: 24.75”, 2XL: bust: 56” length: 25.5”, 3XL: bust: 60” length: 26”
Model: model is 4’11” tall, 35” bust, 26” waist, 38” hips wearing size S
ABBREVIATIONS:
CO: cast on
RS: right side
WS: wrong side
St/sts: stitch/stitches
Inc: increase row
Pm: place stitch marker
Marker: stitch marker for raglan increases
Cpm: cable pattern stitch marker. The markers around the cable pattern of the sweater
Scpm: slip cpm from left needle to right.
Sm: slip marker from left needle to right.
Rep: repeat
Cont: continue
K: knit
P: purl
Yo: yarn over
Ssk: slip, slip, knit. Slip the first stitch as if to knit onto right-hand needles, slip the second stitch as if to knit, then slide the left-hand needle into the front part of both stitches and knit them together.
K2tog: knit two together
C4b: cable 4 back. Slip 2 st onto the cable needle. With cable needle held in back of work, k2 from left hand needle, then k2 from cable needle. C4f: cable 4 forward. Slip 2 st onto the cable needle. With cable needle held in front of work, k2 from left hand needle, then k2 from cable needle.
BOR: beginning of row
Notes:
Directions are written with the smallest size first, then subsequent sizes in parentheses. XS(S, M, L, XL, 2XL, 3XL)
I have 16 st markers in 3 different colors for my project; one color for the raglan lines (marker, 8), one for the beginning of the next row after the neck is joined to knit in the round (BOR, 1), and one for either side of the cable pattern on each panel (cpm, 8). I found this makes it very easy to find where you are in the pattern at any given time. You don’t have to have this many markers. I just found it more relaxing to not have to count all of my stockinette stitches as I went.
Make sure you read the directions carefully. Increases for each size will stop at different rows in order to have the correct sizes and depth of yoke. More on this when you are getting closer to separating the sleeves.
The directions on the blog explain how to make the raglan with no waist shaping. If you are interested in a formula on how to incorporate waist shaping specific to your body into this design, there is a tutorial included with the ad-free pdf pattern available on Ravelry and Etsy.
Color Changes: I did not write the color changes into the pattern as many people will want to make their own changes. But, if you want to make the color changes like the sample sweater, change colors about every 55 - 58 rows depending on the length of your sweater. (or divide the number of rows you have for your length by 4)
The Cable Pattern For Body:
Before Joining neckline:
Row 1: *p1, k1, yo, ssk, k2, p1, k2, k2tog, yo, k1, p1* rep * * once
Row 2: p6, k1, p5, k2, p5, k1, p6
Row 3: *p1, k2, yo, ssk, k1, p1, k1, k2tog, yo, k2, p1* rep * * once
Row 4: p6, k1, p5, k2, p5, k1, p6
Row 5: *p1, k3, yo, ssk, p1, k2tog, yo, k3, p1* rep * * once
Row 6: p6, k1, p5, k2, p5, k1, p6
Row 7: *p1, k5, p1, k5, p1* rep * * once
Row 8: p6, k1, p5, k2, p5, k1, p6
Row 9: *p2, c4b, p1, c4f, p2* rep * * once
Row10: p1, k1, p4, k1, p4, k4, p4, k1, p4, k1, p1
Row 11: *p2, k4, p1, k4, p2* rep * * once
Row 12: p1, k1, p4, k1, p4, k4, p4, k1, p4, k1, p1
Row 13: *p2, c4b, p1, c4f, p2* rep * * once
Row 14: p1, k1, p4, k1, p4, k4, p4, k1, p4, k1, p1
Row 15: *p2, k4, p1, k4, p2* rep * * once
Row 16: p1, k1, p4, k1, p4, k4, p4, k1, p4, k1, p1
Row 17: *p2, c4b, p1, c4f, p2* rep * * once
Row 18: p6, k1, p5, k2, p5, k1, p6
After Joining Neckline:
Since there will be no WS after you join the neckline, your knit stitches and purl sts will switch in order to keep the correct pattern.
All Even Rows: the knit stitches above will become purls, and the purls will become knits. For example: Row 2 would now read: k6, p1, k5, p2, k5, p1, k6
The Cable Pattern For Sleeves:
Before Joining neckline:
Row 1: p1, k1, yo, ssk, k2, p1, k2, k2tog, yo, k1, p1
Row 2: p6, k1, p6
Row 3: p1, k2, yo, ssk, k1, p1, k1, k2tog, yo, k2, p1
Row 4: p6, k1, p6
Row 5: p1, k3, yo, ssk, p1, k2tog, yo, k3, p1
Row 6: p6, k1, p6
Row 7: p1, k5, p1, k5, p1
Row 8: p6, k1, p6
Row 9: p2, c4b, p1, c4f, p2
Row10: p1, k1, p4, k1, p4, k2
Row 11: p2, k4, p1, k4, p2
Row 12: p1, k1, p4, k1, p4, k2
Row 13: p2, c4b, p1, c4f, p2
Row 14: p1, k1, p4, k1, p4, k2
Row 15: p2, k4, p1, k4, p2
Row 16: p1, k1, p4, k1, p4, k2
Row 17: p2, c4b, p1, c4f, p2
Row 18: p6, k1, p6
After Joining Neckline:
Since there will be no WS after you join the neckline, your knit stitches and purl sts will switch in order to keep the correct pattern.
All Even Rows: the knit stitches above will become purls, and the purls will become knits. For example: Row 2 would now read: k6, p1, k6
Yoke:
CO 90(92, 98, 100, 102 ,108, 110) st in this manner: 1, pm, 2, pm, 17(17,19, 19, 19, 21, 21), pm, 2, pm, 46(48, 50, 52, 54, 56, 58), pm, 2, pm, 17(17,19, 19, 19, 21, 21), pm, 2, pm, 1
Set up Row: p across
Row 1 (inc): k1, yo, sm, k2, sm, yo, k to marker, yo, sm, k2, sm, yo, k to marker, yo, sm, k2, sm, yo, k to marker, yo, sm, k2, sm, yo, k1 [98(100, 106, 108, 110, 116, 118) st]
Row 2: p all st. [98(100, 106, 108, 110, 116, 118) st]
(Row 1 Cable Pattern) Row 3 (inc): k2, yo, sm, k2, sm, yo , k3(3, 4, 4, 4, 5, 5), pm for cpm, *p1, k1, yo, ssk, k2, p1, k2, k2tog, yo, k1, p1*, pm for cpm, k3(3, 4, 4, 4, 5, 5), yo, sm, k2, sm, yo , k11(12, 13, 14, 15, 16, 17), pm for cpm, repeat * * twice, pm for cpm, k11(12, 13, 14, 15, 16, 17), yo, sm, k2, sm, yo k3(3, 4, 4, 4, 5, 5), pm for cpm, repeat * * once, pm for cpm, k3(3, 4, 4, 4, 5, 5), yo, sm, k2, sm, yo , k2 [106(108, 114, 116, 118, 124, 126) st]
Row 4: p to marker, sm, p2, sm , p to cpm, scpm, p6, k1, p6, scpm, p to marker, sm, p2, sm , p to cpm, scpm, p6, k1, p5, k2, p5, k1, p6, scpm, p to marker, sm, p2, sm, p to cpm, scpm, p6, k1, p6, scpm, p to marker, sm, p2, sm , p to end [106(108, 114, 116, 118, 124, 126) st]
Row 5 (inc): k to marker, yo, sm, k2, sm, yo , k to cpm, scpm, *p1, k2, yo, ssk, k1, p1, k1, k2tog, yo, k2, p1*, scpm, k to marker, yo, sm, k2, sm, yo , k to cpm, scpm, repeat * * twice, scpm, k to marker, yo, sm, k2, sm, yo , k to cpm, scpm, repeat * * once, scpm, k to marker, yo, sm, k2, sm, yo , k to end [114(116, 122, 124, 126, 132, 134) st]
Row 6: p to marker, sm, p2, sm , p to cpm, scpm, p6, k1, p6, scpm, p to marker, sm, p2, sm , p to cpm, scpm, p6, k1, p5, k2, p5, k1, p6, scpm, p to marker, sm, p2, sm, p to cpm, scpm, p6, k1, p6, scpm, p to marker, sm, p2, sm , p to end [114(116, 122, 124, 126, 132, 134) st]
Row 7 (inc): k to marker, yo, sm, k2, sm, yo , k to cpm, scpm, *p1, k3, yo, ssk, p1, k2tog, yo, k3, p1*, scpm, k to marker, yo, sm, k2, sm, yo, k to cpm, scpm, repeat * * twice, scpm, k to marker, yo, sm, k2, sm, yo , k to cpm, scpm, repeat * * once, scpm, k to marker, yo, sm, k2, sm, yo , k to end [122(124, 130, 132, 134, 140, 142) st]
Row 8: p to marker, sm, p2, sm , p to cpm, scpm, p6, k1, p6, scpm, p to marker, sm, p2, sm , p to cpm, scpm, p6, k1, p5, k2, p5, k1, p6, scpm, p to marker, sm, p2, sm, p to cpm, scpm, p6, k1, p6, scpm, p to marker, sm, p2, sm , p to end [122(124, 130, 132, 134, 140, 142) st]
Row 9 (inc): k to marker, yo, sm, k2, sm, yo, k to cpm, scpm, *p1, k5, p1, k5, p1*, scpm, k to marker, yo, sm, k2, sm, yo , k to cpm, scpm, repeat * * twice, scpm, k to marker, yo, sm, k2, sm, yo , k to cpm, scpm, repeat * * once, scpm, k to marker, yo, sm, k2, sm, yo , k to end [130(132, 138, 140, 142, 148, 150) st]
Row 10: p to marker, sm, p2, sm , p to cpm, scpm, p6, k1, p6, scpm, p to marker, sm, p2, sm , p to cpm, scpm, p6, k1, p5, k2, p5, k1, p6, scpm, p to marker, sm, p2, sm, p to cpm, scpm, p6, k1, p6, scpm, p to marker, sm, p2, sm , p to end [130(132, 138, 140, 142, 148, 150) st]
Row 11 (inc): k1, k1fb, k to marker, yo, sm, k2, sm, yo , k to cpm, scpm, *p2, c4b, p1, c4f, p2*, scpm, k to marker, yo, sm, k2, sm, yo , k to cpm, scpm, repeat * * twice, scpm, k to marker, yo, sm, k2, sm, yo , k to cpm, scpm, repeat * * once, scpm, k to marker, yo, sm, k2, sm, yo , k to 2 st before end, k1fb, k1 [140(142, 148, 150, 152, 158, 160) st]
Row 12: p to marker, sm, p2, sm , p to cpm, scpm, p1, k1, p4, k1, p4, k2, scpm, p to marker, sm, p2, sm , p to cpm, scpm, p1, k1, p4, k1, p4, k4, p4, k1, p4, k1, p1, scpm, p to marker, sm, p2, sm , p to cpm, scpm, p1, k1, p4, k1, p4, k2, scpm, p to marker, sm, p2, sm , p to end [140(142, 148, 150, 152, 158, 160) st]
Row 13 (inc): k1, k1fb, k to marker, yo, sm, k2, sm, yo , k to cpm, scpm, *p2, k4, p1, k4, p2*, scpm, k to marker, yo, sm, k2, sm, yo , k to cpm, scpm, repeat * * twice, scpm, k to marker, yo, sm, k2, sm, yo , k to cpm, scpm, repeat * * once, scpm, k to marker, yo, sm, k2, sm, yo, k to 2 st before end, k1fb, k1 [150(152, 158, 160, 162, 168, 170) st]
Row 14: p to marker, sm, p2, sm , p to cpm, scpm, p1, k1, p4, k1, p4, k2, scpm, p to marker, sm, p2, sm , p to cpm, scpm, p1, k1, p4, k1, p4, k4, p4, k1, p4, k1, p1, scpm, p to marker, sm, p2, sm , p to cpm, scpm, p1, k1, p4, k1, p4, k2, scpm, p to marker, sm, p2, sm , p to end [150(152, 158, 160, 162, 168, 170) st]
Row 15 (inc): k1, k1fb, k to marker, yo, sm, k2, sm, yo , k to cpm, scpm, *p2, c4b, p1, c4f, p2*, scpm, k to marker, yo, sm, k2, sm, yo , k to cpm, scpm, repeat * * twice, scpm, k to marker, yo, sm, k2, sm, yo , k to cpm, scpm, repeat * * once, scpm, k to marker, yo, sm, k2, sm, yo , k to 2 st before end, k1fb, k1 [160(162, 168, 170, 172, 178, 180) st]
Row 16: p to marker, sm, p2, sm , p to cpm, scpm, p1, k1, p4, k1, p4, k2, scpm, p to marker, sm, p2, sm , p to cpm, scpm, p1, k1, p4, k1, p4, k4, p4, k1, p4, k1, p1, scpm, p to marker, sm, p2, sm , p to cpm, scpm, p1, k1, p4, k1, p4, k2, scpm, p to marker, sm, p2, sm , p to end [160(162, 168, 170, 172, 178, 180) st]
Row 17 (inc): k1, k1fb, k to marker, yo, sm, k2, sm, yo , k to cpm, scpm, *p2, k4, p1, k4, p2*, scpm, k to marker, yo, sm, k2, sm, yo , k to cpm, scpm, repeat * * twice, scpm, k to marker, yo, sm, k2, sm, yo , k to cpm, scpm, repeat * * once, scpm, k to marker, yo, sm, k2, sm, yo, k to 2 st before end, k1fb, k1 [170(172, 178, 180, 182, 188, 190) st]
Row 18: p to marker, sm, p2, sm , p to cpm, scpm, p1, k1, p4, k1, p4, k2, scpm, p to marker, sm, p2, sm , p to cpm, scpm, p1, k1, p4, k1, p4, k4, p4, k1, p4, k1, p1, scpm, p to marker, sm, p2, sm , p to cpm, scpm, p1, k1, p4, k1, p4, k2, scpm, p to marker, sm, p2, sm , p to end [170(172, 178, 180, 182, 188, 190) st]
Row 19 (inc): k1, k1fb, k to marker, yo, sm, k2, sm, yo , k to cpm, scpm, *p2, c4b, p1, c4f, p2*, scpm, k to marker, yo, sm, k2, sm, yo , k to cpm, scpm, repeat * * twice, scpm, k to marker, yo, sm, k2, sm, yo , k to cpm, scpm, repeat * * once, scpm, k to marker, yo, sm, k2, sm, yo , k to 2 st before end, k1fb, k1 [180(182, 188, 190, 192, 198, 200) st]
Row 20: p to marker, sm, p2, sm , p to cpm, scpm, p6, k1, p6, scpm, p to marker, sm, p2, sm , p to cpm, scpm, p6, k1, p5, k2, p5, k1, p6, scpm, p to marker, sm, p2, sm, p to cpm, scpm, p6, k1, p6, scpm, p to marker, sm, p2, sm , p to end [180(182, 188, 190, 192, 198, 200) st]
Row 21 - Row 41: Cont in pattern, making 11 more raglan increase rows, every odd numbered row (10 stitches total each RS row: 1 st at each neckline, 1 st before and 1 st after each [sm, k2, sm]), until you get to 7(6, 5, 4, 3, 2, 1) st before the end of the Row 41, pm for cpm (this will start the cable pattern on the front) (Row 41 cont. in next post). [290(292, 298, 300, 302, 308, 310) st]
Joining Neckline:
Now we will be joining the two front pieces of the raglan in order to continue knitting in the round. When doing this, we need to make sure that the front and back of your sweater has the same amount of stitches. Right now, they don’t! So, in the next section I will be explaining how and where to cast on stitches to join the neckline and where to place your stitch markers for the start of the Cable Pattern on the front!
Continue on to Part 2:
Joining the Neckline, Separating the Sleeves, and the Body
Happy knitting!
IF YOU LIKED THIS PATTERN, PLEASE SUPPORT ME ON PATREON OR BUY ME A COFFEE!
I LOVE TO SEE WHAT YOU CREATE!
Please share your creations with the community on social media tagging @ravinsekaidesigns and hashtag #twistandfaderaglan
I can’t wait to see the beautiful things you come up with!
FOLLOW ME ON SOCIAL MEDIA
Facebook: Ravin Sekai Designs
Ravelry: RavinSekai
Instagram: @ravinsekaidesigns
Pinterest: Ravin Sekai Designs
Patreon: Ravin Sekai Designs


