Nameme Pumpkins
For the free pattern of these pumpkins please continue on this page. Please consider supporting me by purchasing the 100% ad-free PDF for this pattern on my Ravelry or ETSY pages. Or consider joining my Patreon for member perks.
So, it’s time to get to decorating for fall! Like hardcore decorations time. I usually run out to various craft type stores and buy up all the fall things so I can decorate my house fully! I especially like to make flower bouquets for all the rooms in my house!
This year, unfortunately, I haven’t had a chance to go splurge on all my crazy fall decorations. So, I’ve started just making them!
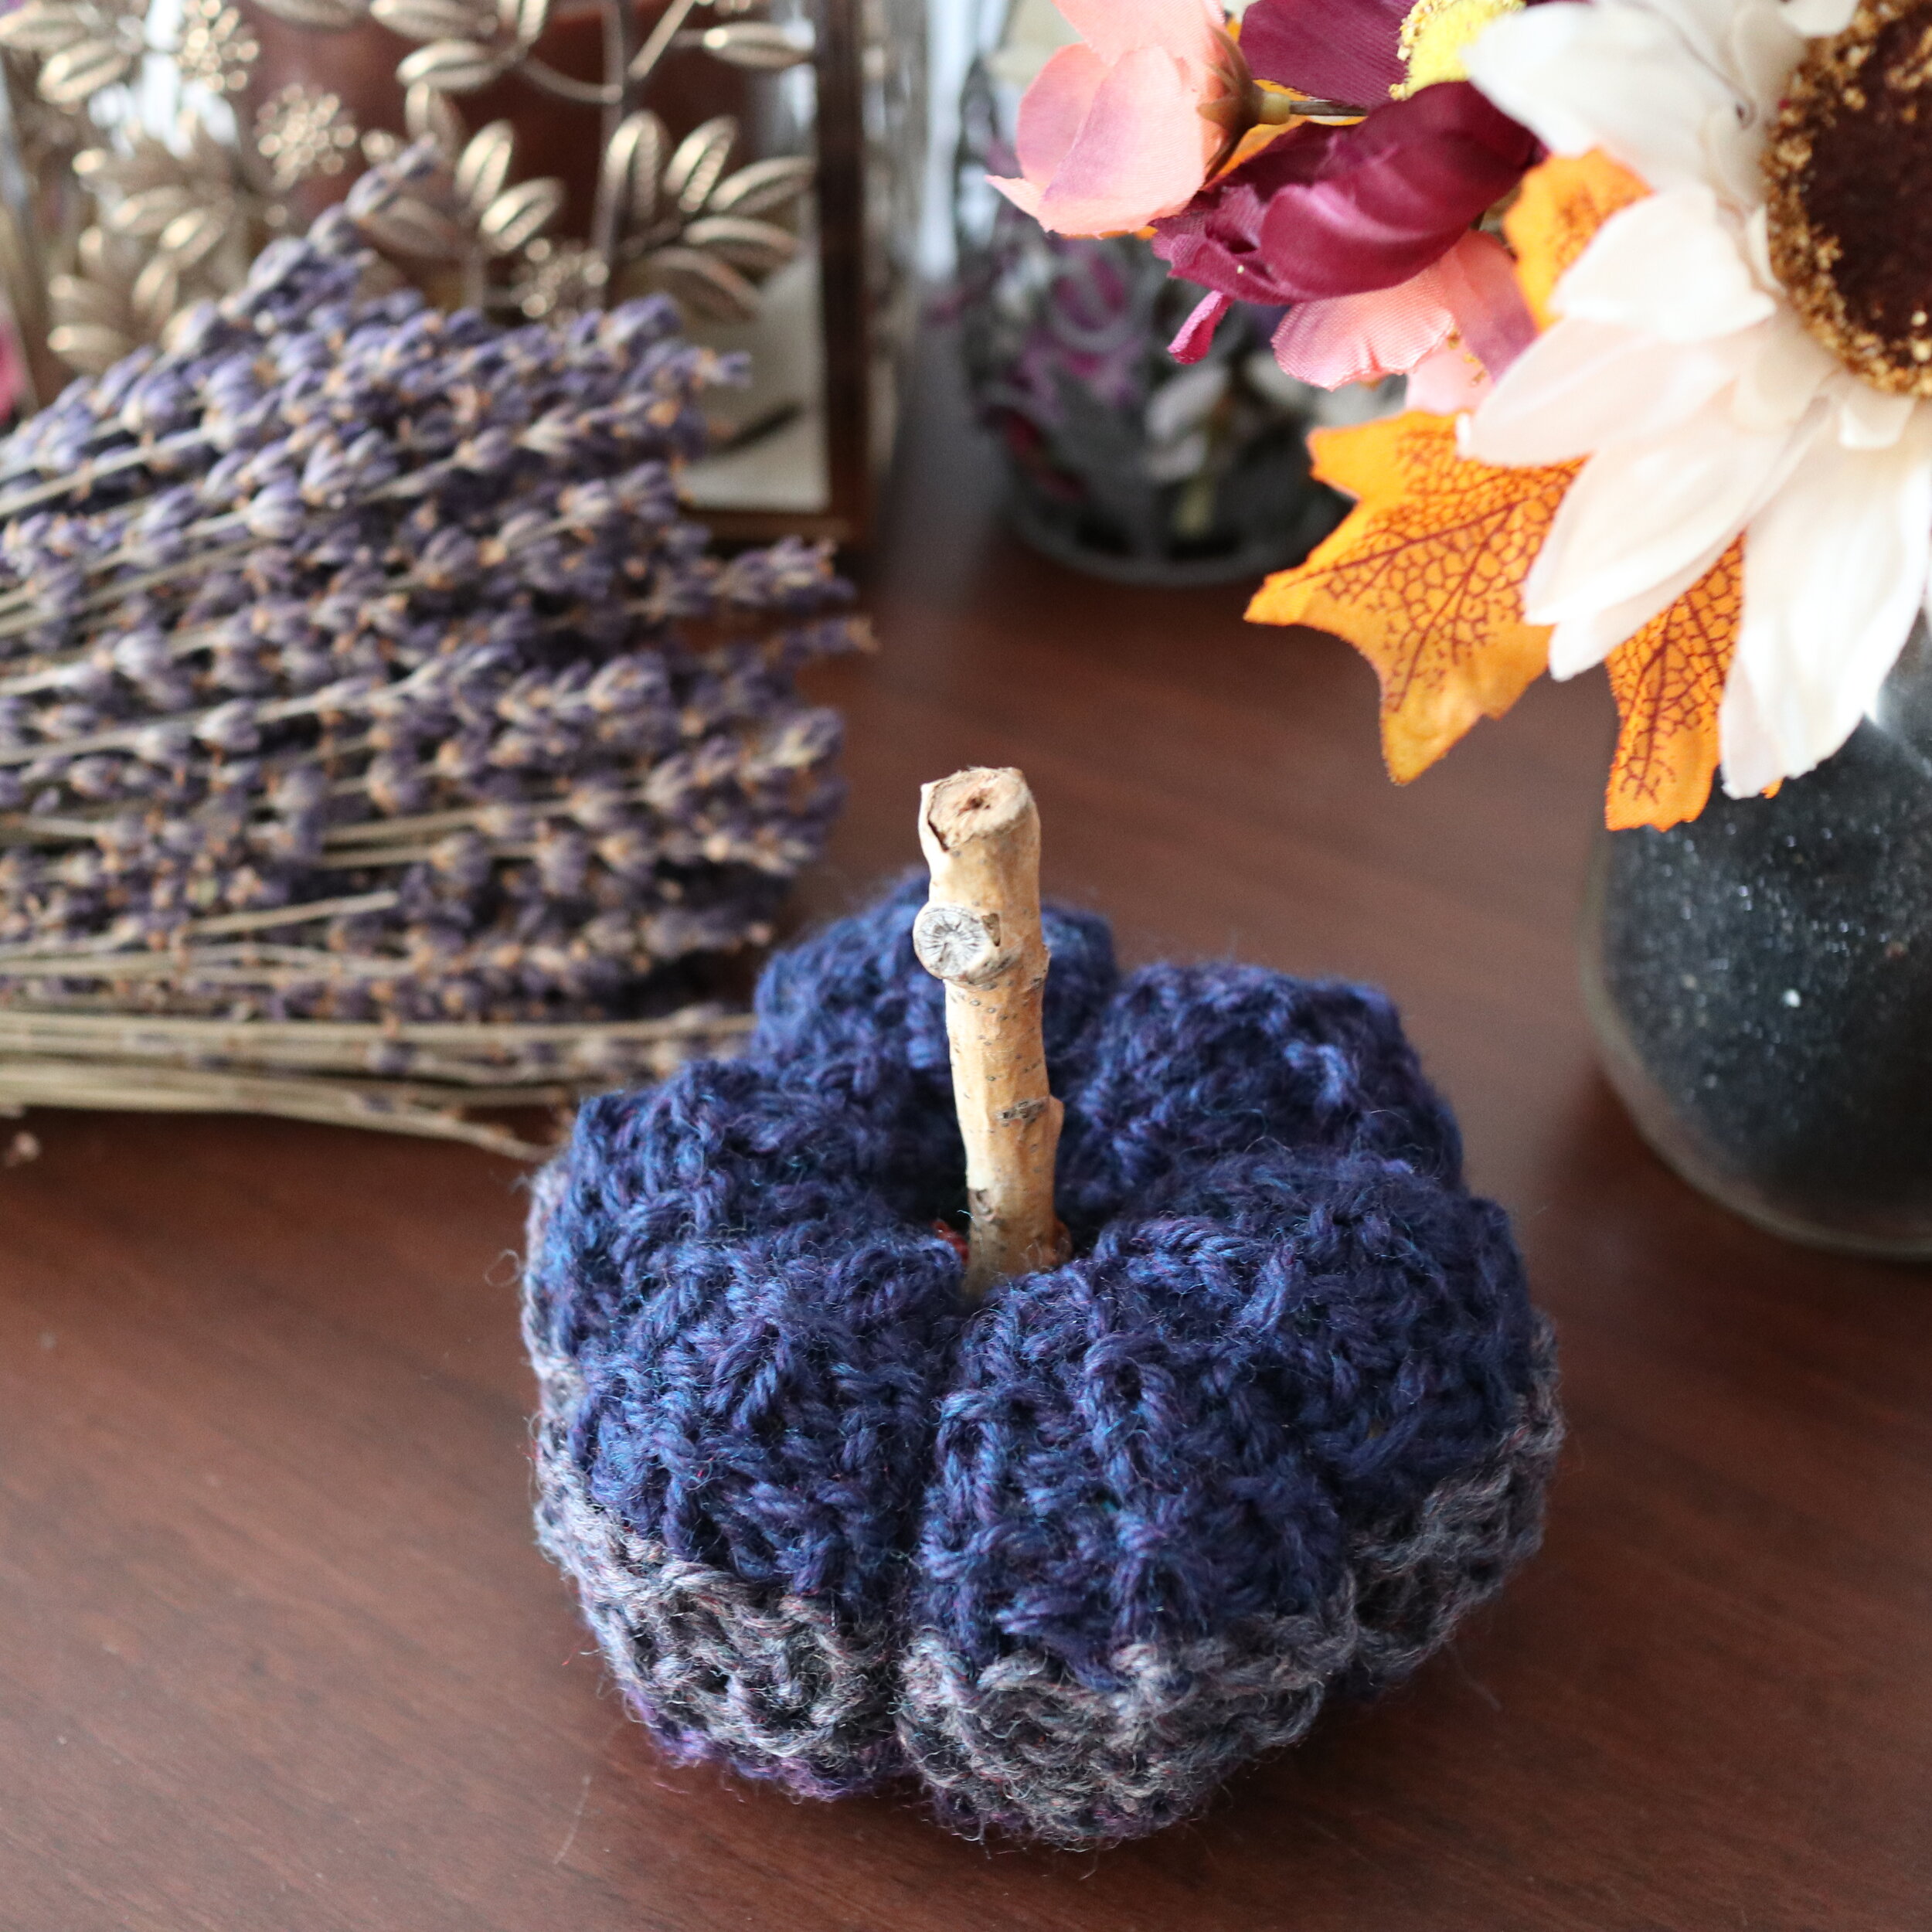
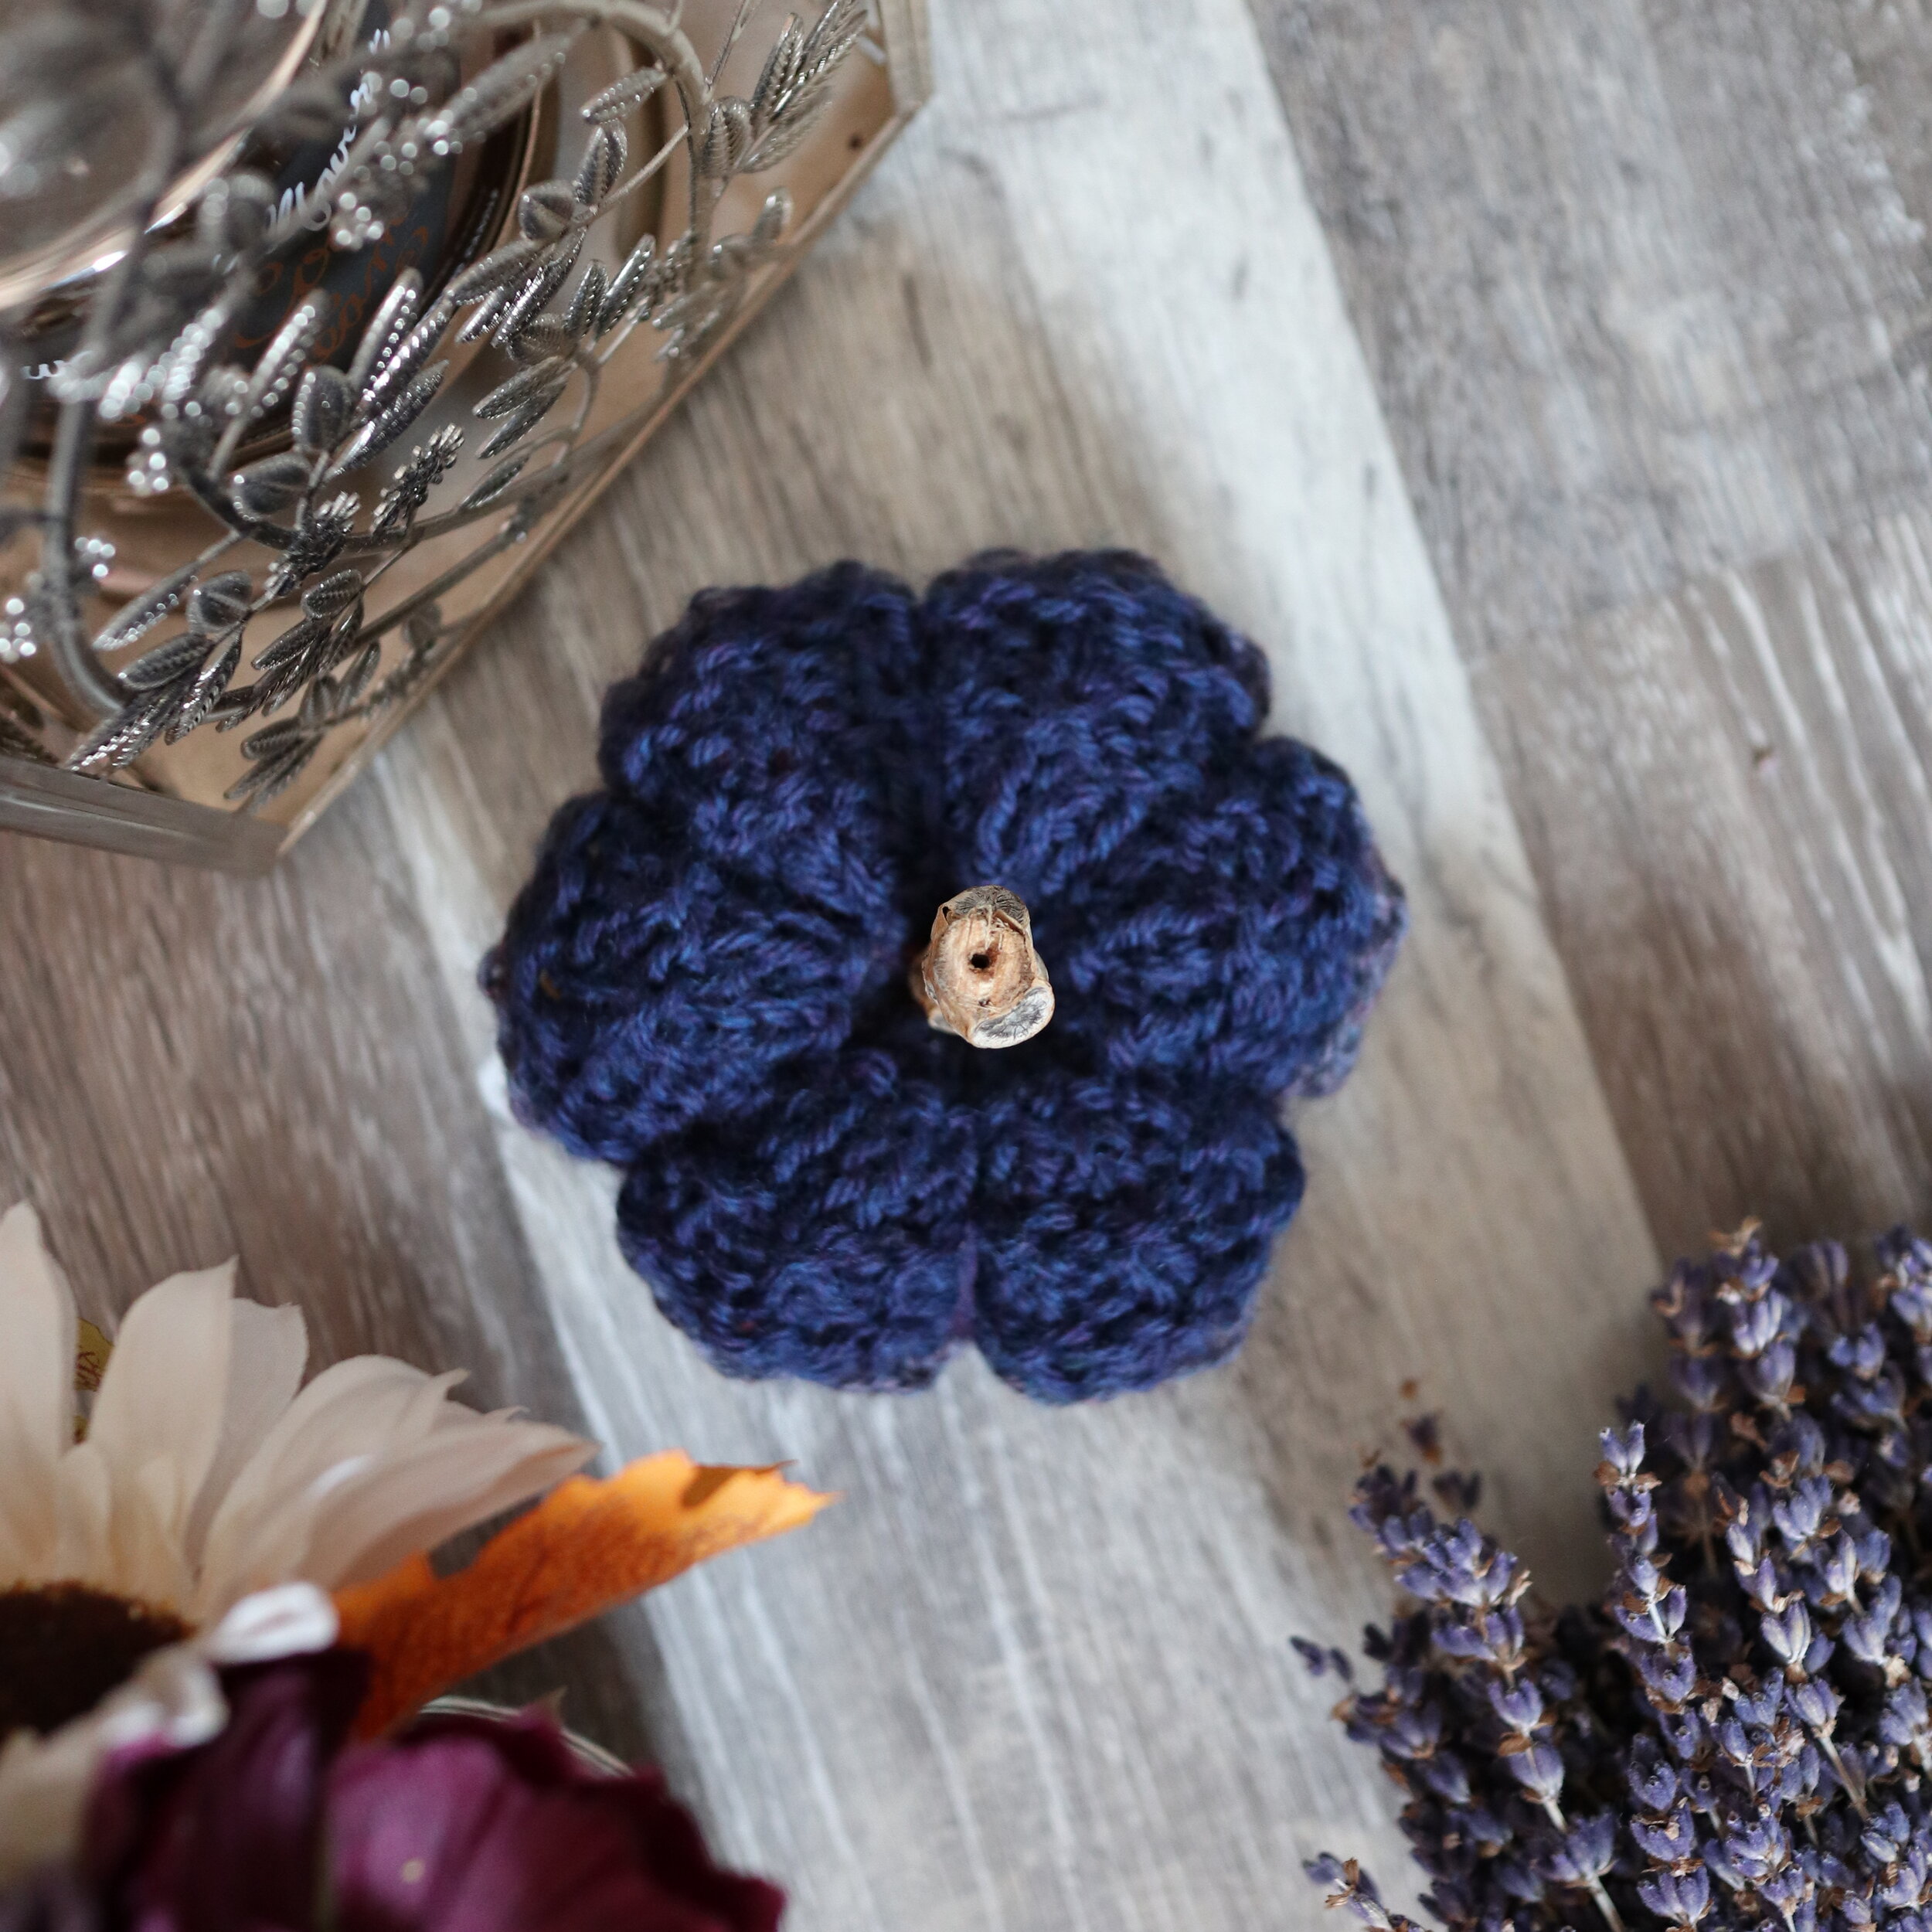
These are the Nameme Pumpkins
ABOUT THese Pumpkins:
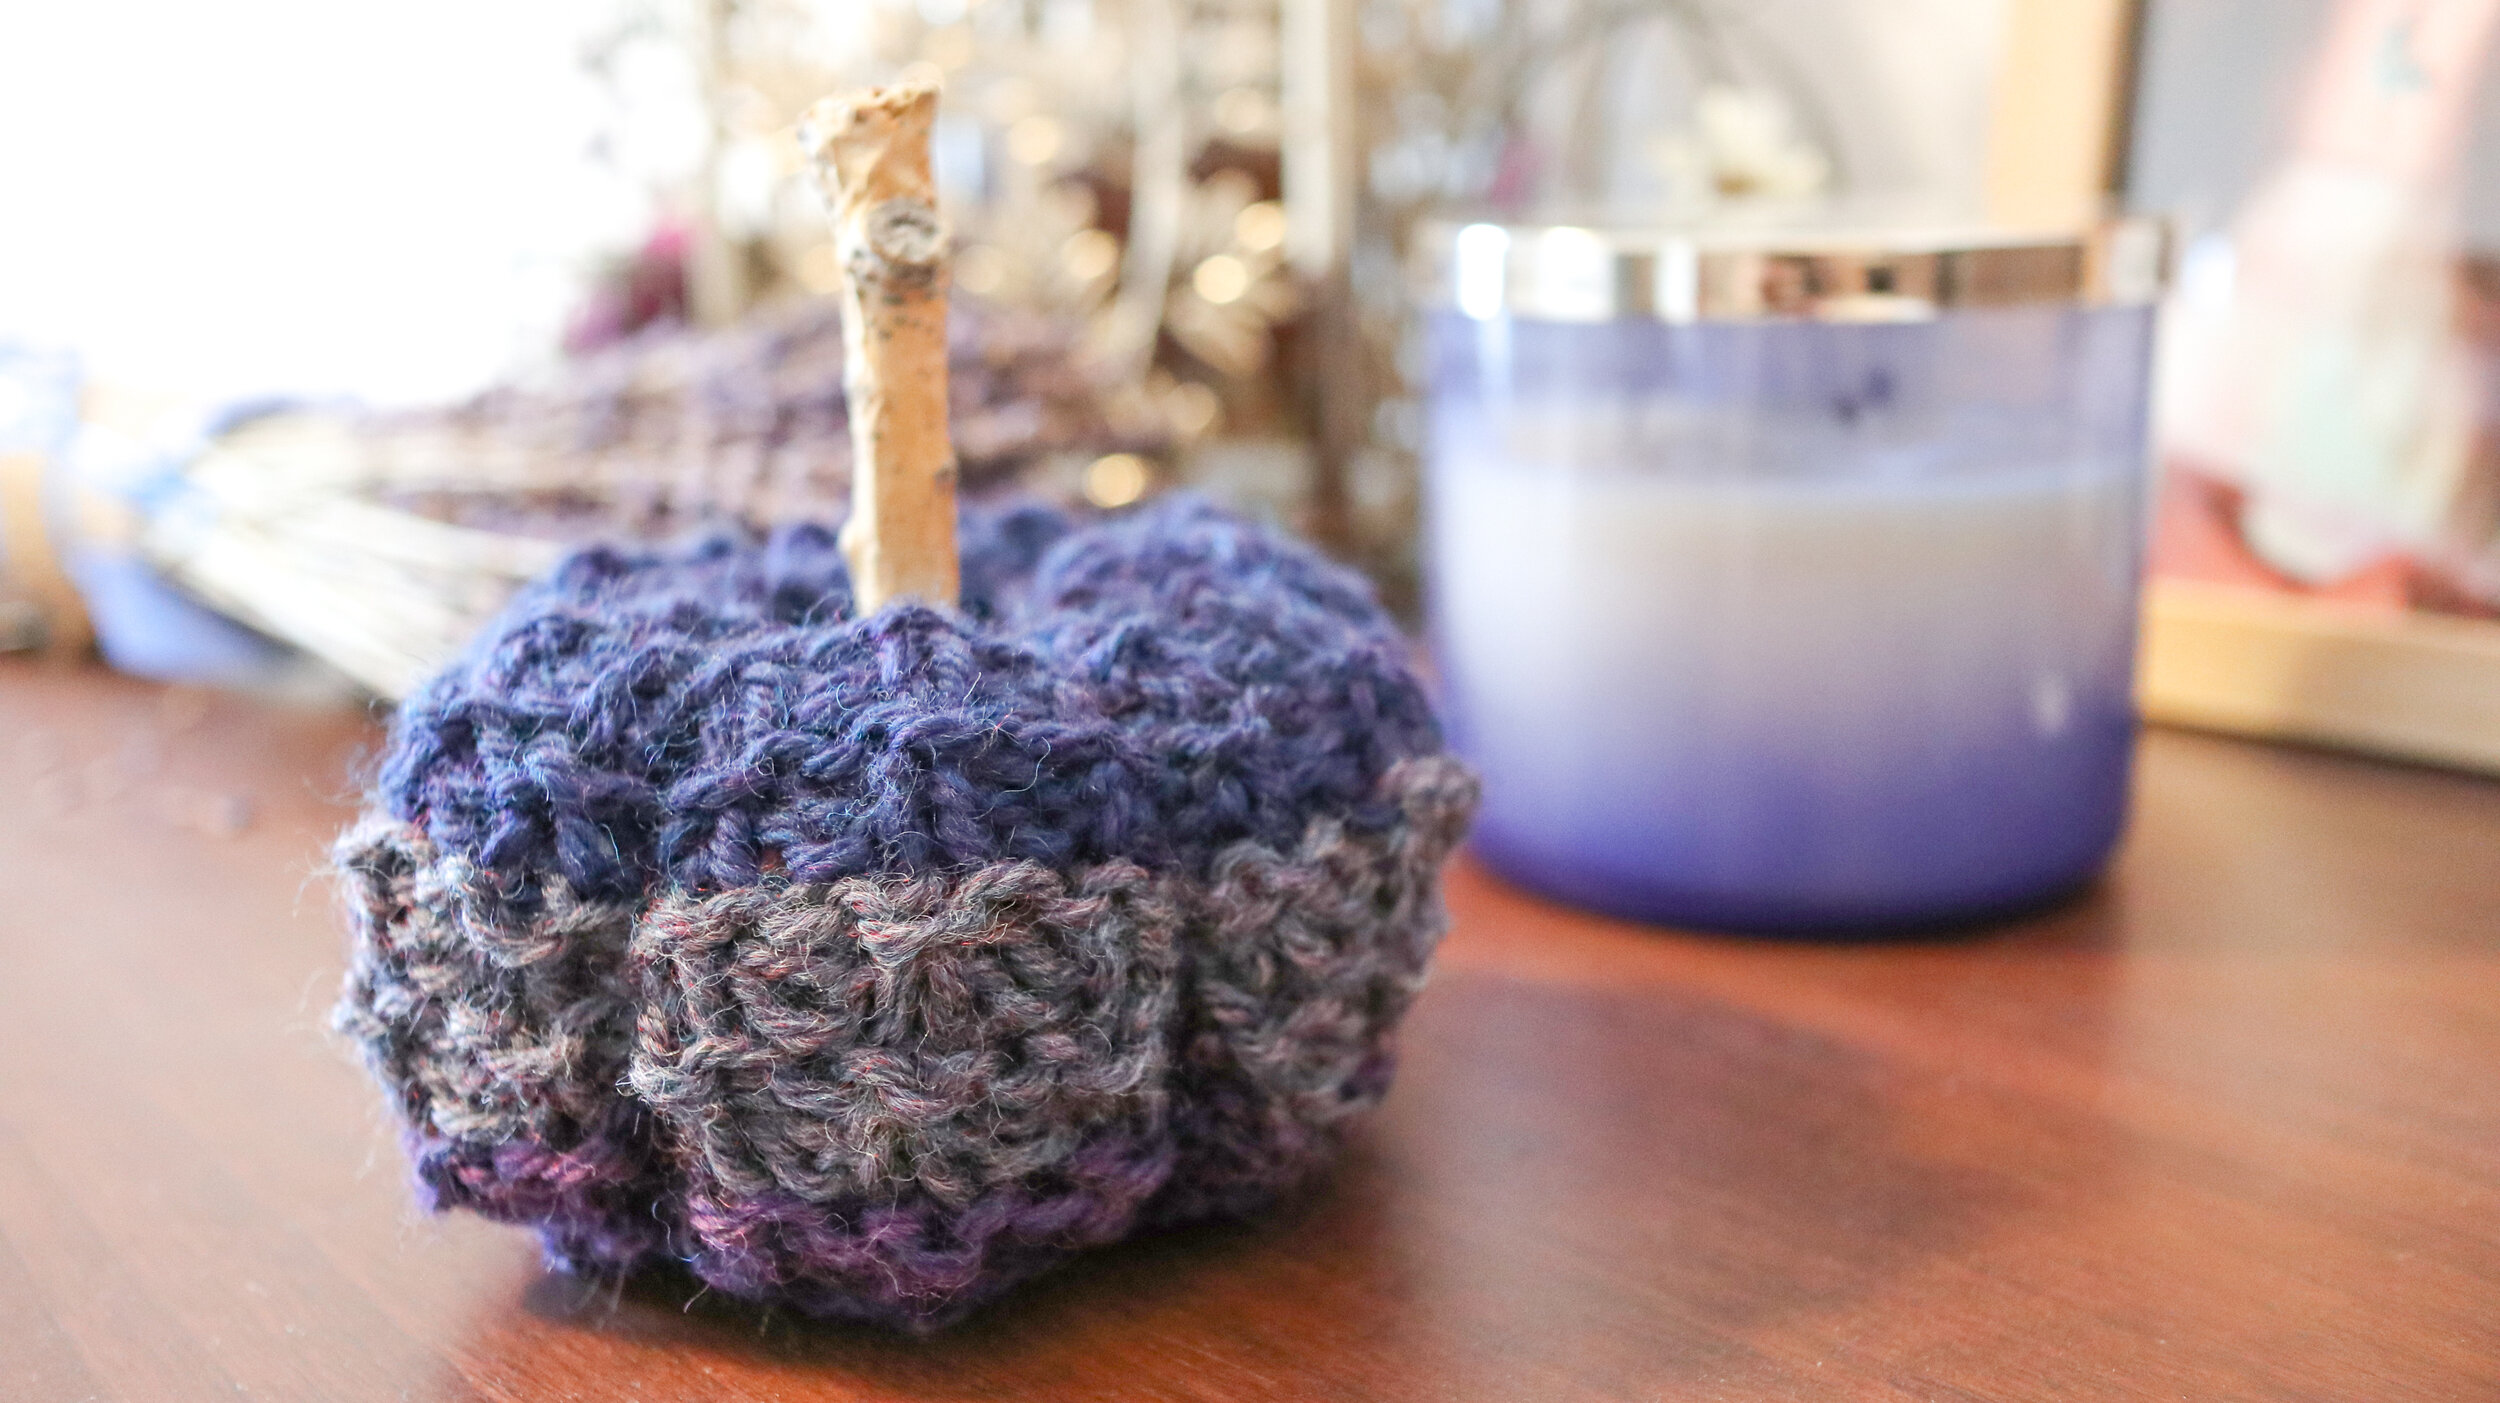
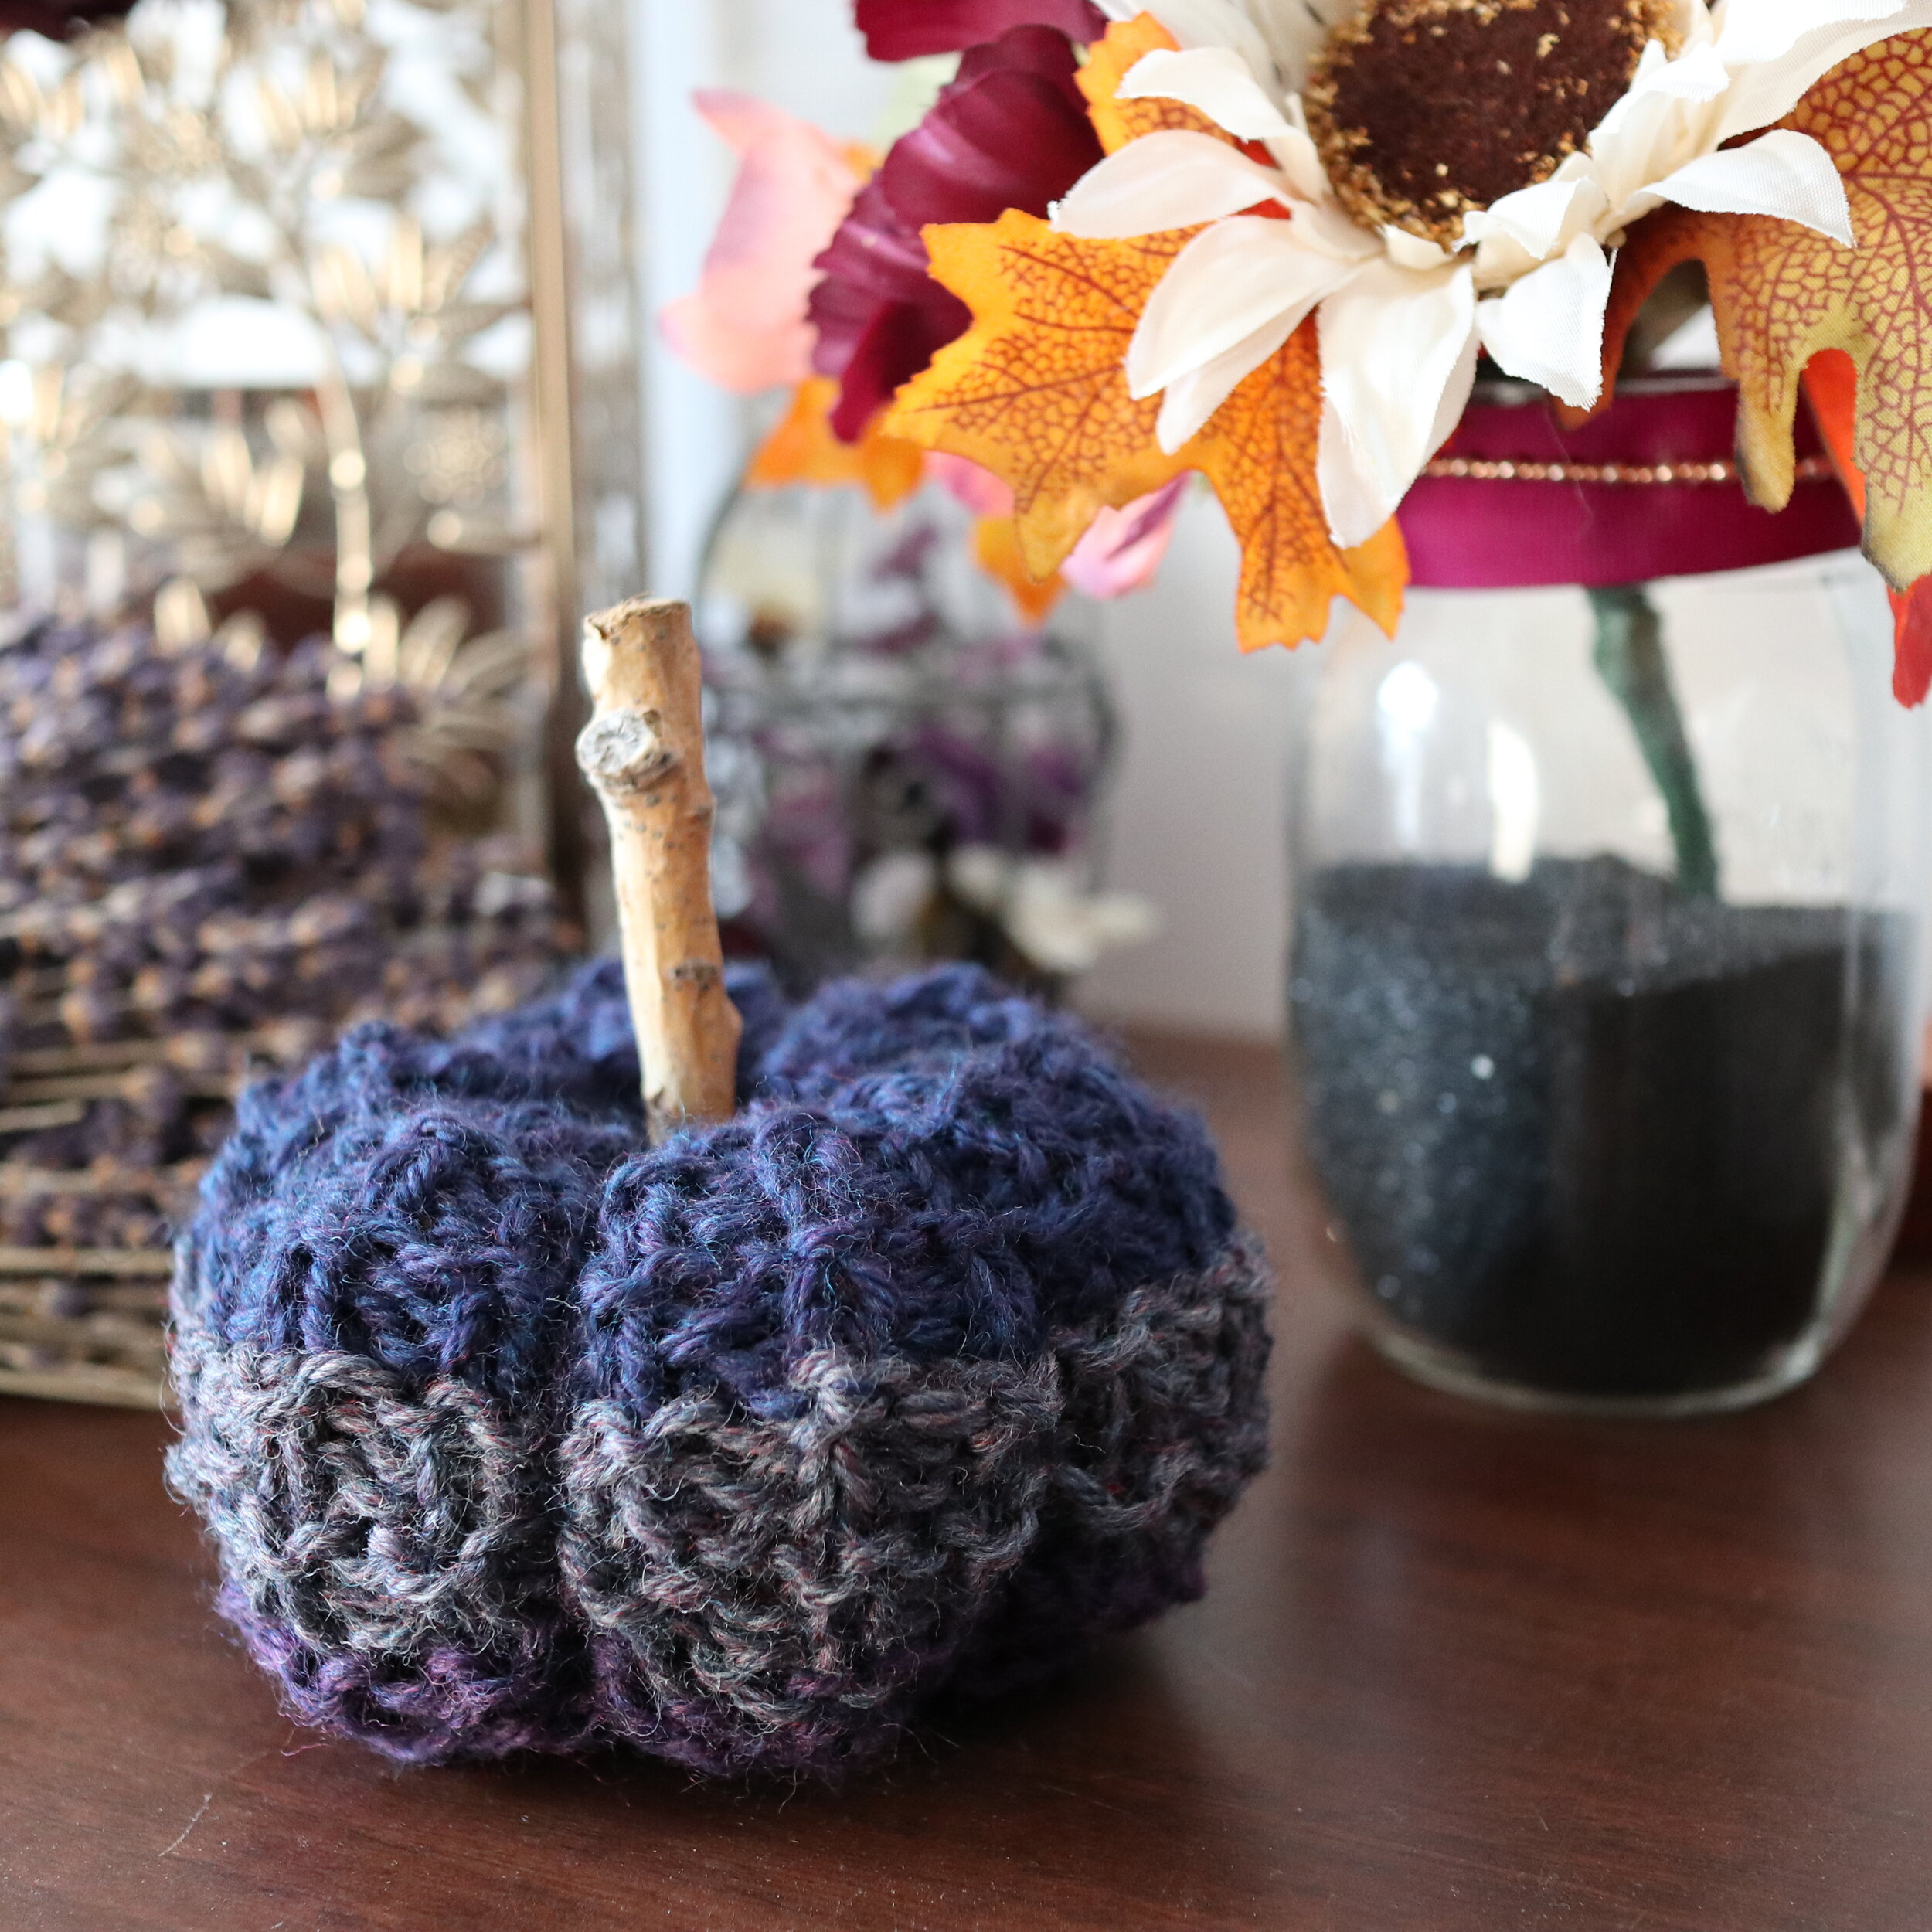
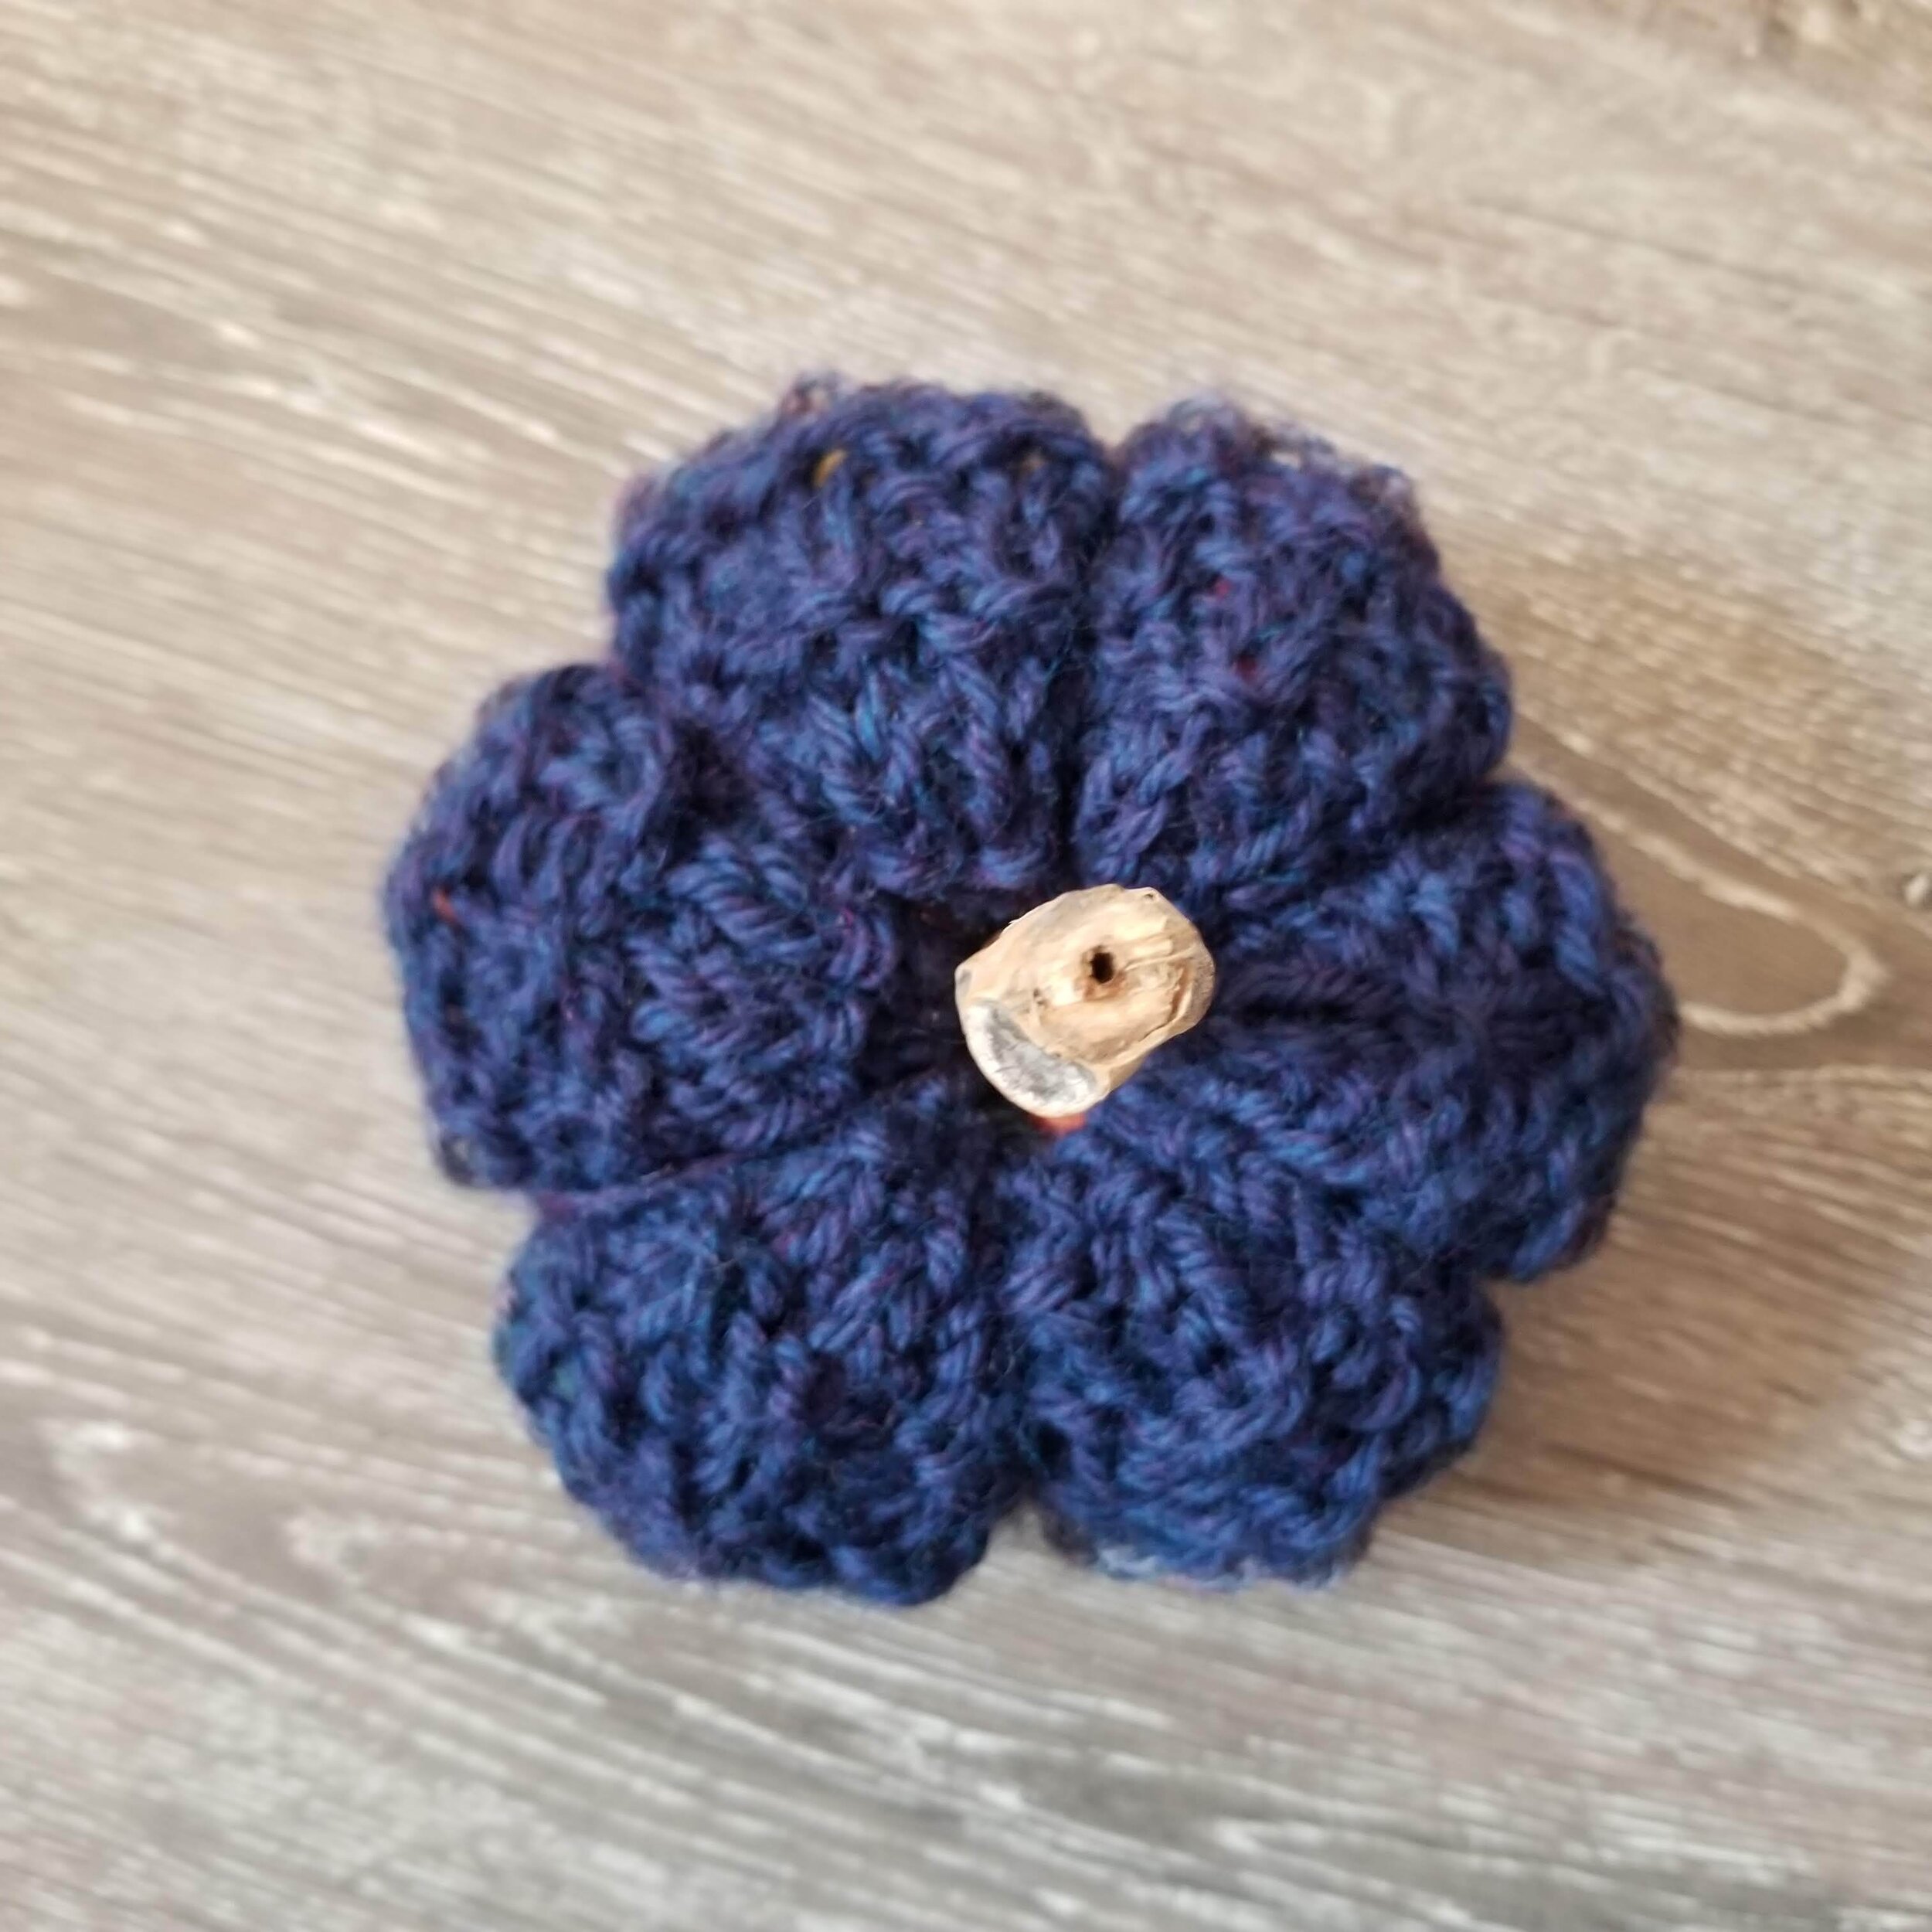
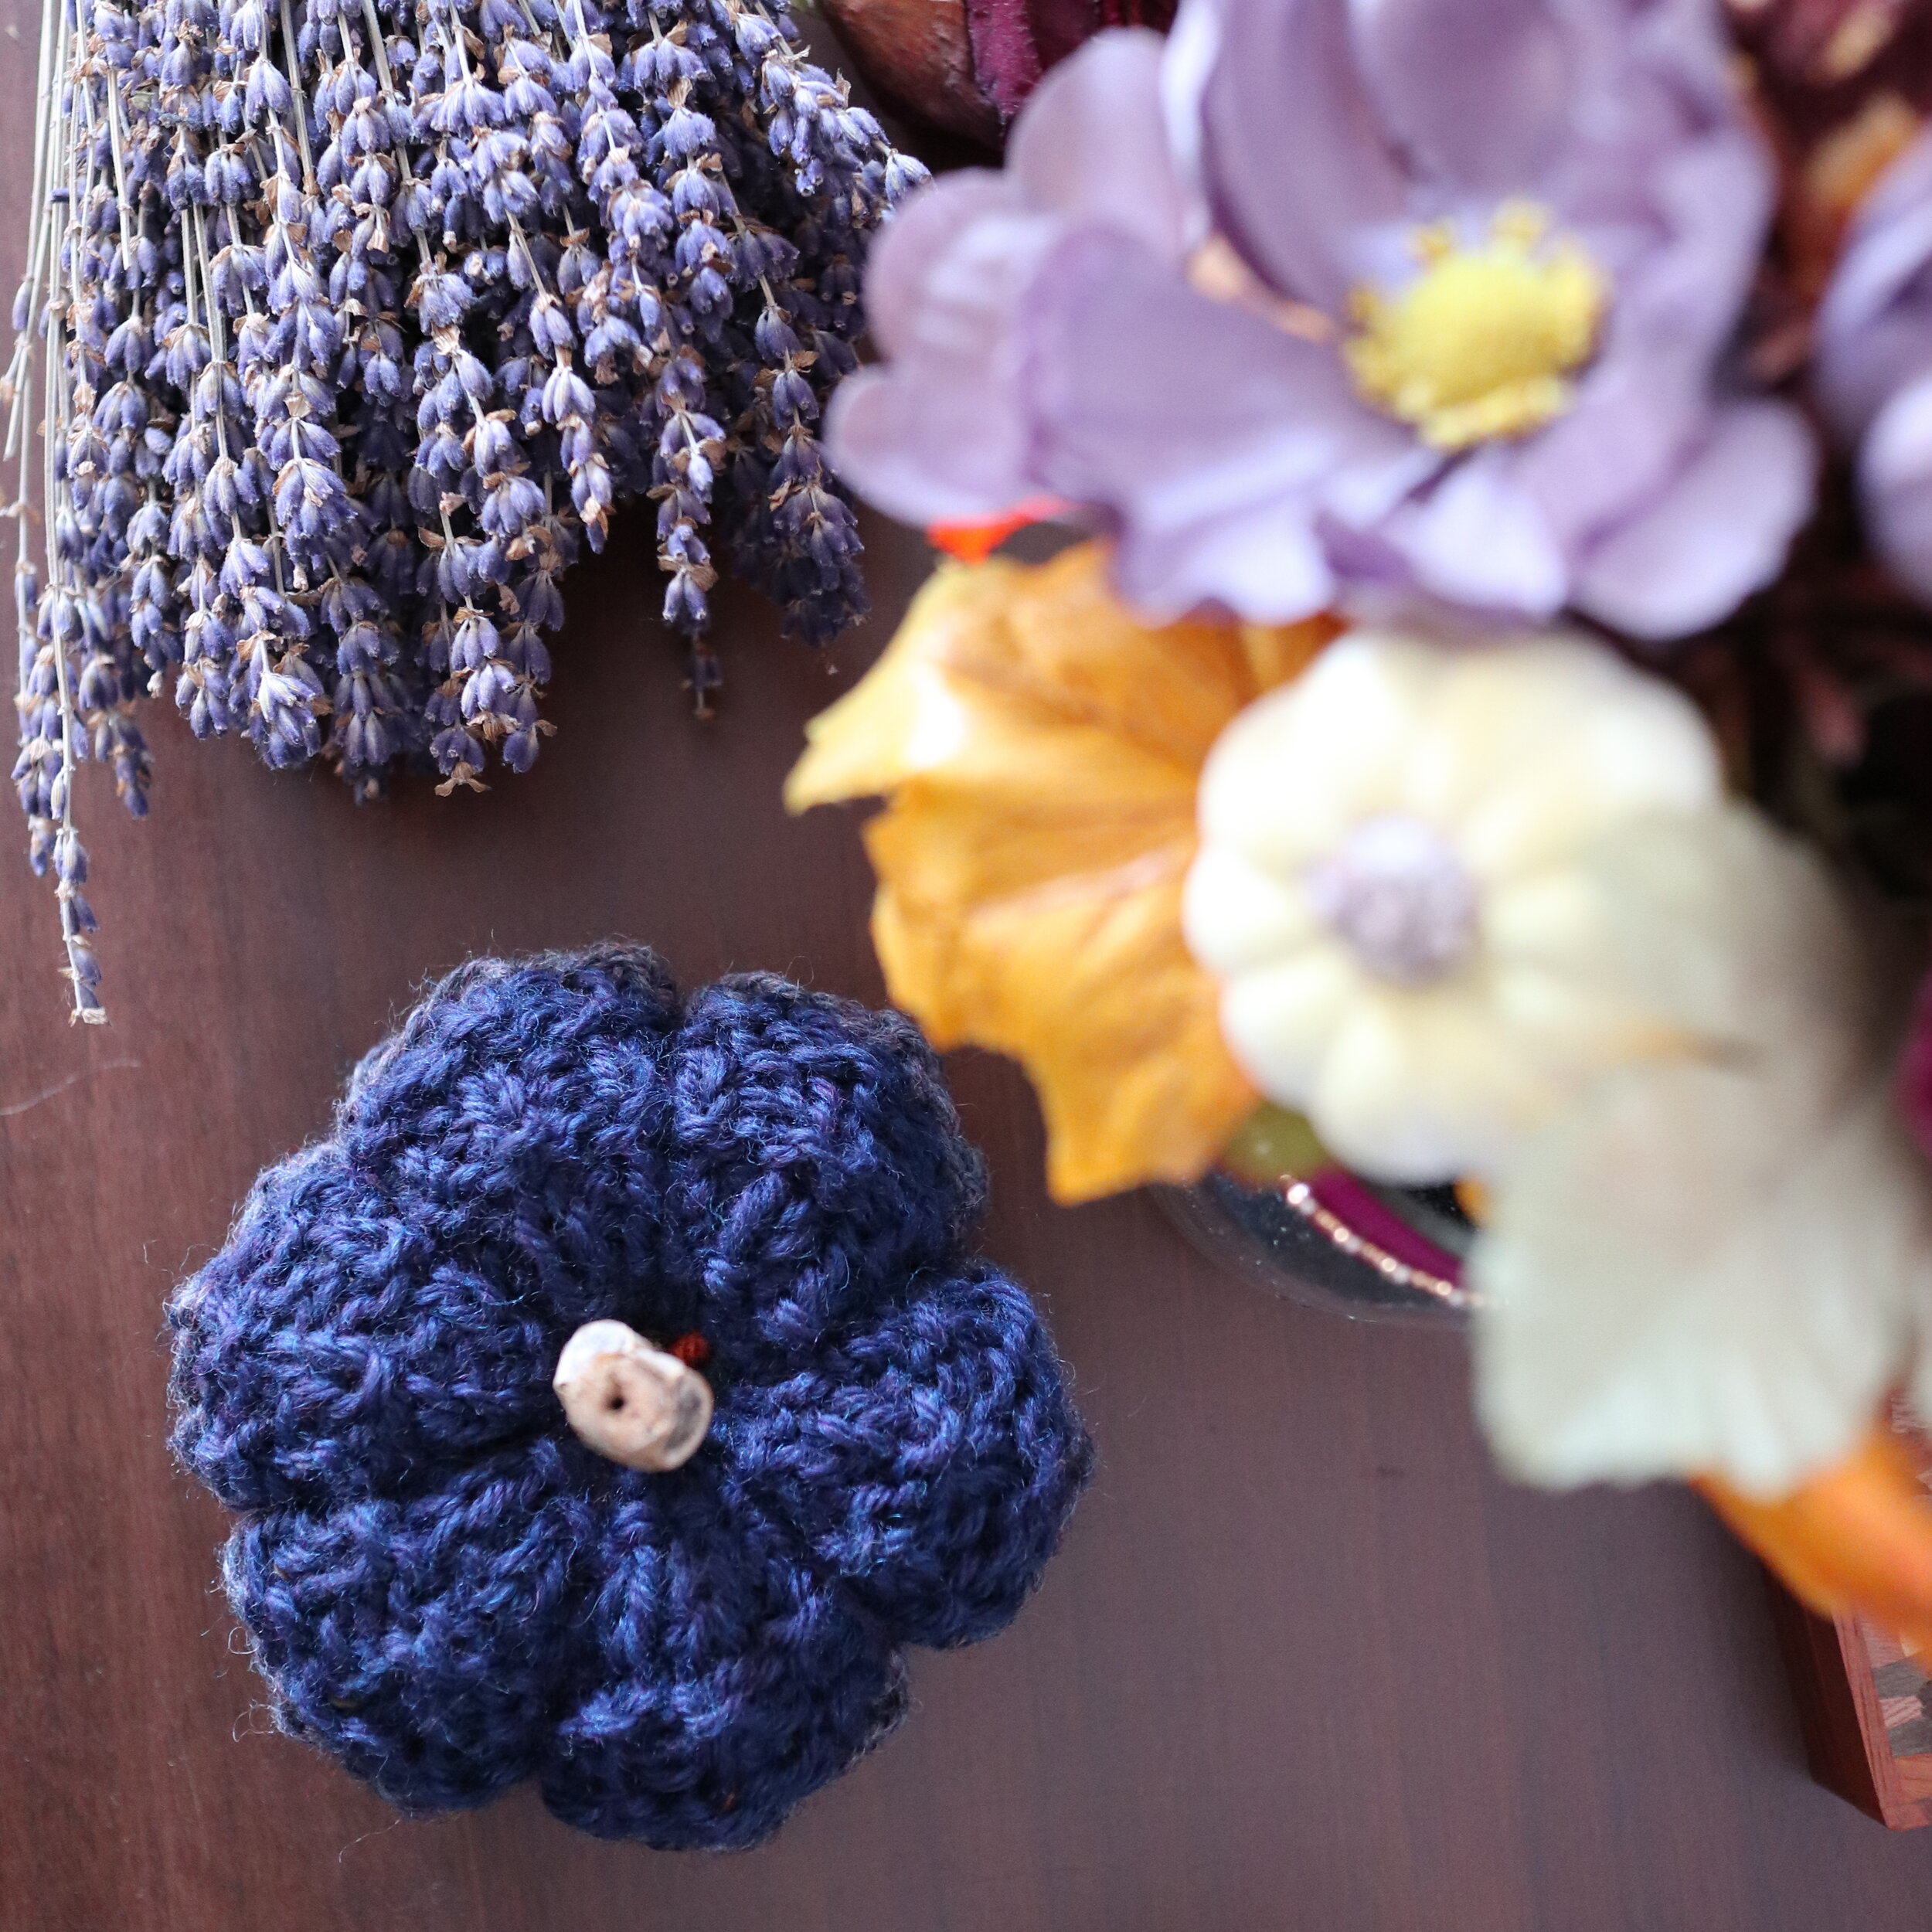
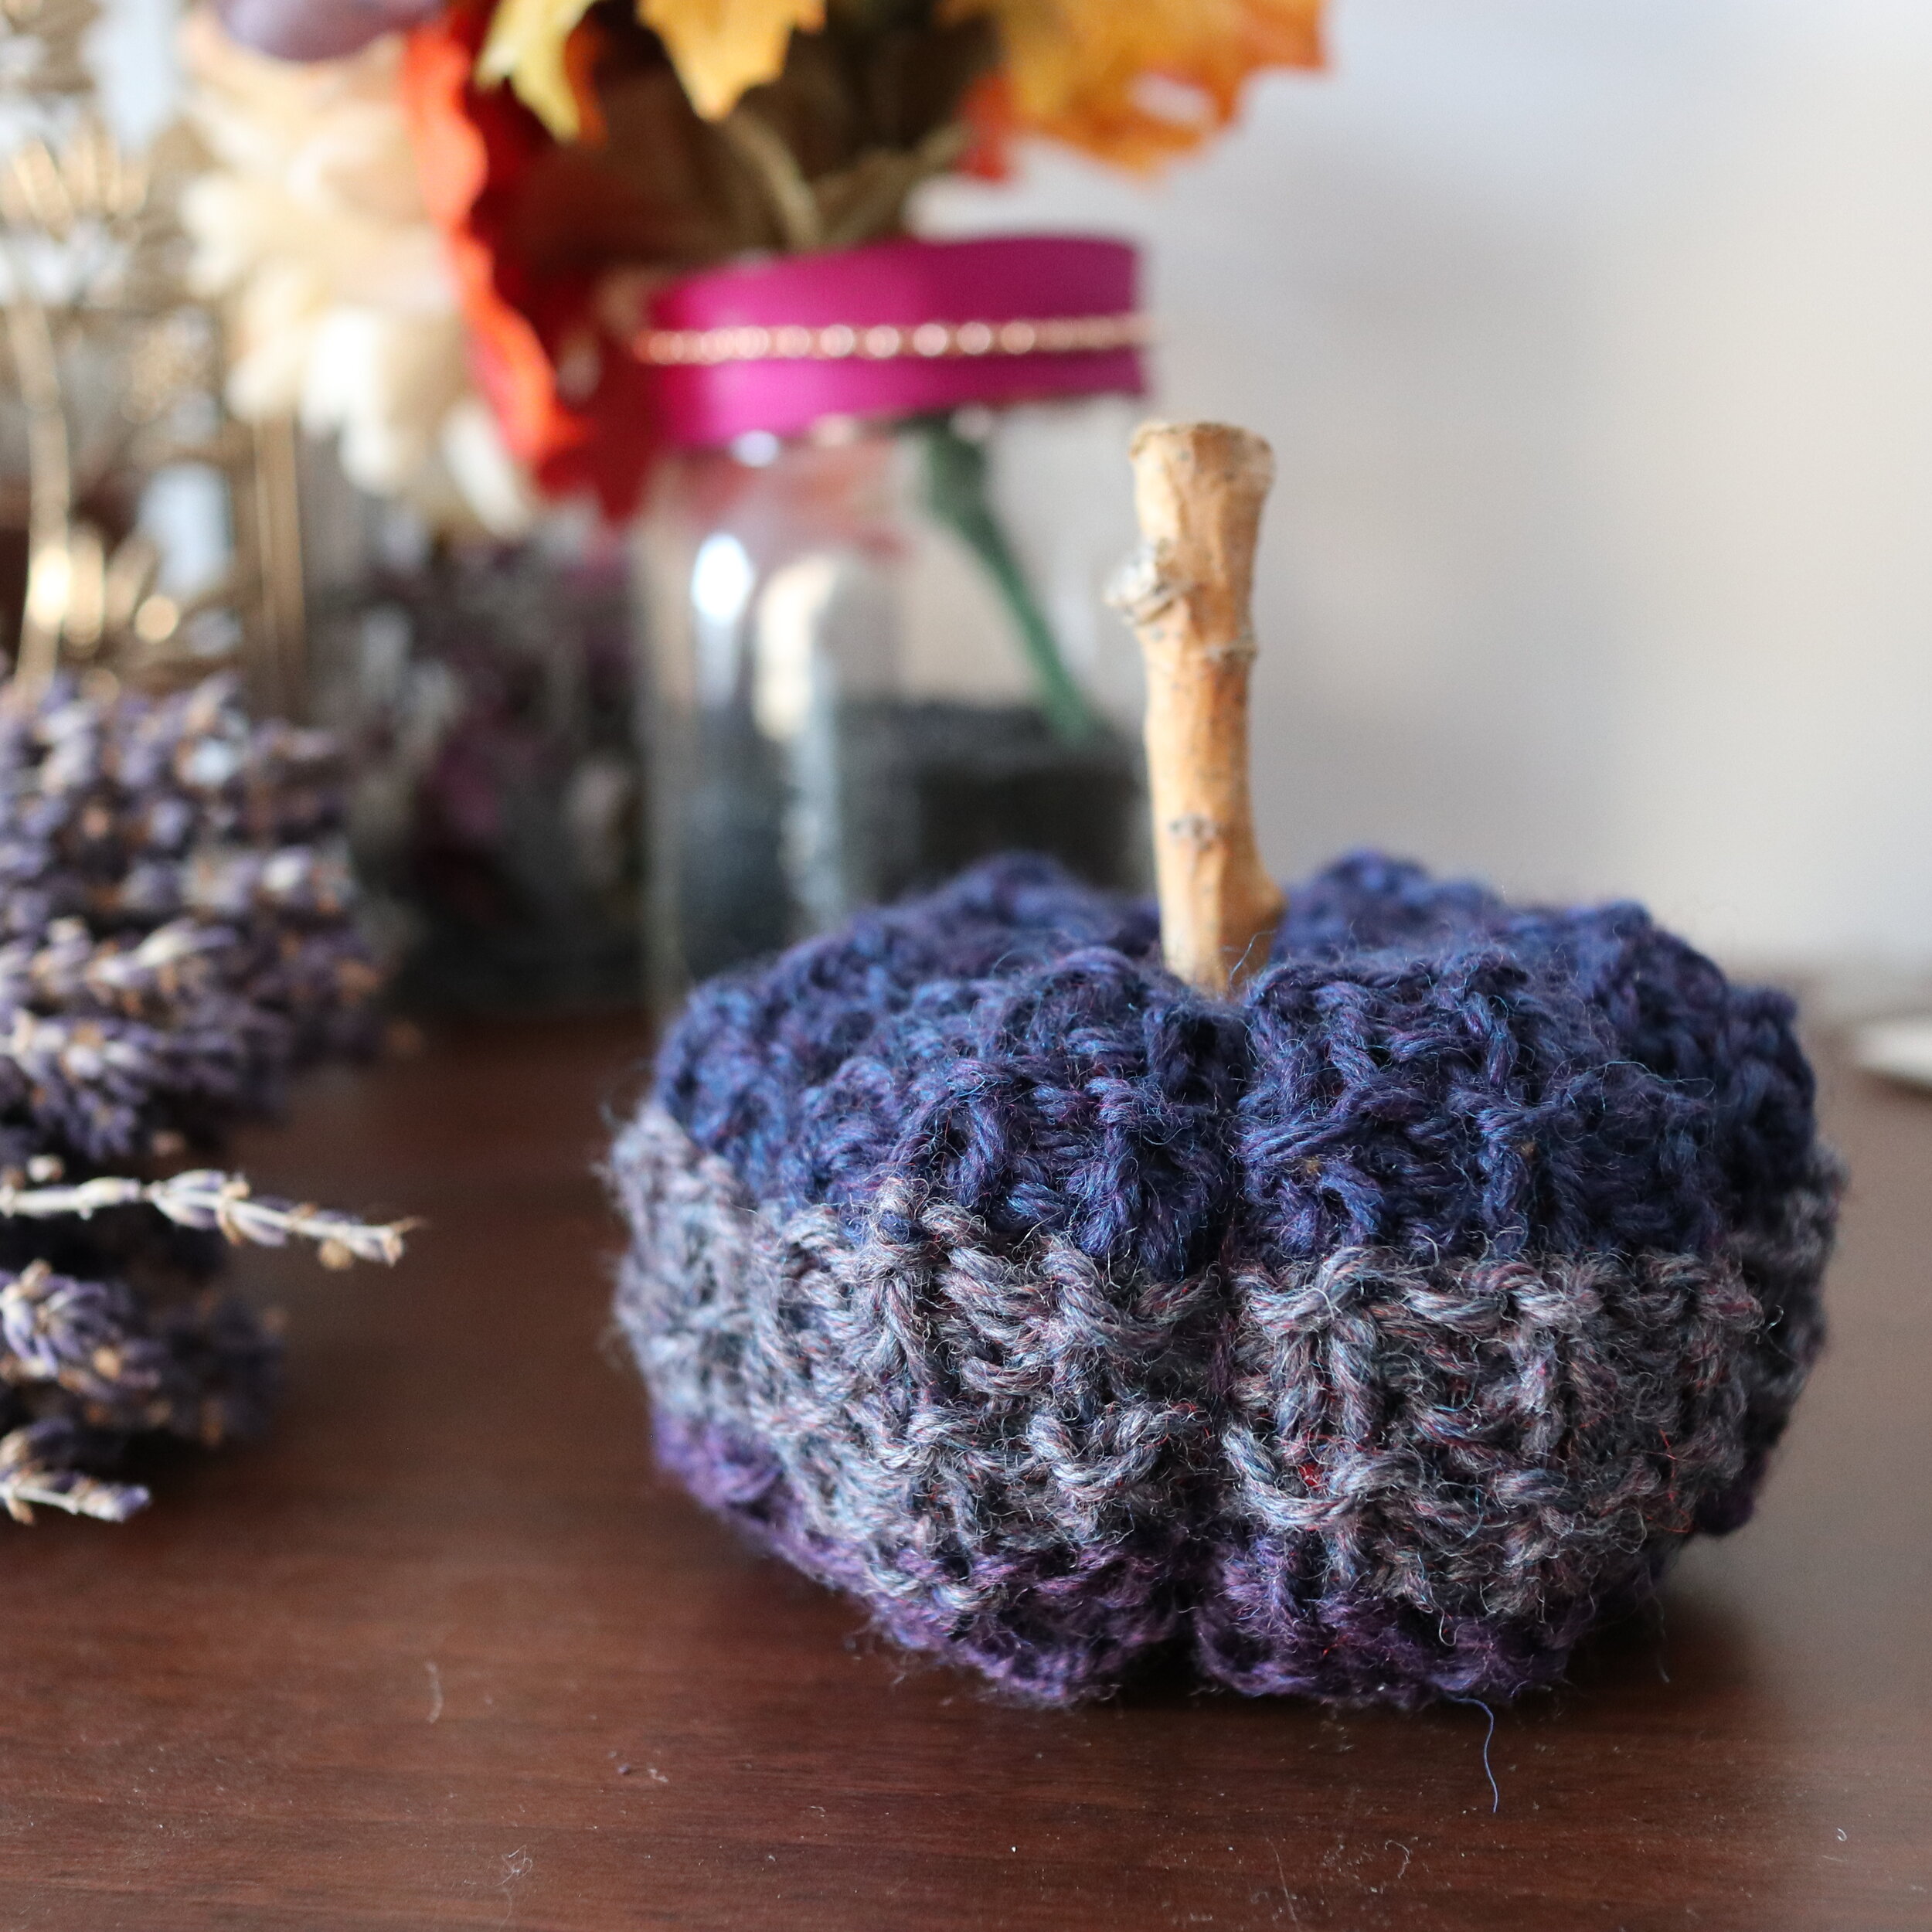
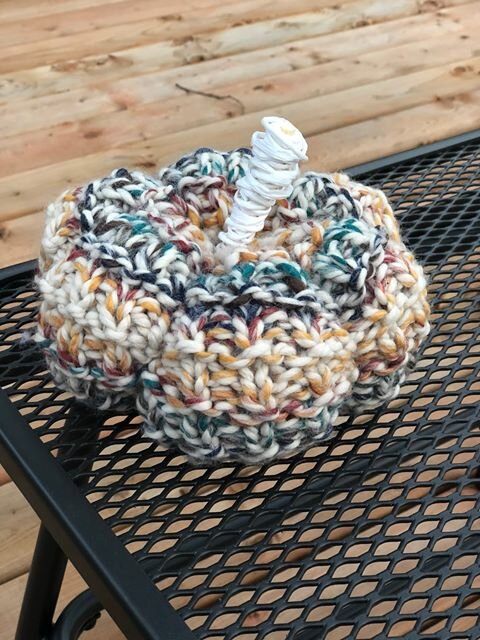
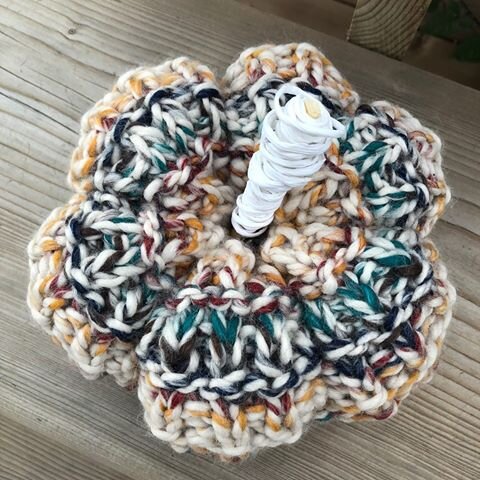
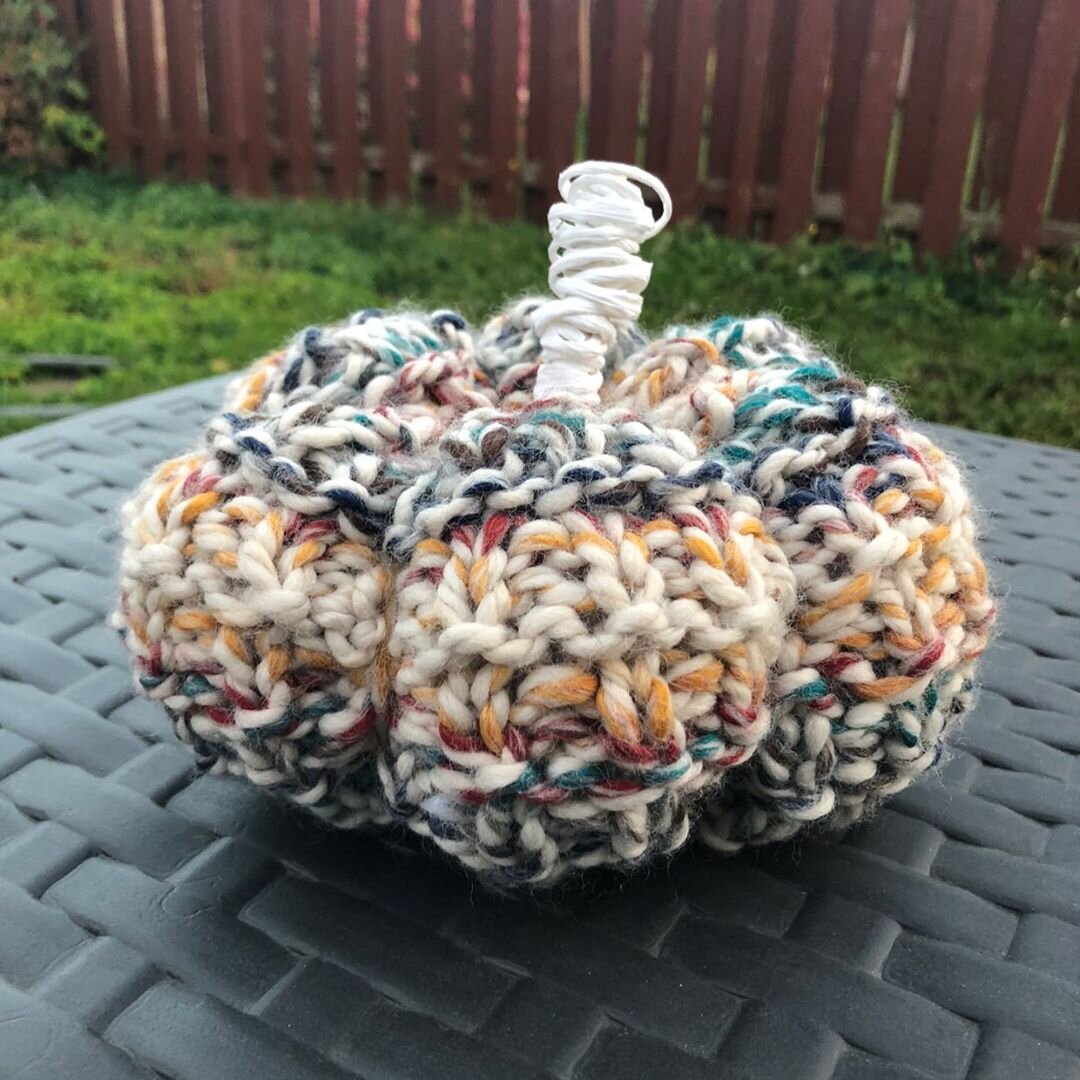
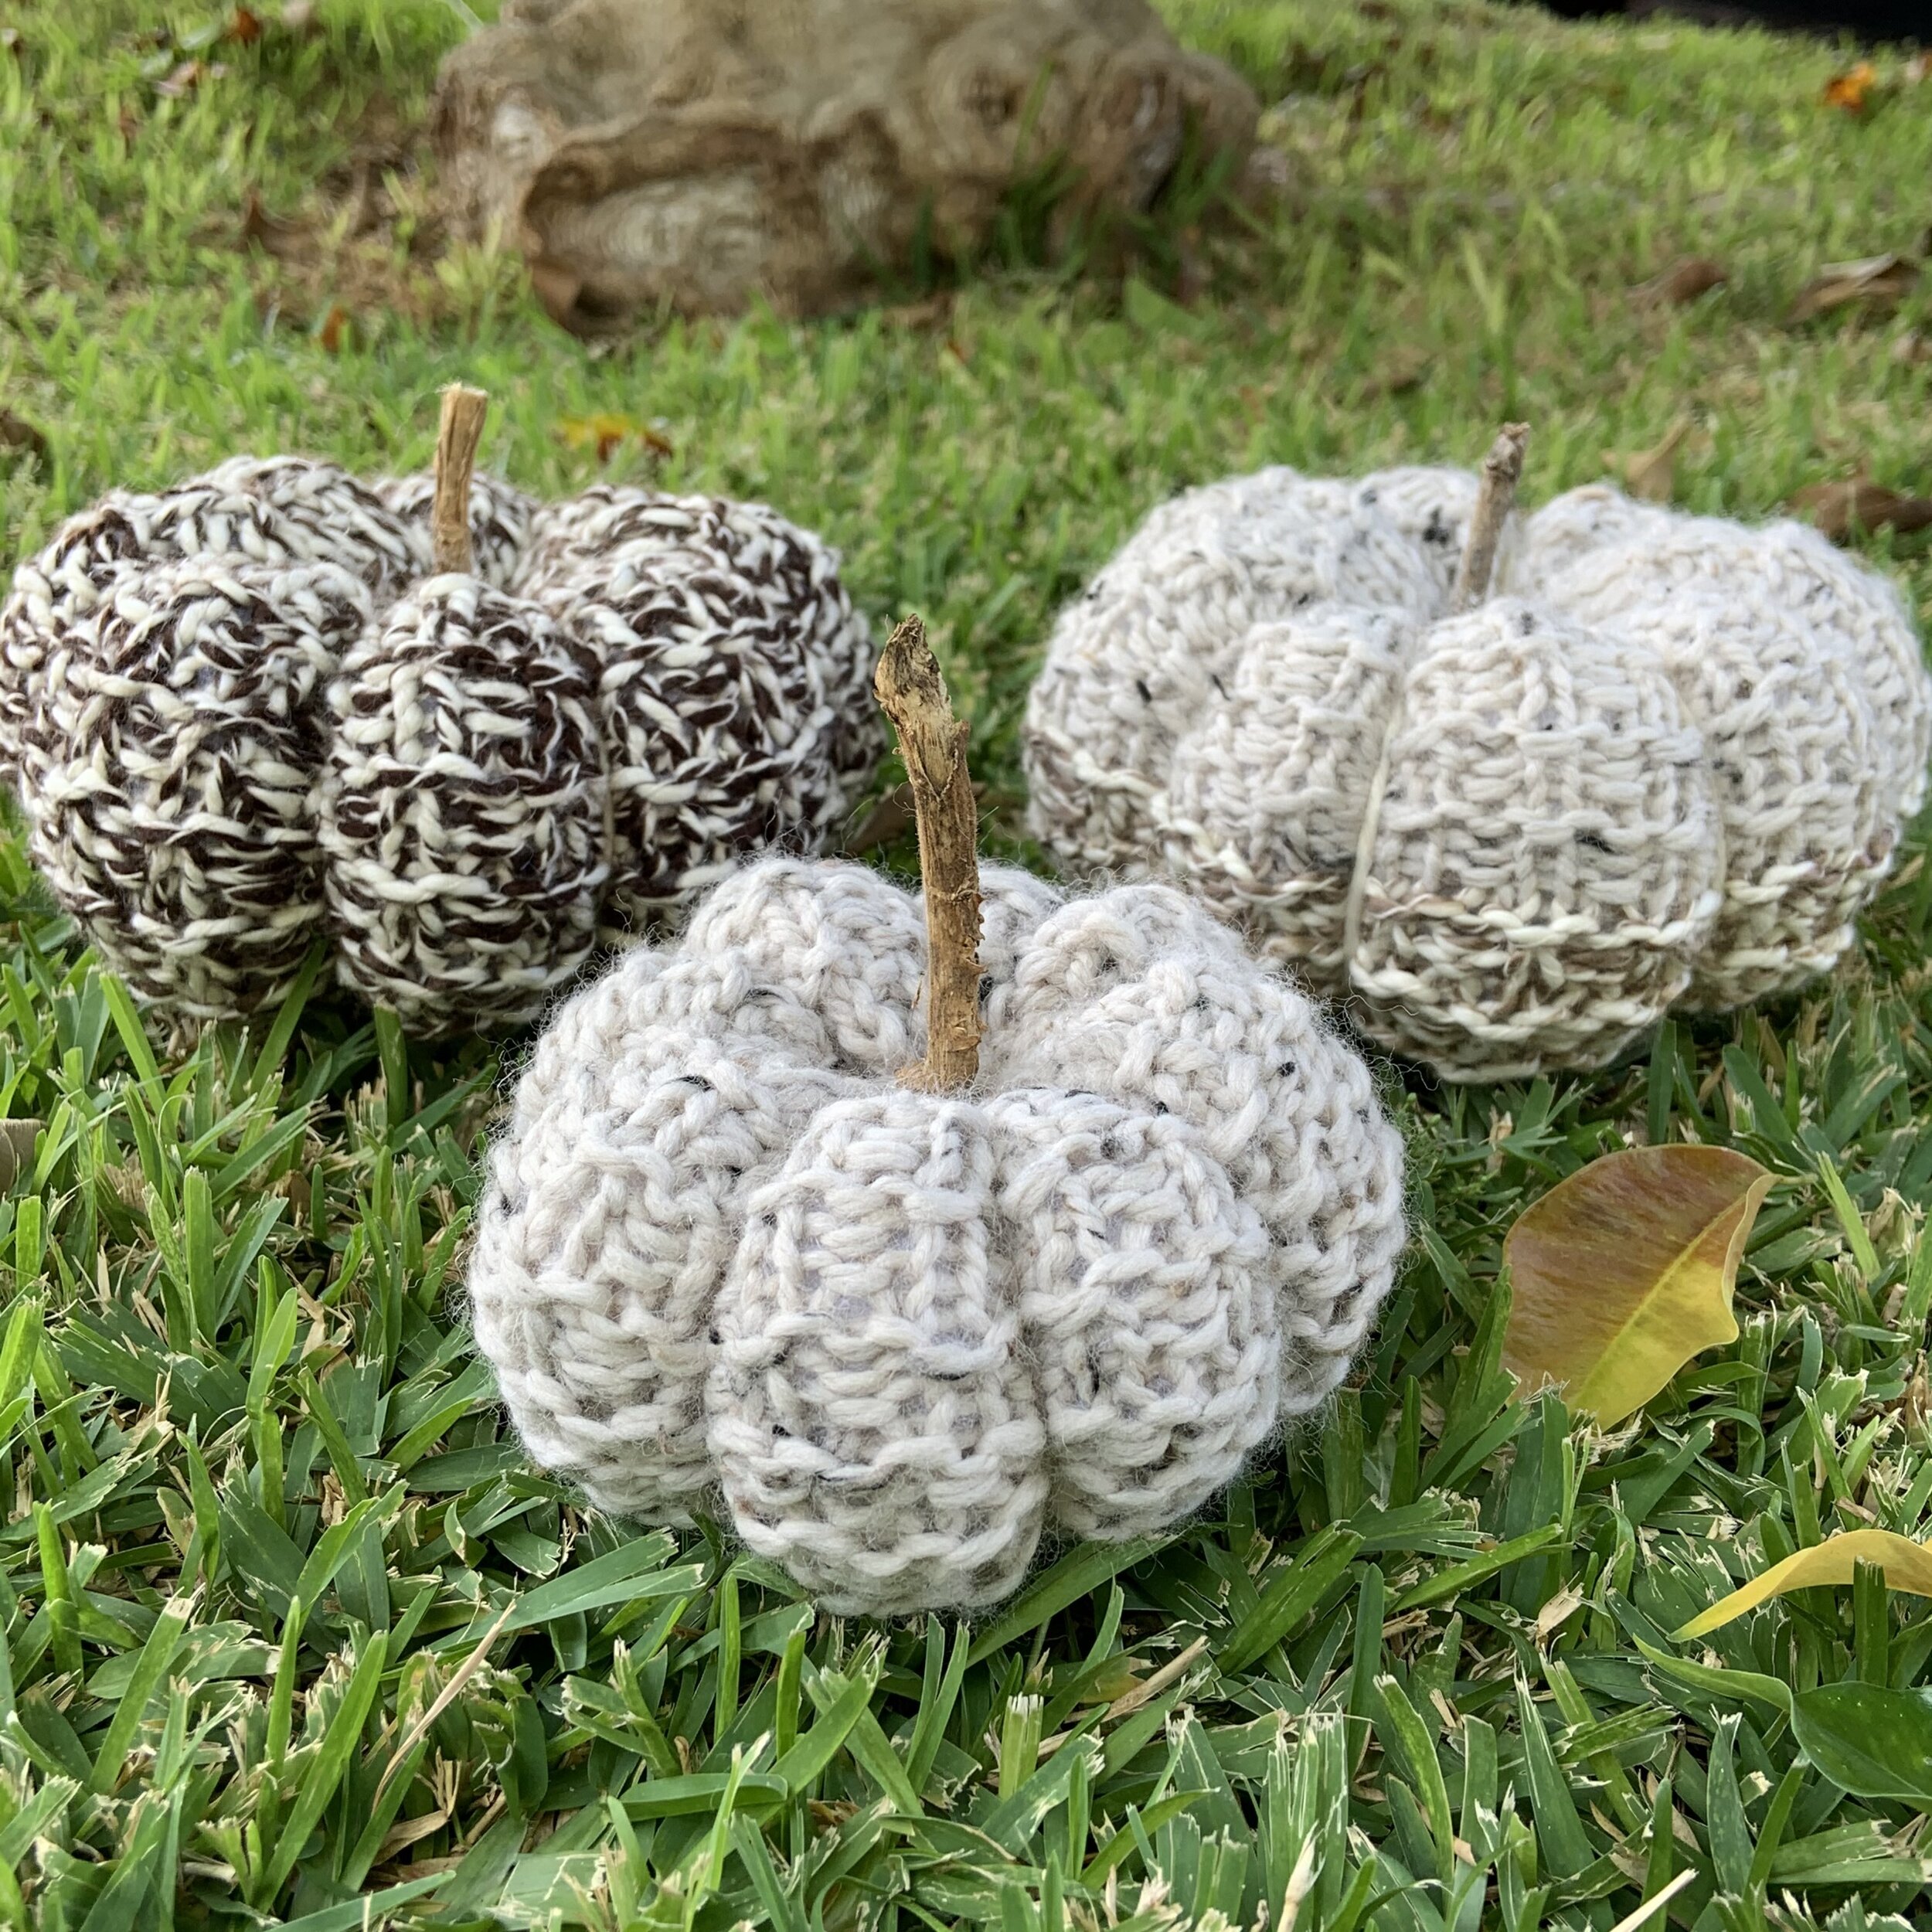
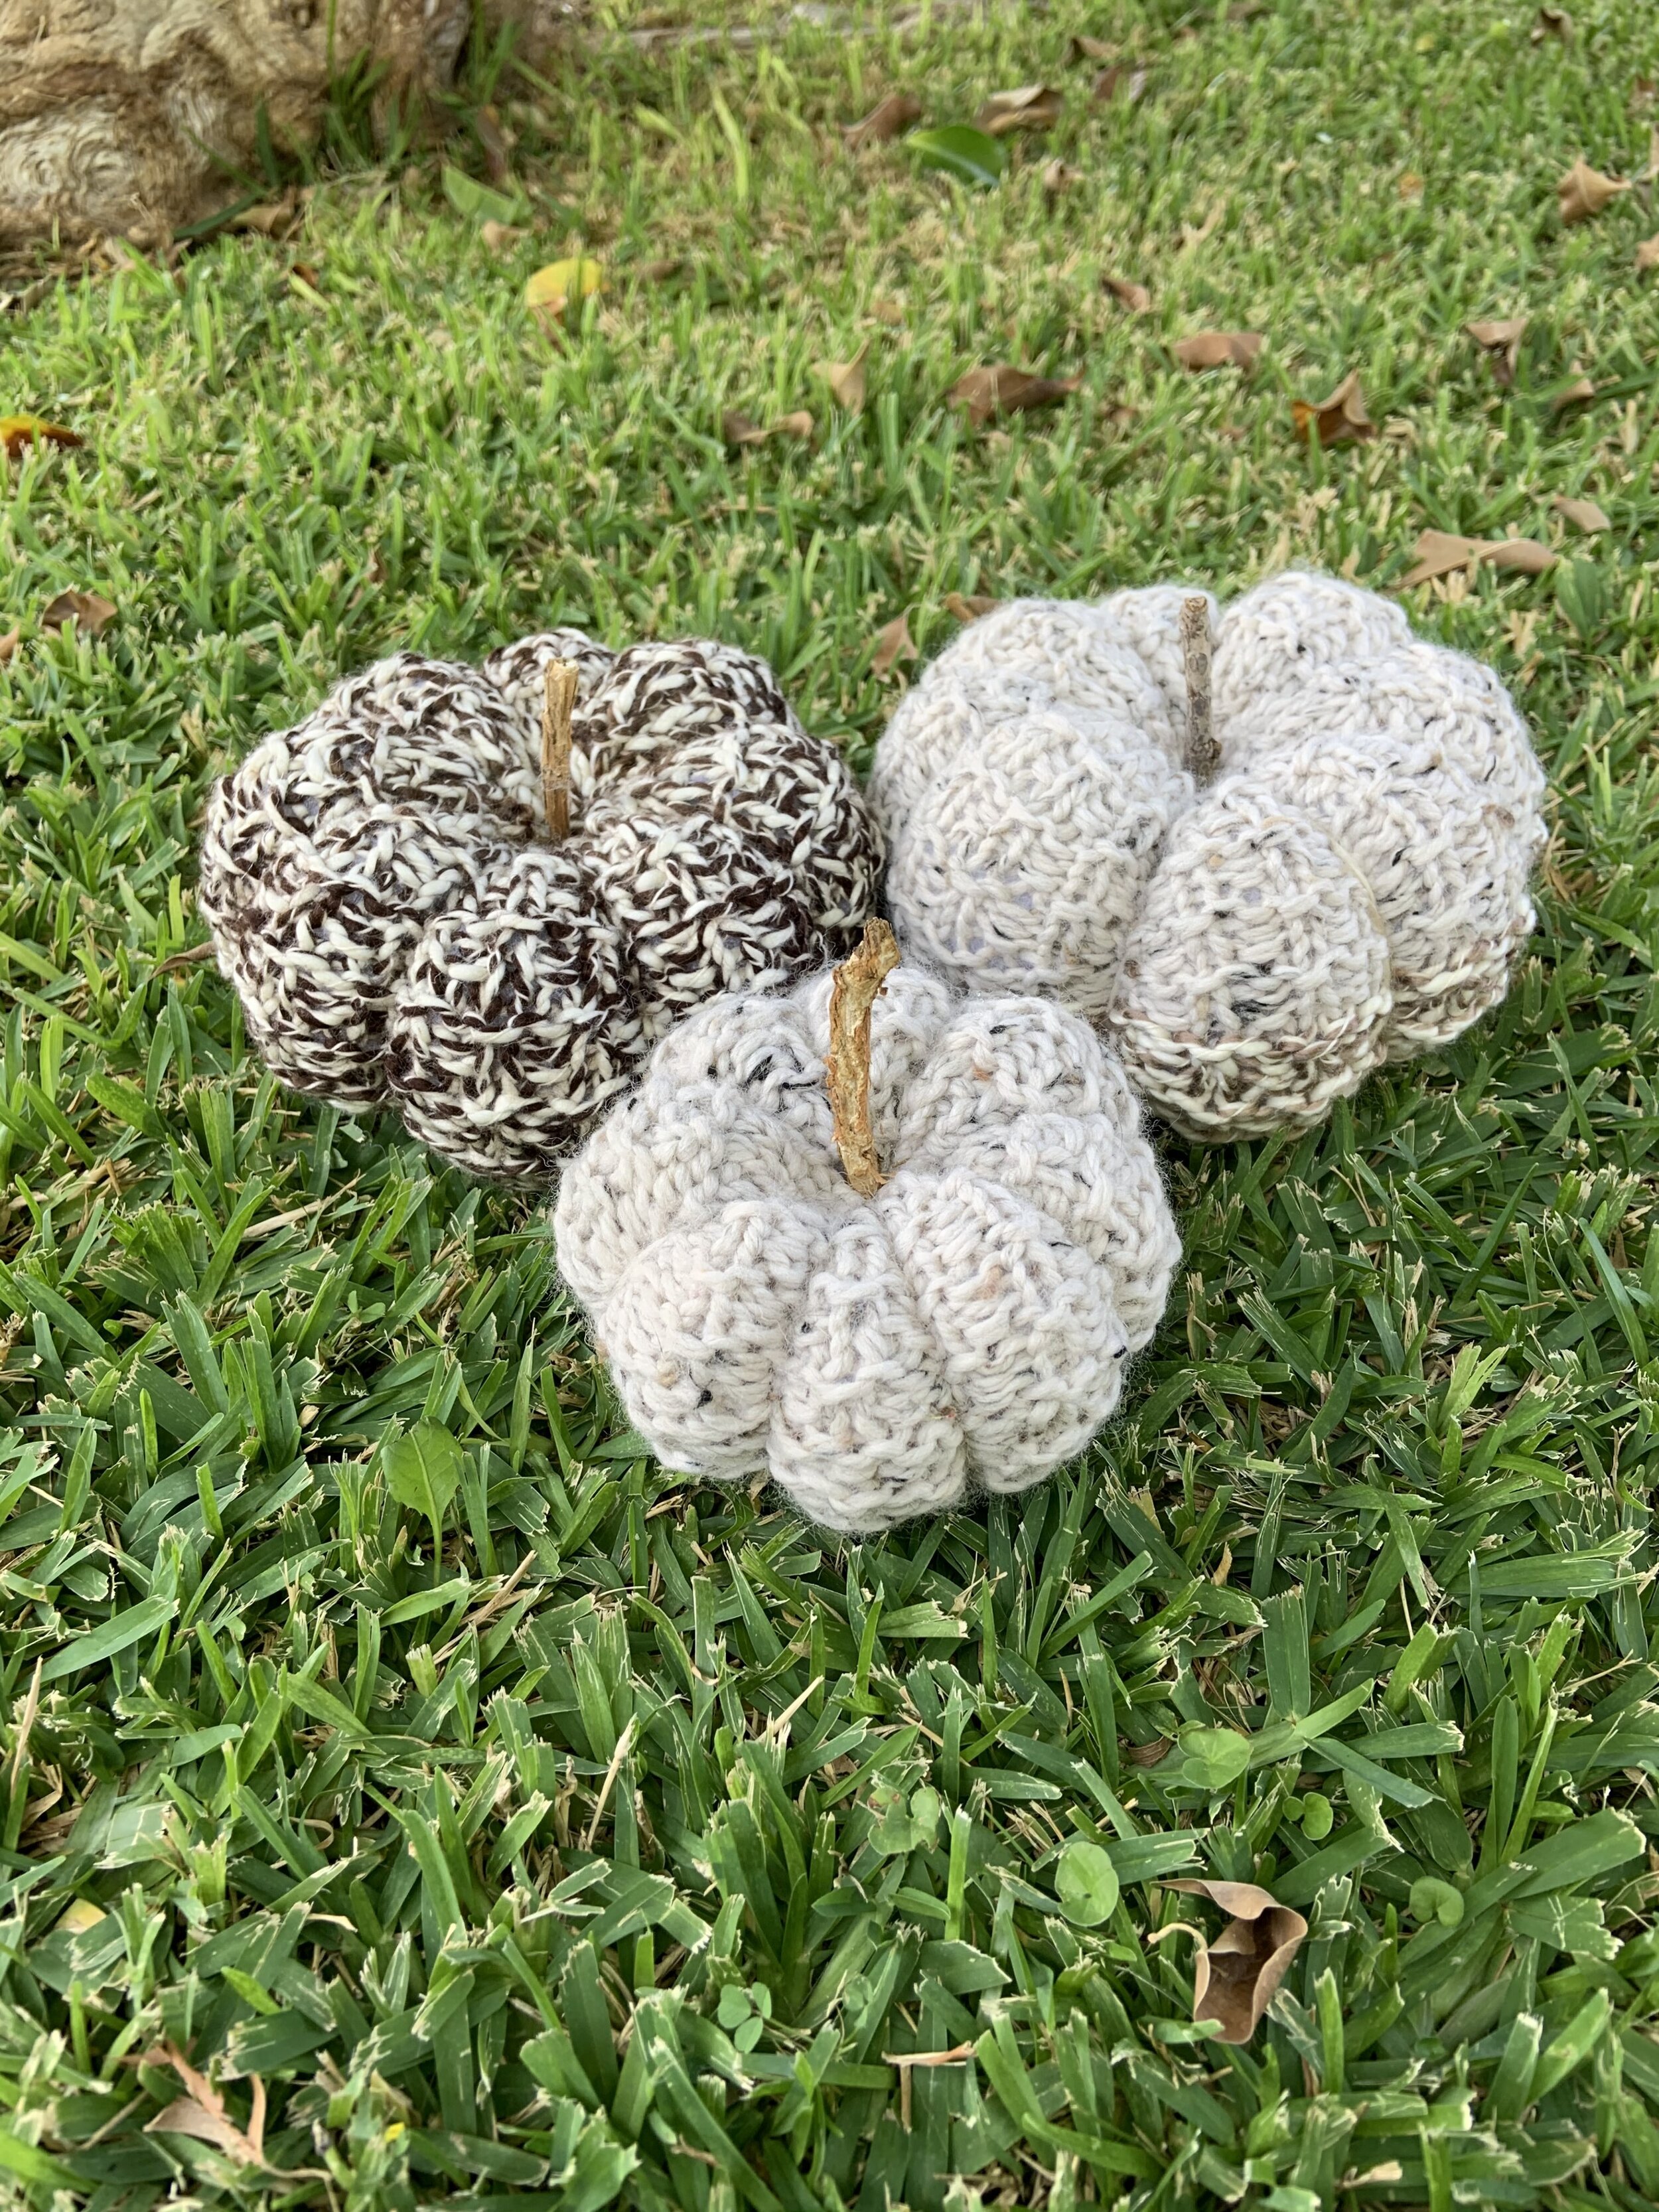
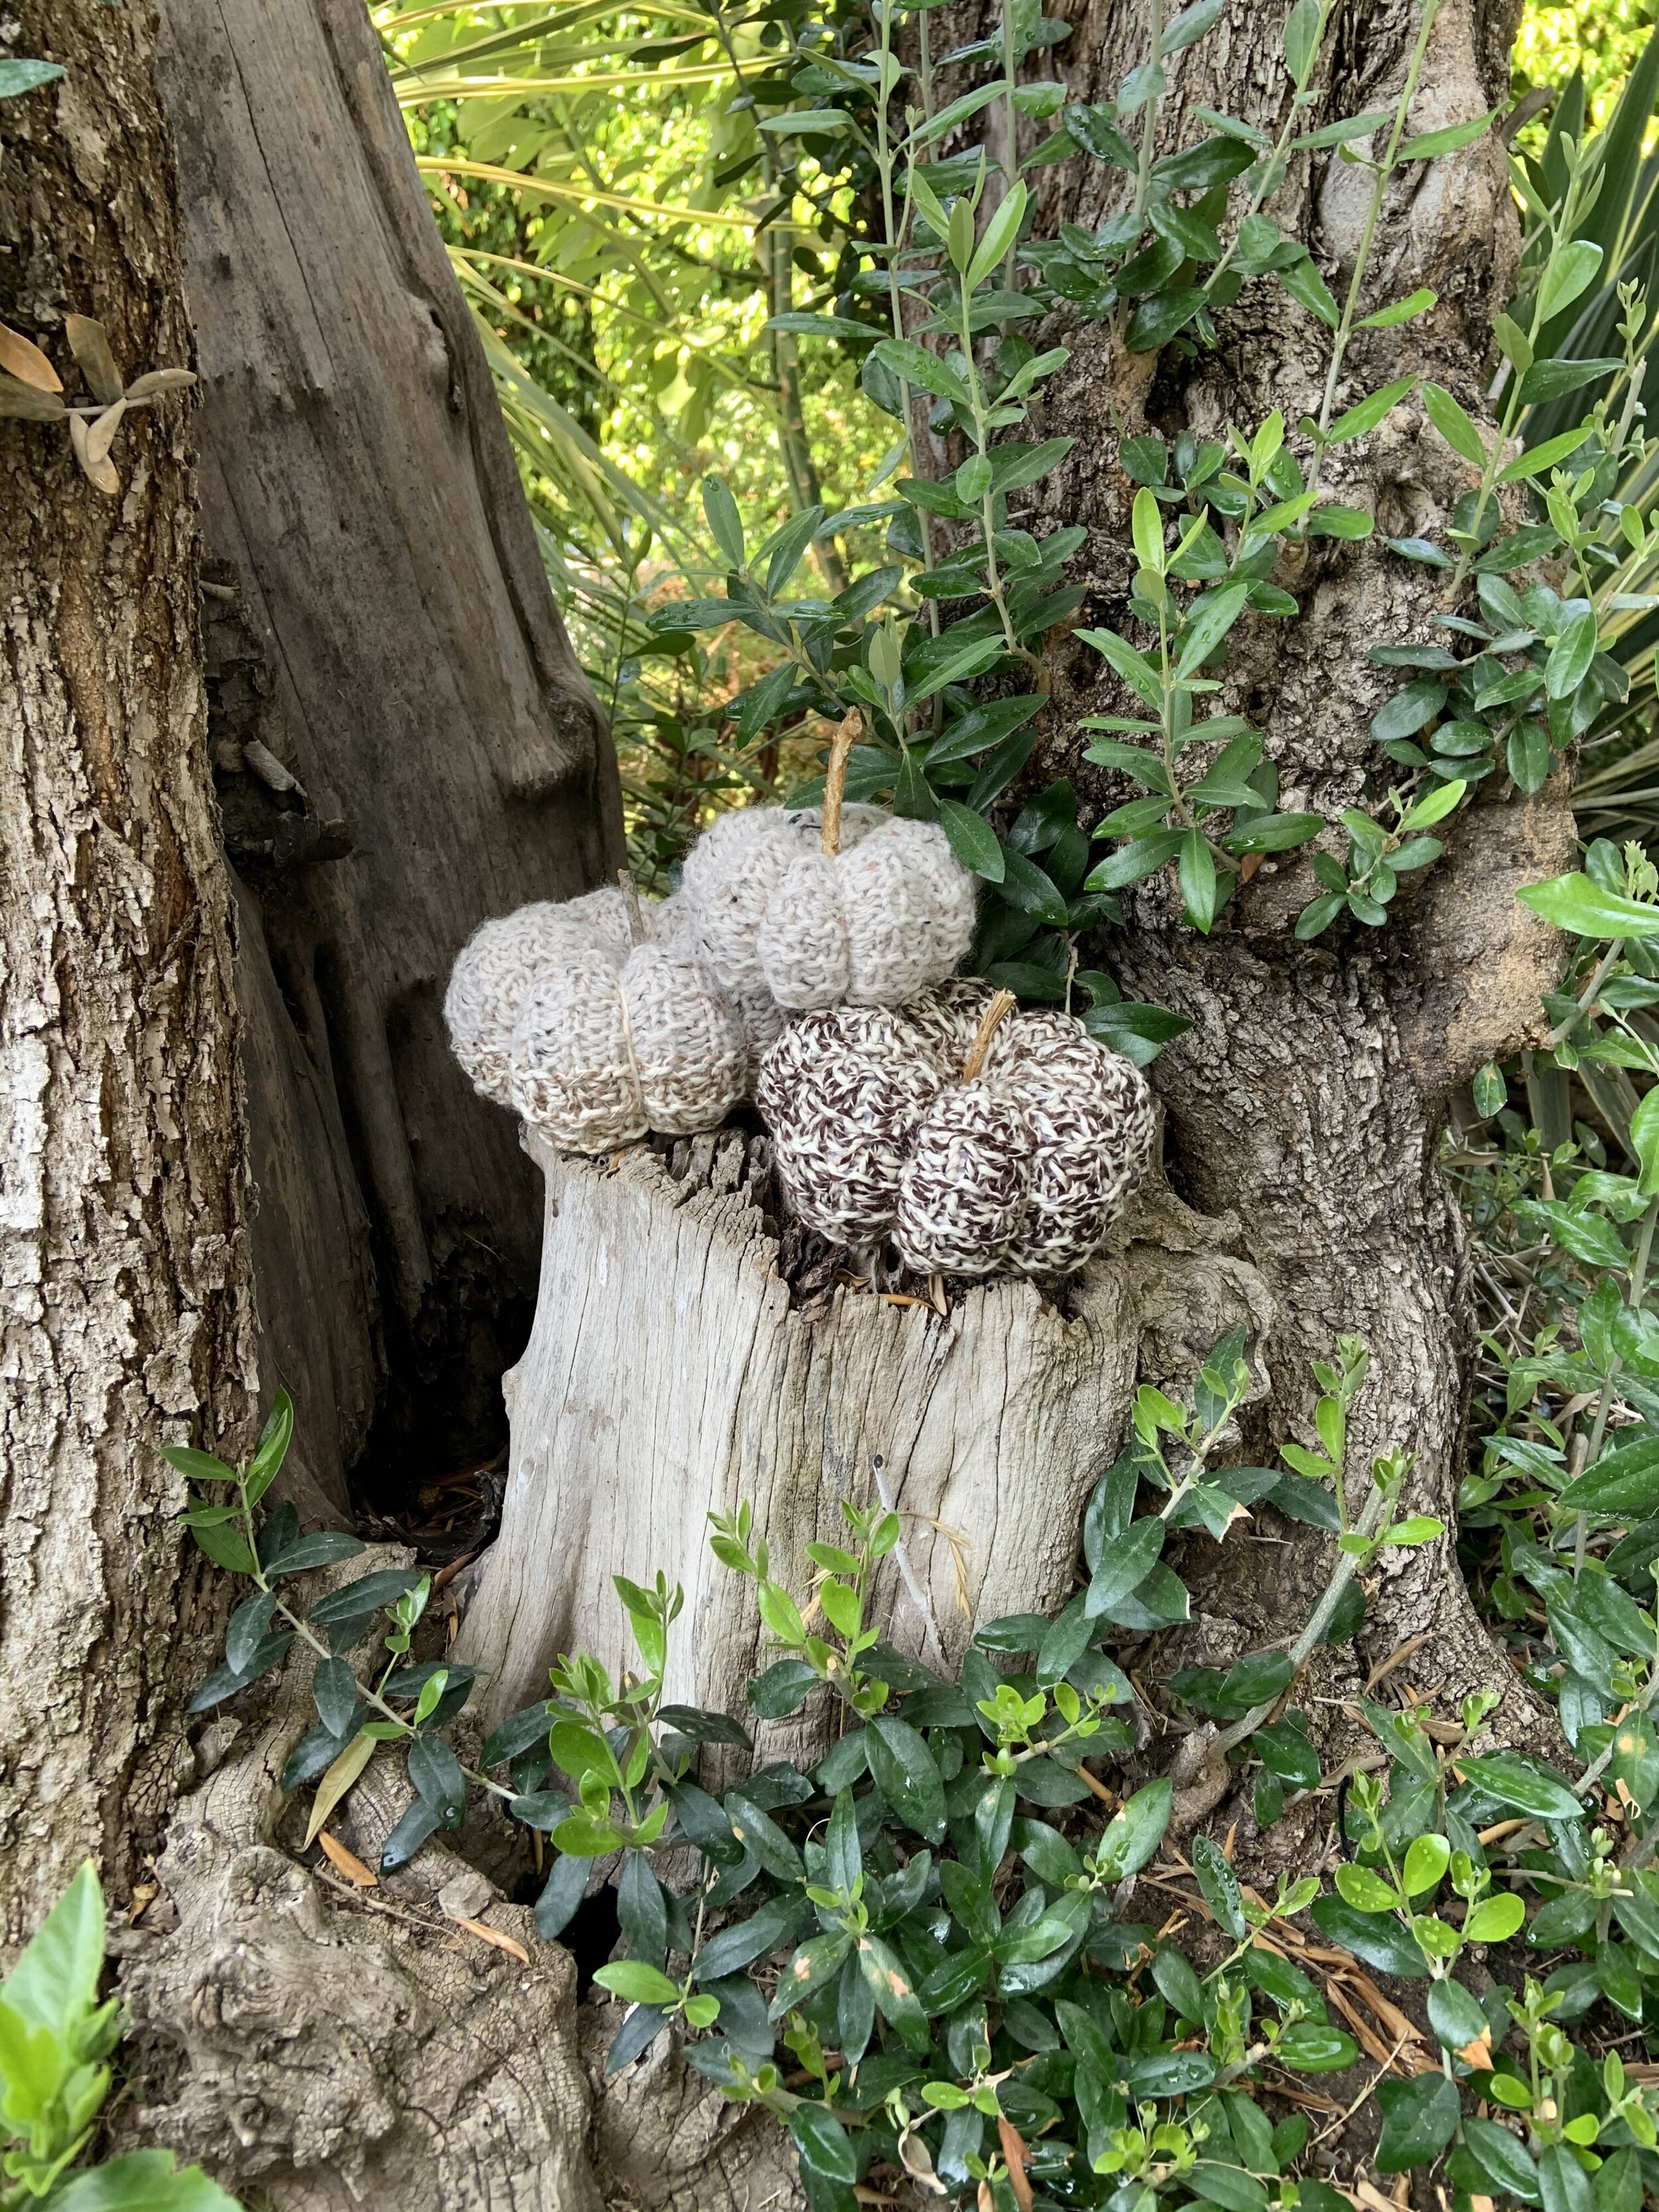
The Nameme Pumpkins are cute and rustic little pumpkins that are perfect for any fall centrepiece. These guys knit up very quickly, in perhaps an hour, so you can have a whole bushel of adorable knit pumpkins in no time! You can also make them in so many cute colors! I made a couple in solid colors, then a couple tri-colored ones, which you can see in the pictures. My testers chose some speckled and variegated yarns.
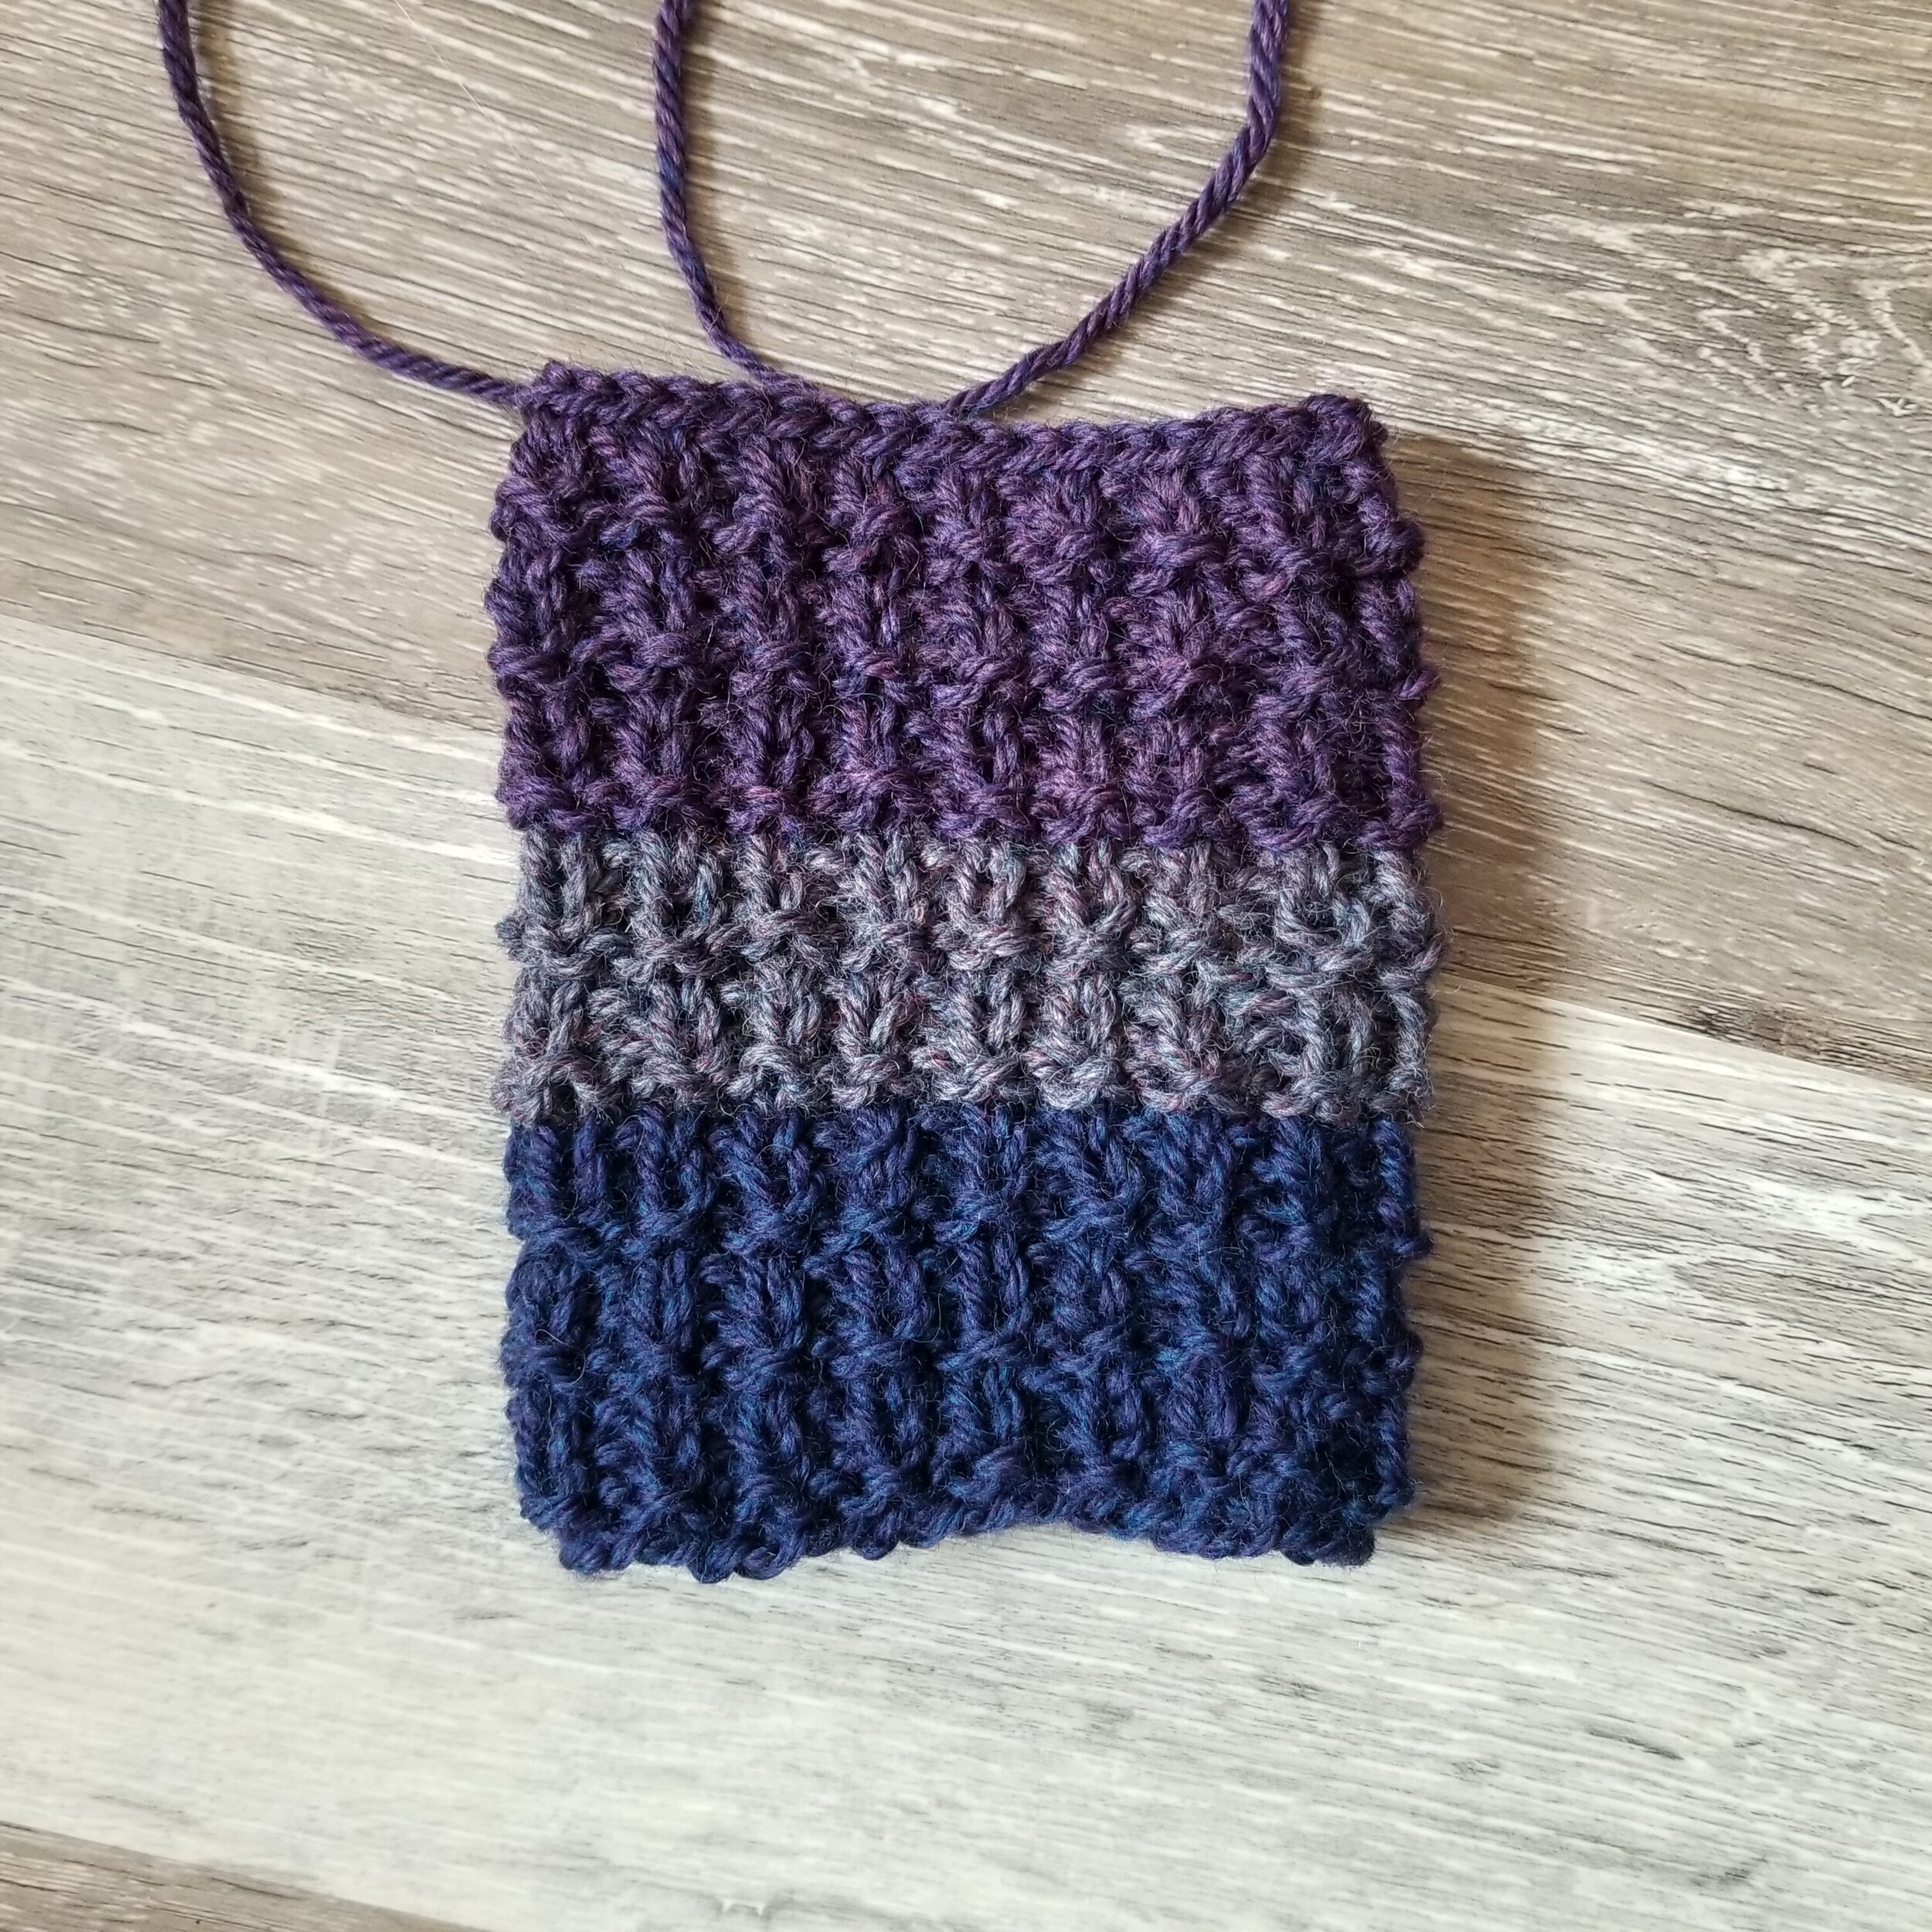
These pumpkins get their name from my Nameme Cardigan that uses the same type of yarn in the same color palette with the same stitch! These are done in the hurdle stitch, which I think is just perfect for that cute rustic look. And, it’s such a simple stitch that these pumpkins will just be flying off your needles in no time!
The pattern comes with 3 sizes of pumpkin directions. Depending on the yarn you use, your pumpkins will come out around small: 2.25” tall x 4” wide, medium: 2.75” x 4.5”, large: 3” x 5” when looking at them from the side. But, measurements and gauge aren’t super important unless you need a very specific sized pumpkin!
For my sample, I used Knit Picks Wool of the Andes Superwash Bulky because I had some left in my stash from when I created the Nameme Cardigan. The pumpkins only use between 43 and 71 yards of yarn (14 - 24 yards each color if you do the tricoloured version) They work great as a stash buster! You can knit them in a variety of yarns depending on how rustic you'd like your pumpkins to be. You can also dress your pumpkins however you'd like. I used a stick from the park down the street, but you can use a wine cork, cinnamon sticks, or knit a stem to go with your pumpkins. It really is up to you!
Happy kitting!
THANK YOU! to all my wonderful testers!
I LOVE TO SEE WHAT YOU CREATE!
Please share your creations with the community on social media tagging @ravinsekaidesigns and hashtag #namemepumpkins
I can’t wait to see the beautiful things you come up with!
FOLLOW ME ON SOCIAL MEDIA
Facebook: Ravin Sekai Designs
Ravelry: RavinSekai
Instagram: @ravinsekaidesigns
Pinterest: Ravin Sekai Designs
Patreon: Ravin Sekai Designs
Safe for Later!
Pin to Pinterest
WHAT YOU NEED:
Needle Size: 6.5mm circular needle or DPN, or size needed to obtain gauge
Yarn: Bulky weight 5 yarn. Sample knit in Knit Picks Wool of the Andes Superwash Bulky. 43(60, 71) yards total (14, 20, 24 each color if you do the tricoloured version)
Gauge: 16st/24rows = 4” in Hurdle Stitch (gauge is after blocking) Gauge is not super important unless you are looking for a very specific sized pumpkin.
Other Material: Darning needle, 1 stick (can be from your yard, a cinnamon stick, or something decorative), leaves or other items for dressing.
Sizing Before Assembly: 9(10.5, 12) inches diameter x 5.25(6, 6.5) inches long
ABBREVIATIONS:
RS: right side
WS: wrong side
St: stitch/stitches
CO: cast on
K: knit
P: purl
Rep: repeat
BO: bind off
Cont: continue
C1: color 1. I used Solstice Heather
C2: color 2. I used Mineral Heather
C3: color 3. I used Indigo Heather
Notes:
I use the magic loop method for small circumference items knit in the round, but, if you are more comfortable using DPNs, feel free!
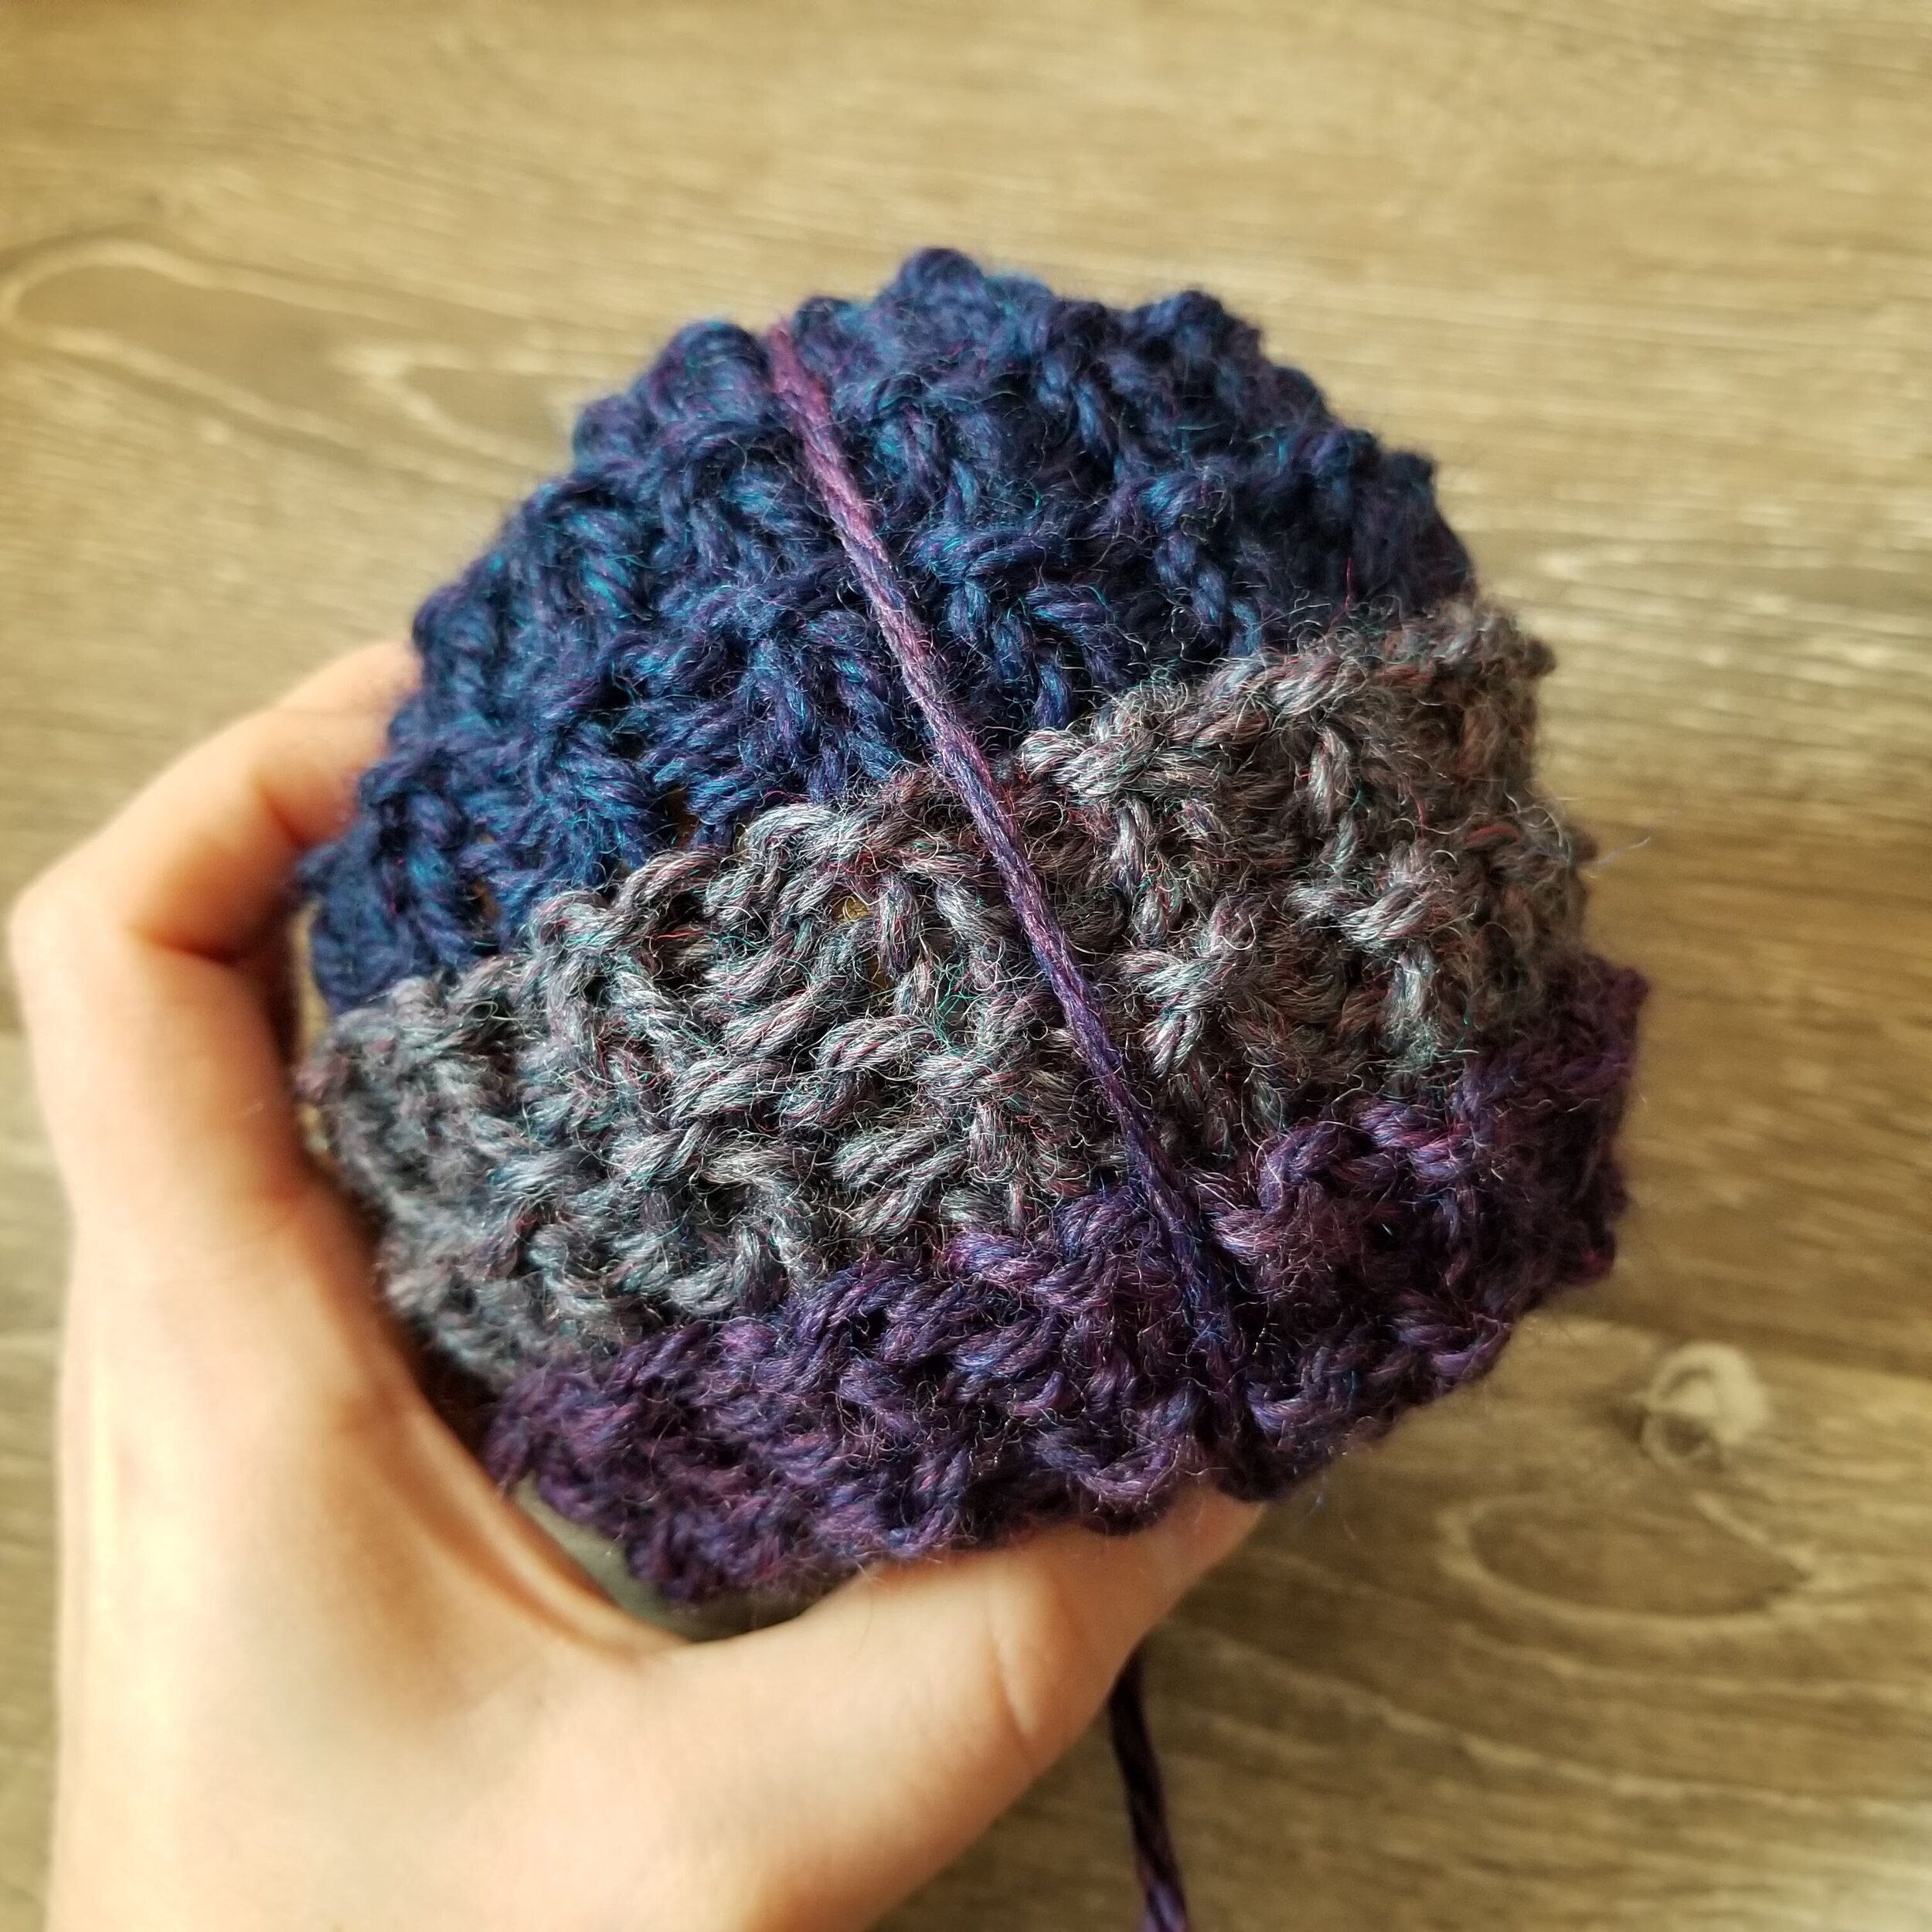
To make the 3 color pumpkin like I did, knit 12(12, 16) rows C1, 8(12, 8) rows C2, 12(12, 16) rows C3.
It isn’t really necessary to block your pumpkins unless you want to. The stuffing will push the stitches into shape.
THE PATTERN:
For the free pattern of this garment please continue on this page. Please consider supporting me by purchasing the 100% ad-free PDF for this pattern on my Ravelry or ETSY pages. Or consider joining my Patreon for member perks.
CO 36(42, 48) with C1, connect for knitting in the round or evenly on DPNs
Round 1: k all st.
Round 2: p all st.
Round 3: *k1, p1* across
Round 4: *k1, p1* across
Rep Round 1 - 4 until piece reaches 5.2(5.9, 6.5) inches (32, 36, 40 rows)
BO leaving an extra long tail (approx 1-2 yards)
Weave in ends
Construction and Shaping:
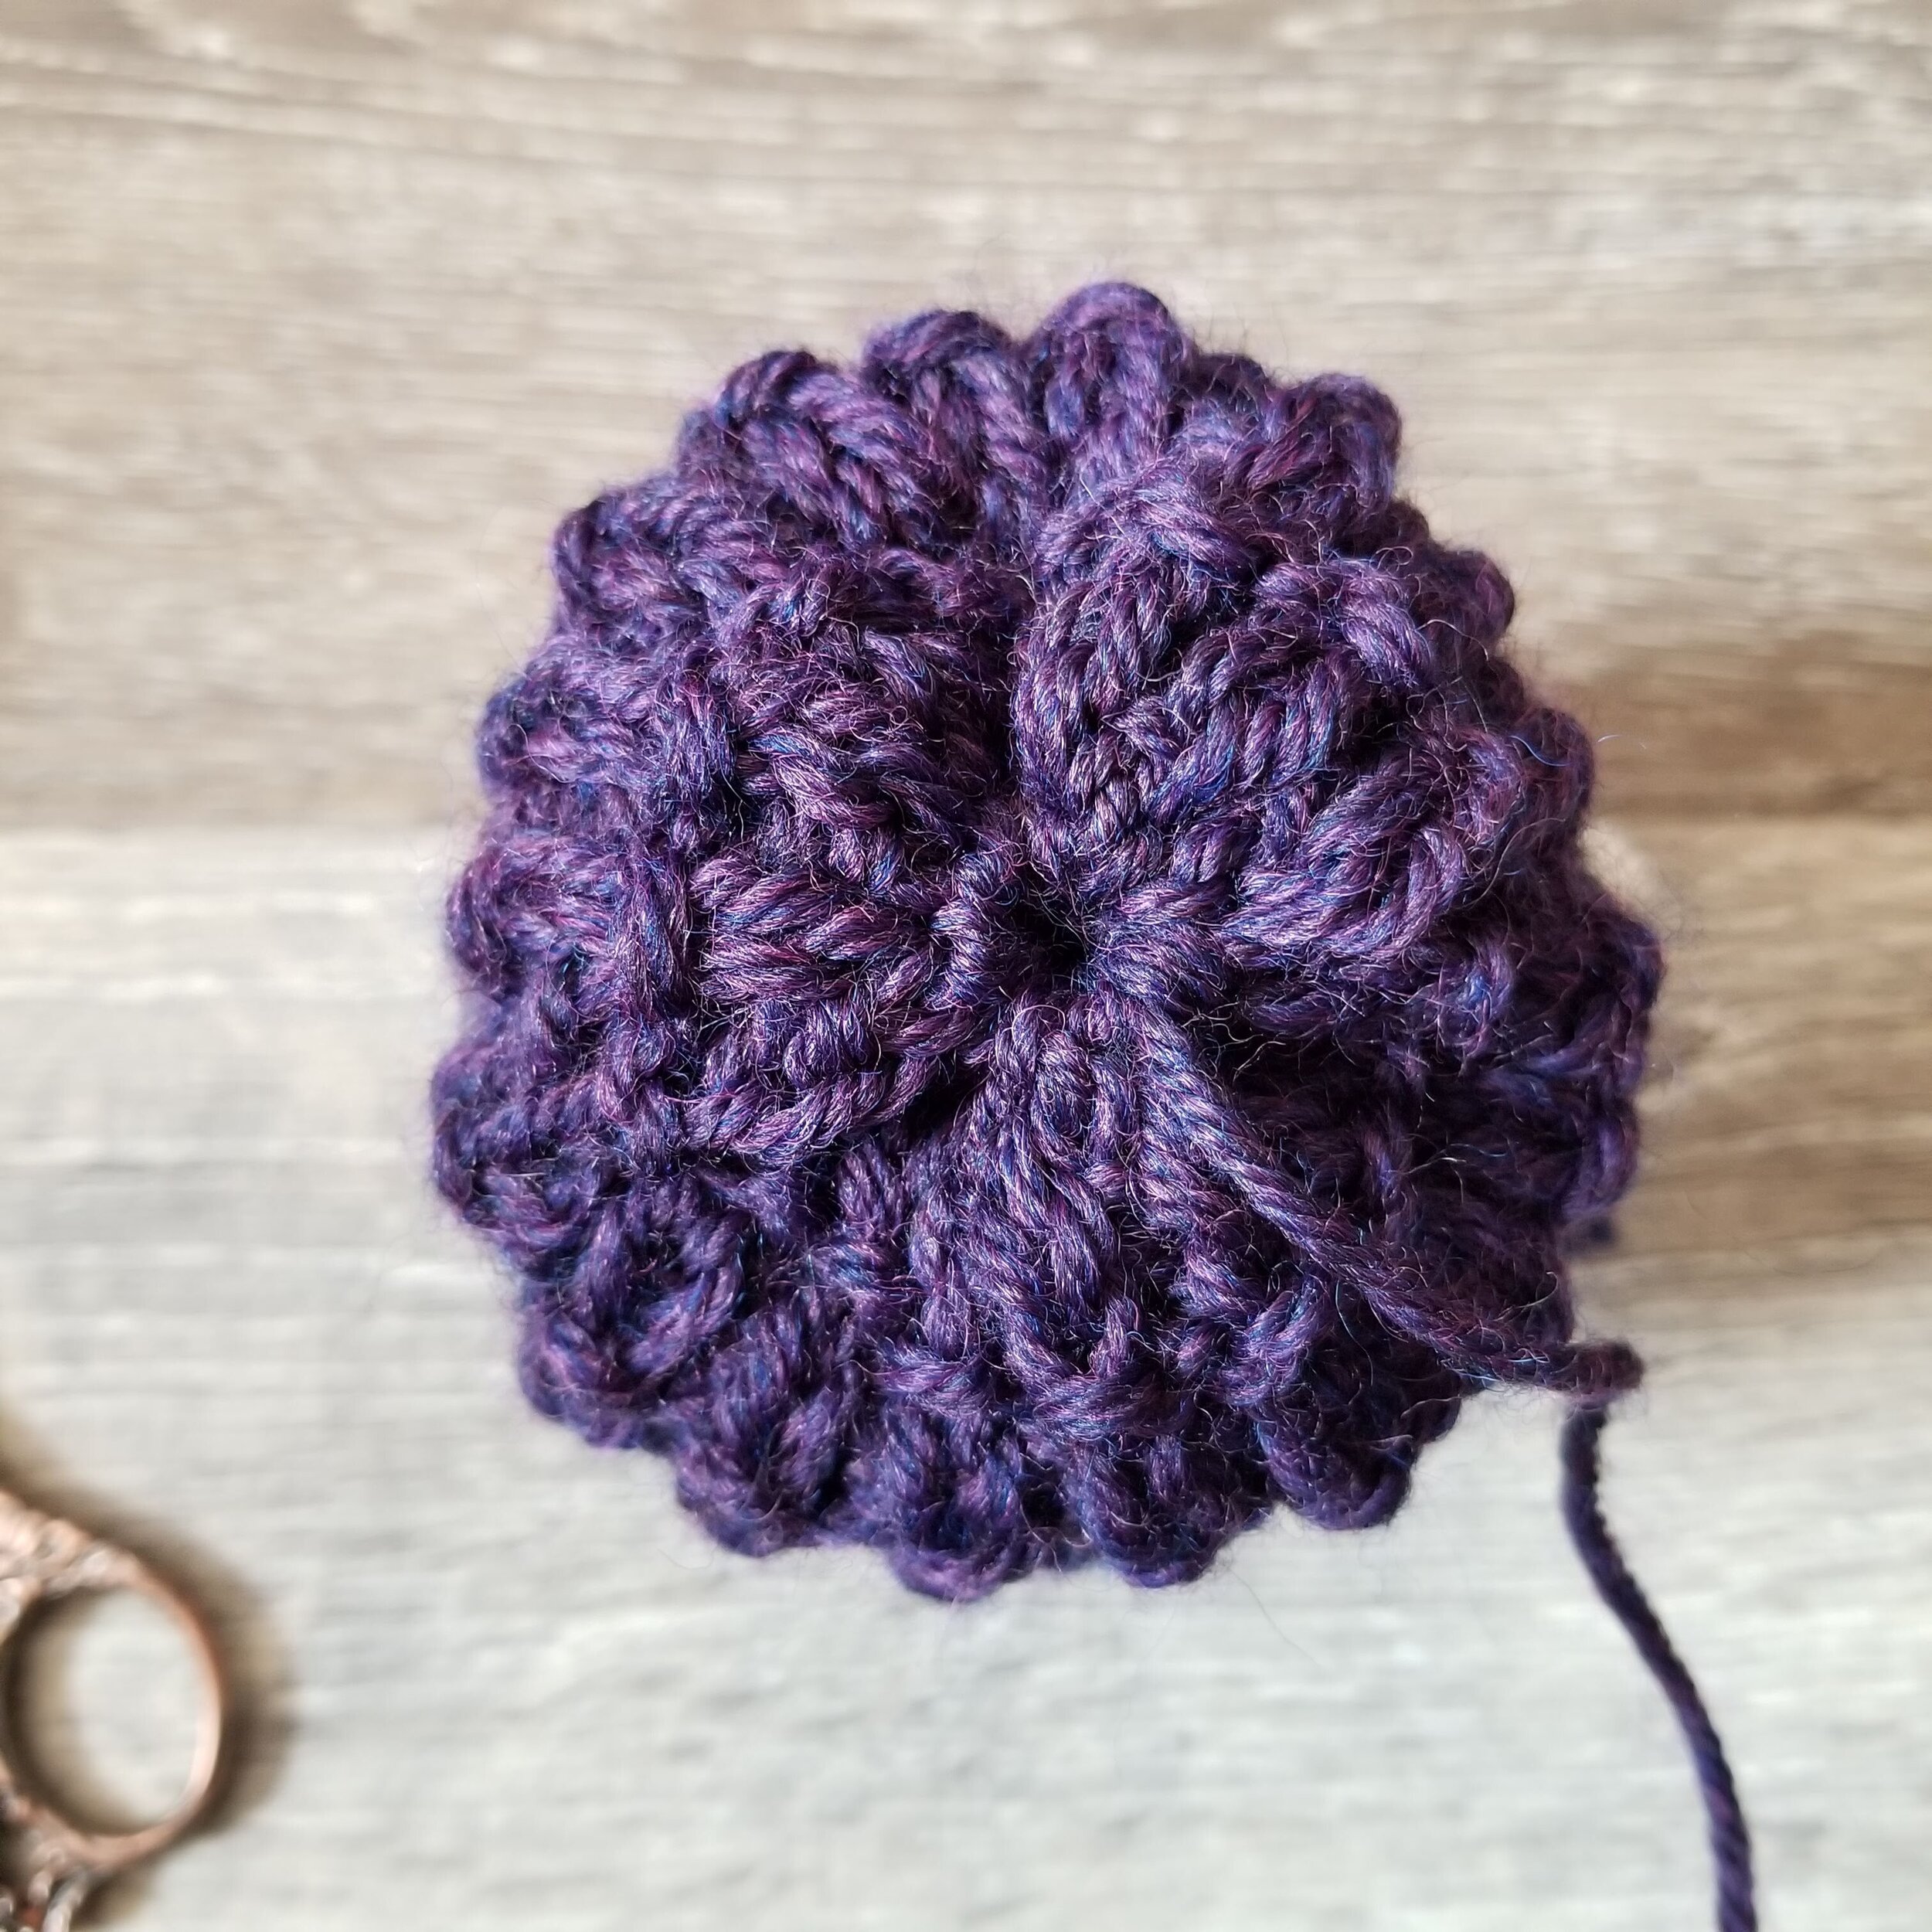
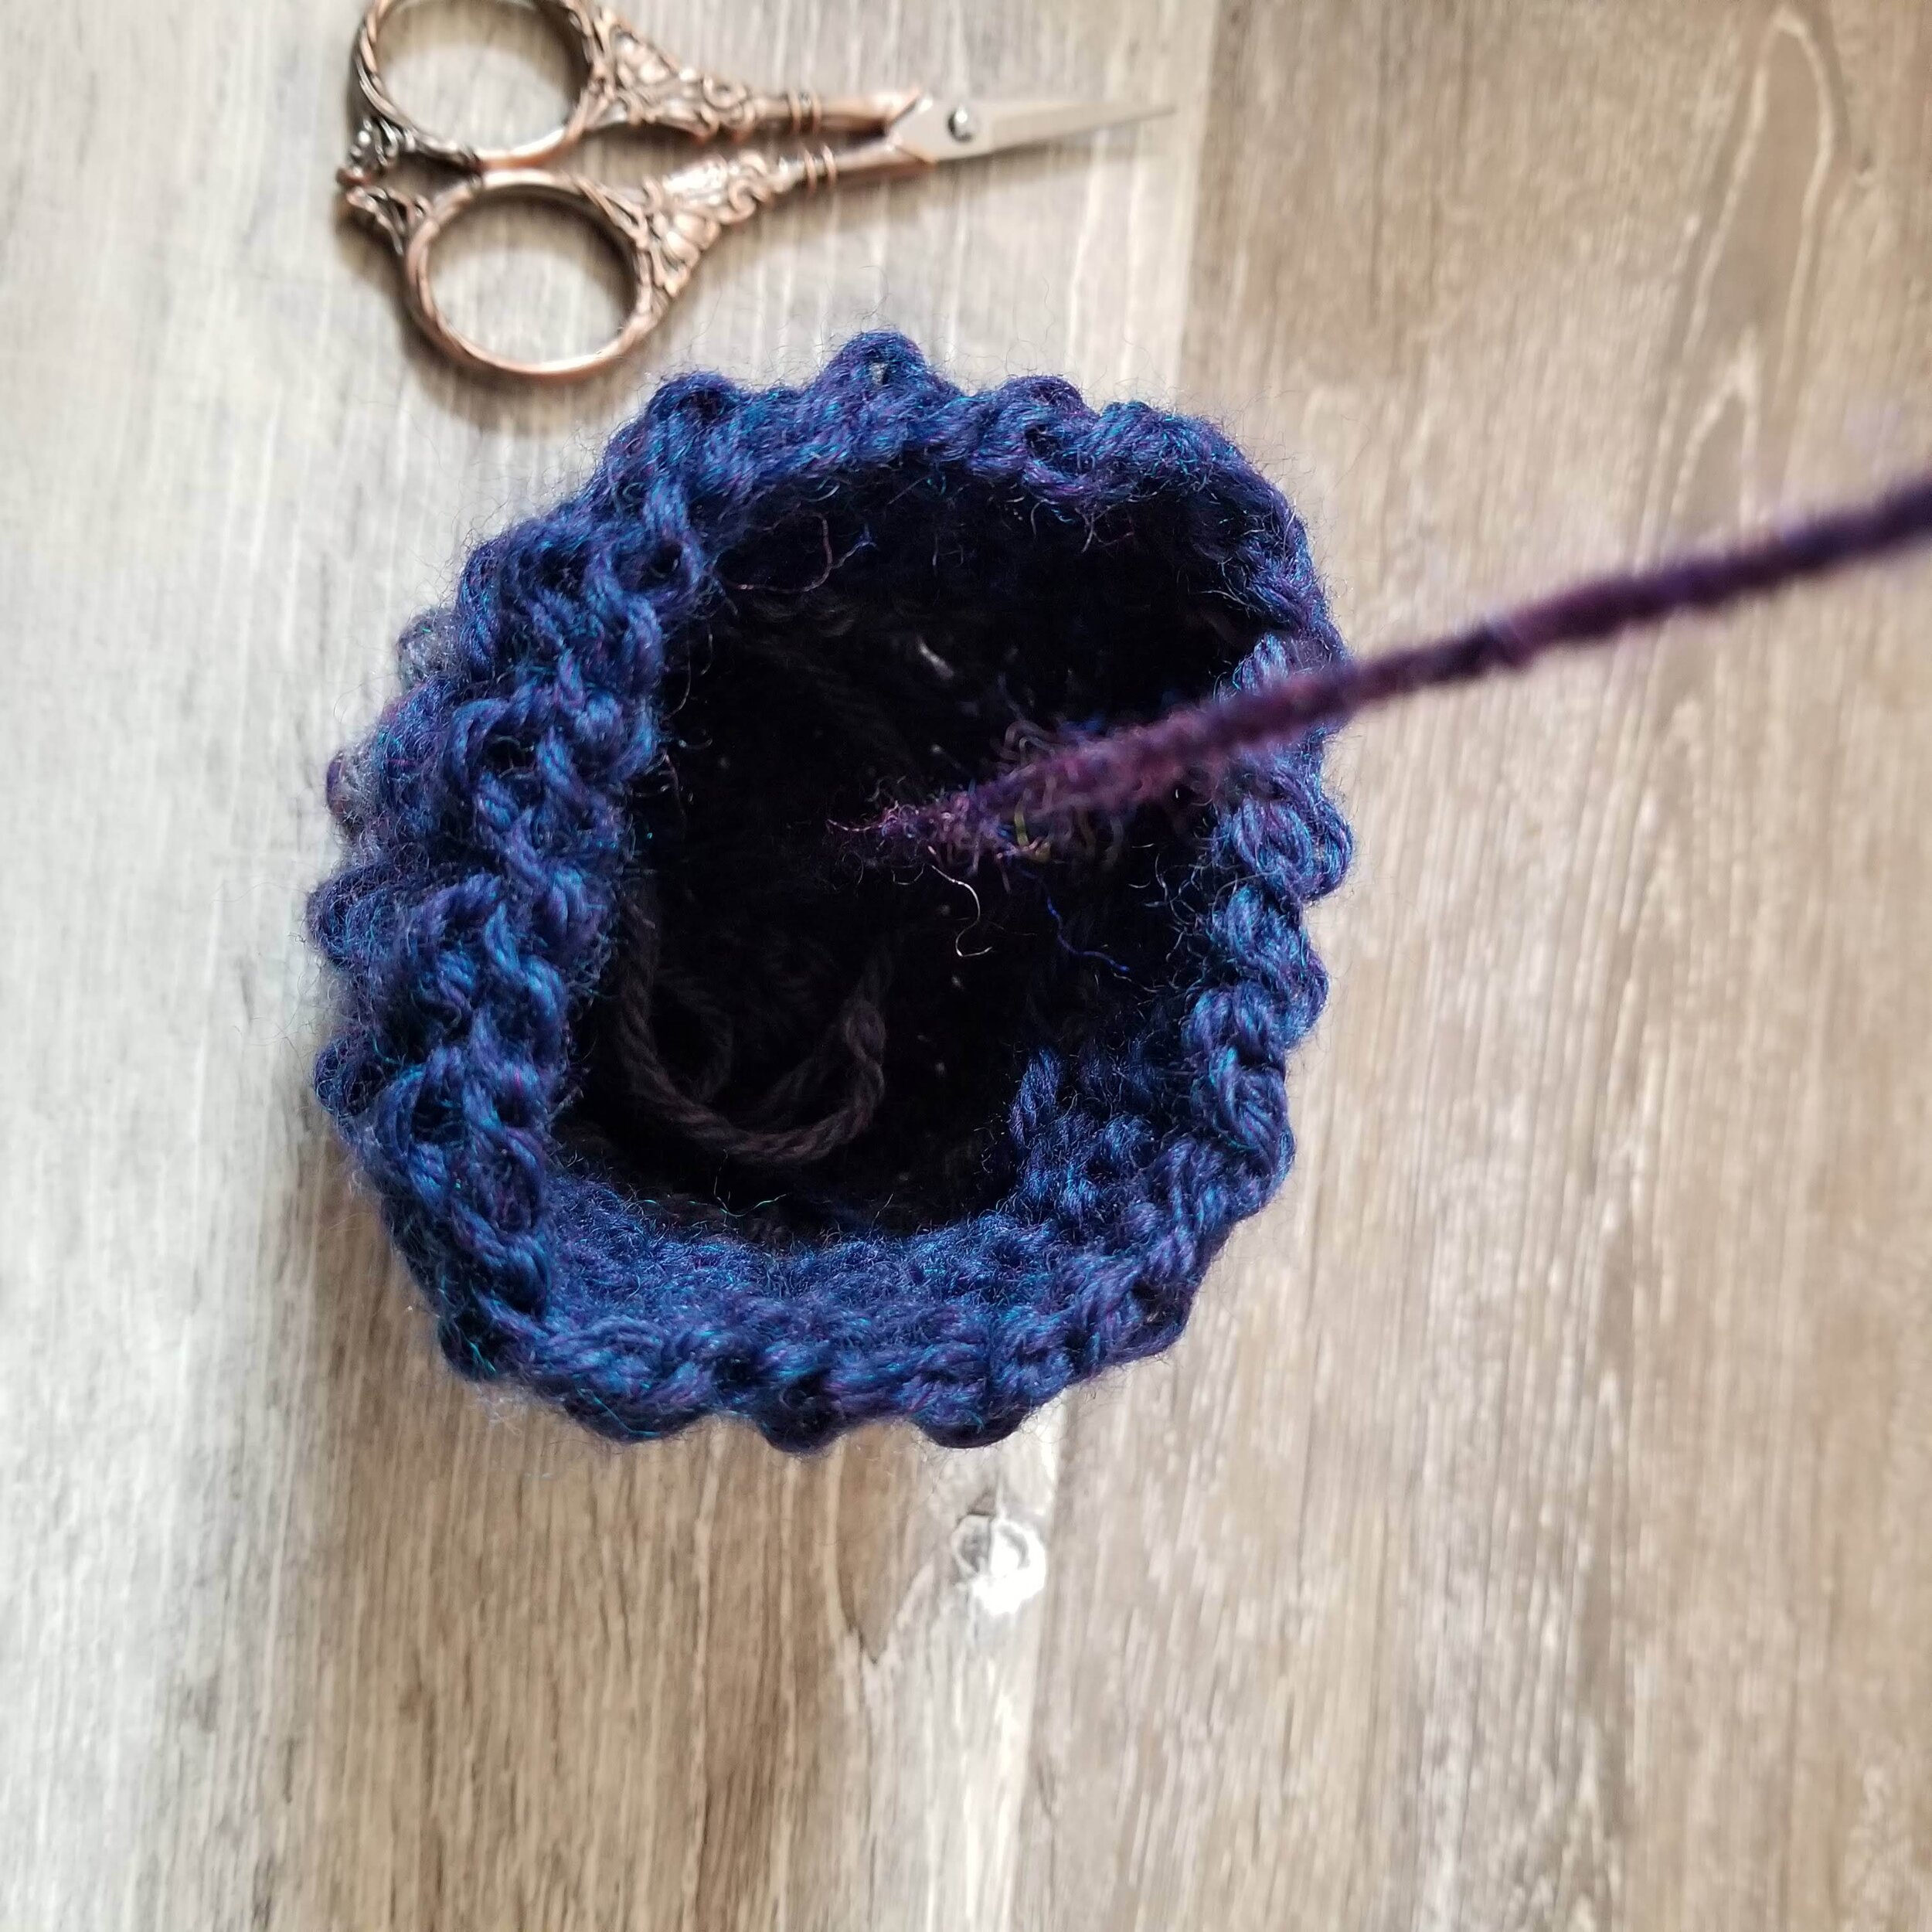
1. With a darning needle, weave tail through top every other st. Pull hole closed and sew tight.
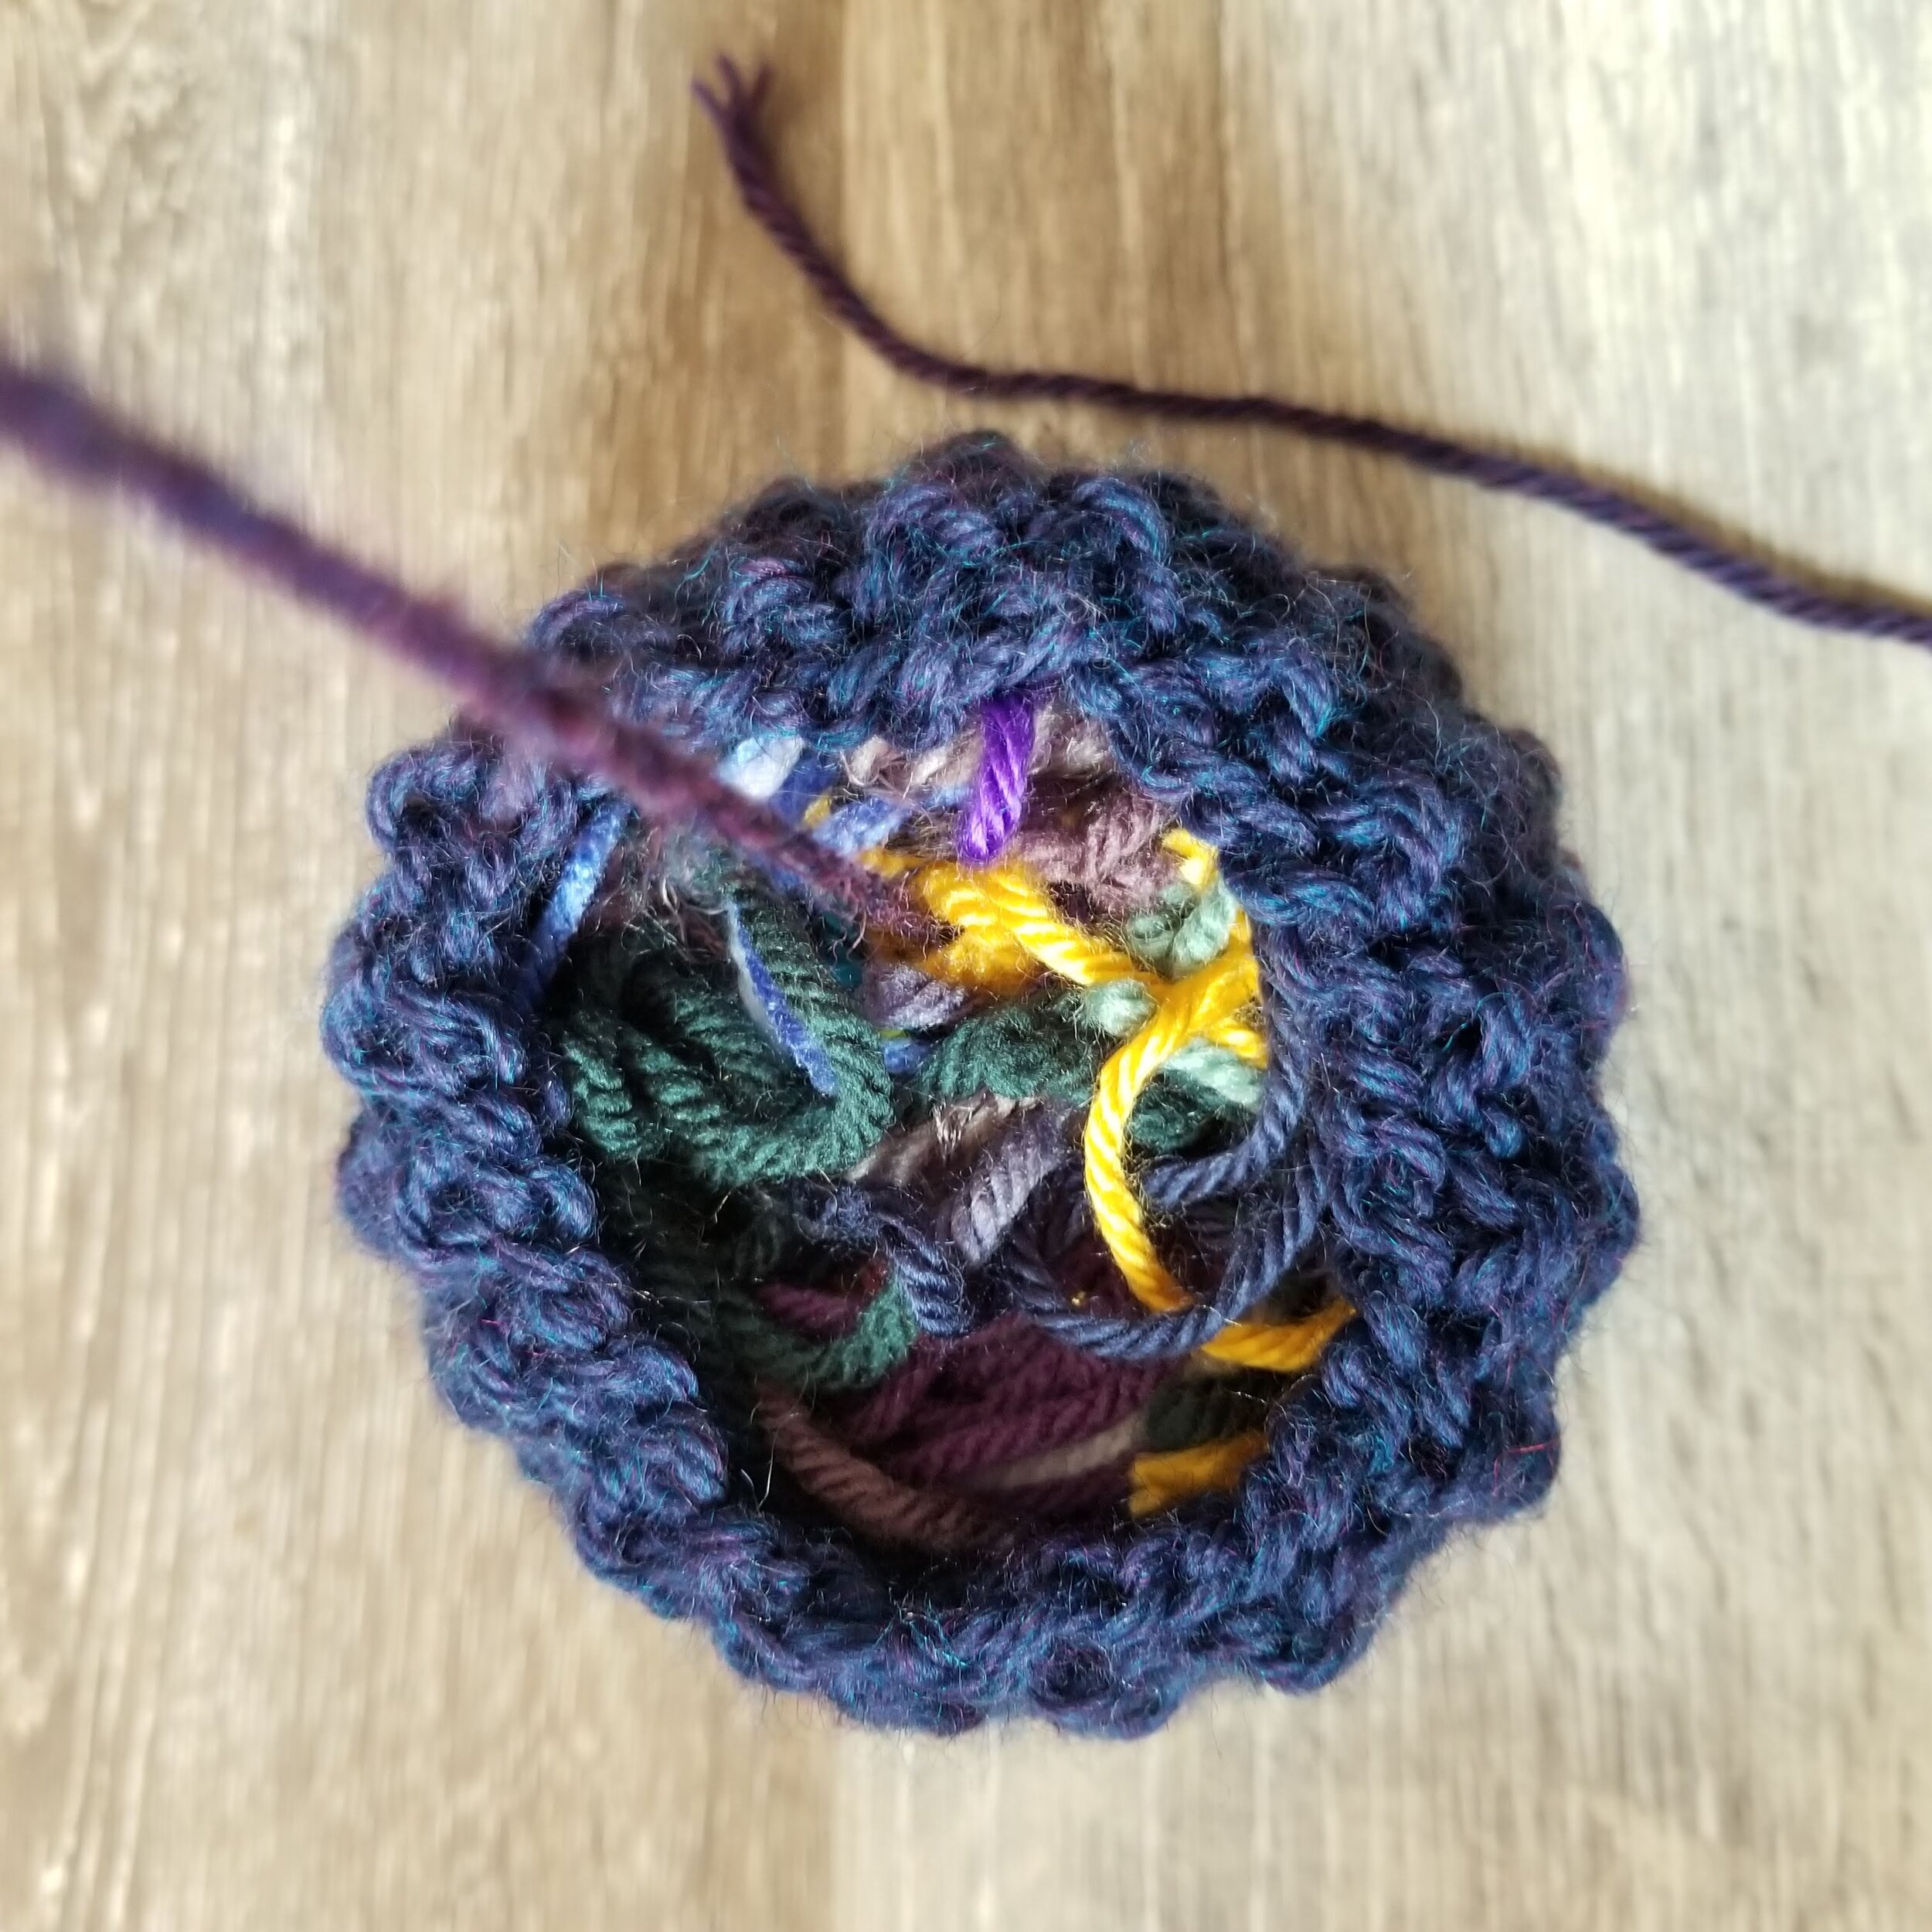
2. Weave yarn up through bottom of pumpkin, then stuff pumpkin (I use yarn ends from other projects to stuff when I make things for myself, you can use fiberfill too!)
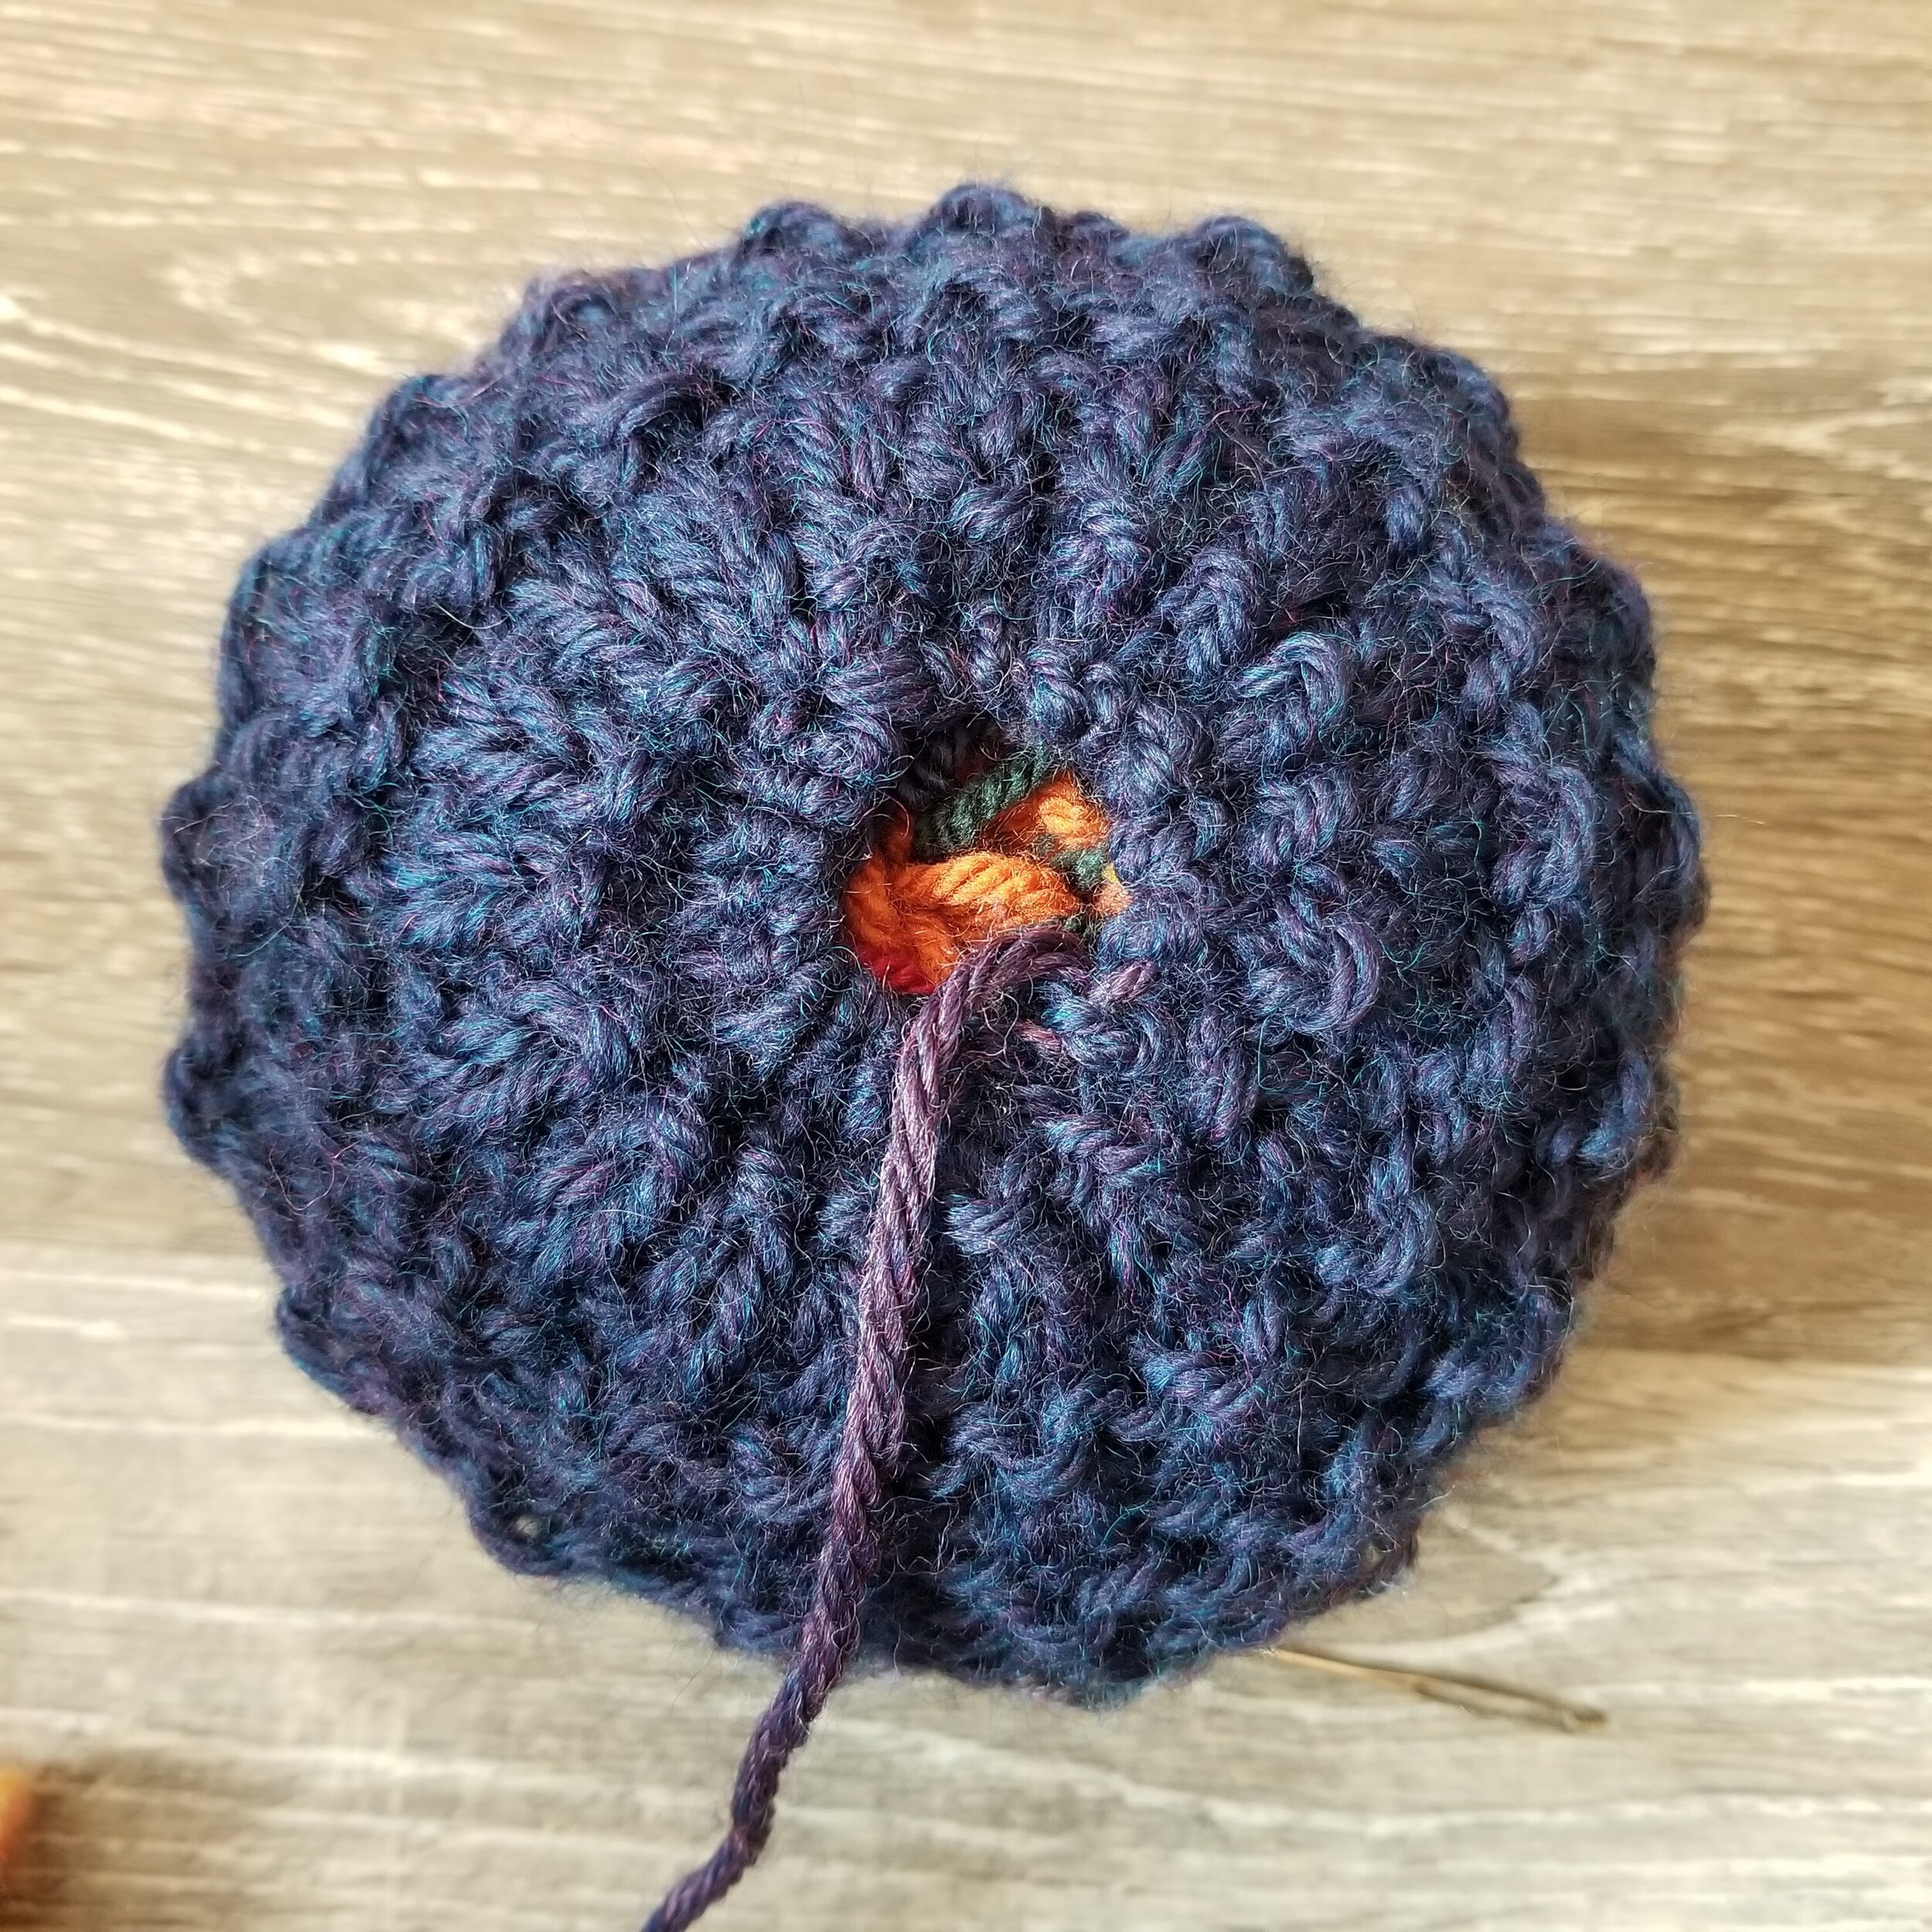
3. Pulling yarn tight, weave yarn through every other st along top of pumpkins to close top, leave a hole big enough for your pumpkin stem
4. To make a more pumpkin-like shape, wrap the yarn down the side of pumpkin, then through the bottom, back up through the top hole, and pull yarn tightly. Rep 4 - 5 times evenly around the pumpkin. Each pumpkin bump doesn’t need to be completely even (real pumpkins aren’t, am I right?). Push your stem (stick, cinnamon stick, etc) through the hole and add any decorations you might want. You can use hot glue to keep the stem and decorations in if you’d like.
Happy knitting!
IF YOU LIKED THIS PATTERN, PLEASE SUPPORT ME ON PATREON OR BUY ME A COFFEE!
I LOVE TO SEE WHAT YOU CREATE!
Please share your creations with the community on social media tagging @ravinsekaidesigns and hashtag #namemepumpkins
I can’t wait to see the beautiful things you come up with!
FOLLOW ME ON SOCIAL MEDIA
Facebook: Ravin Sekai Designs
Ravelry: RavinSekai
Instagram: @ravinsekaidesigns
Pinterest: Ravin Sekai Designs
Patreon: Ravin Sekai Designs

